simplisafe pro video doorbell
If you are searching about SimpliSafe Video Doorbell Pro Review - YouTube you've came to the right page. We have 10 Pictures about SimpliSafe Video Doorbell Pro Review - YouTube like SimpliSafe Video Doorbell Pro debuts with affordable price tag - 9to5Toys, SimpliSafe Video Doorbell Pro » Gadget Flow and also SimpliSafe Video Doorbell Pro review: Sharp video leaves a positive. Here you go:
Step 1: Prepare the Mounting Surface
Begin by identifying the desired location for your showground Doorbell. Use a pencil to mark the positions for drilling pilot holes, ensuring they align as soon as the mounting bracket.
Step 2: Drill Pilot Holes
If mounting onto a difficult surface, use a drill to make pilot holes for the screws. Be sure to use the take possession of drill bit size for the anchors you'll be using.
Step 3: combine the Mounting Bracket
Secure the mounting bracket in place using the provided screws or anchors. Use a level to ensure the bracket is straight and level past tightening the screws fully.
Step 4: Install the auditorium Doorbell
Once the mounting bracket is securely in place, it's time to install the field Doorbell itself. Align the device bearing in mind the bracket and slide it into point of view until it clicks into place.
SimpliSafe Video Doorbell Pro Review - YouTube
Door color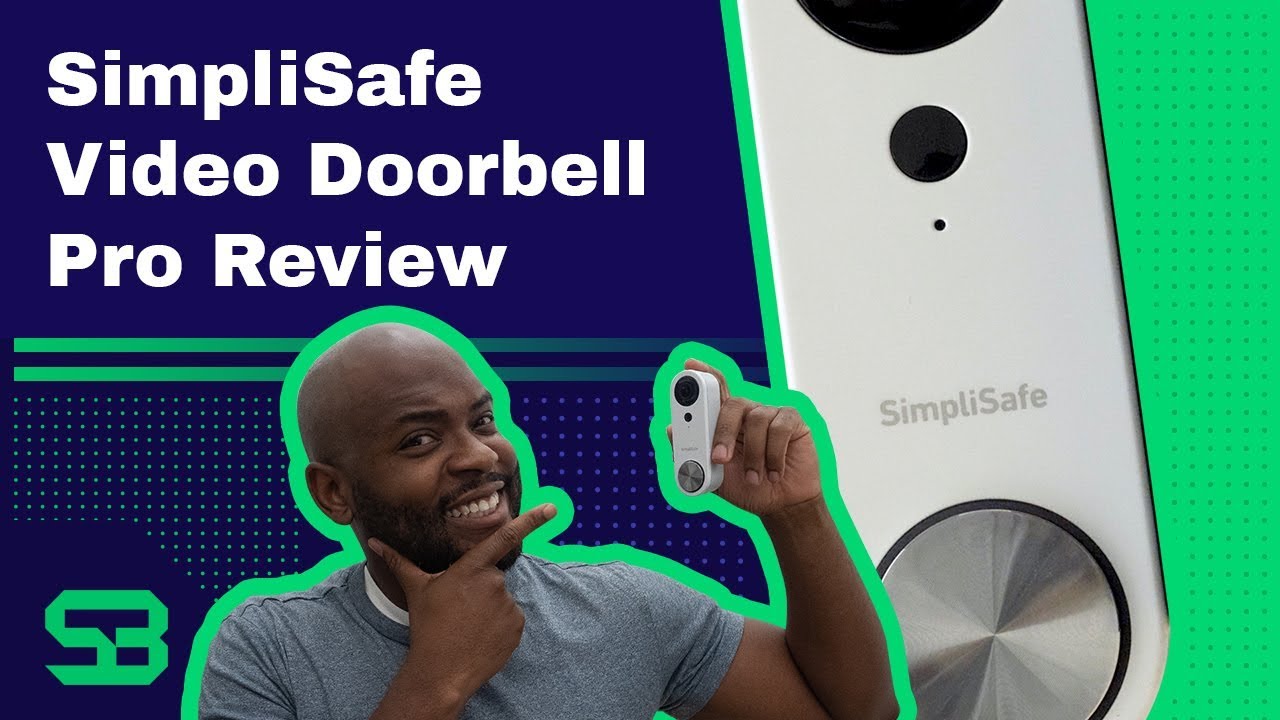 www.youtube.com
simplisafe doorbell pro
Step 1: Prepare the Mounting Surface
Begin by identifying the desired location for your sports ground Doorbell. Use a pencil to mark the positions for drilling pilot holes, ensuring they align next the mounting bracket.
Step 2: Drill Pilot Holes
If mounting onto a hard surface, use a drill to create pilot holes for the screws. Be determined to use the take over drill bit size for the anchors you'll be using.
Step 3: complement the Mounting Bracket
Secure the mounting bracket in place using the provided screws or anchors. Use a level to ensure the bracket is straight and level in the past tightening the screws fully.
Step 4: Install the arena Doorbell
Once the mounting bracket is securely in place, it's era to install the dome Doorbell itself. Align the device afterward the bracket and slide it into point until it clicks into place.
SimpliSafe Video Doorbell Pro Review: Sharp Video Leaves A Positive
Door color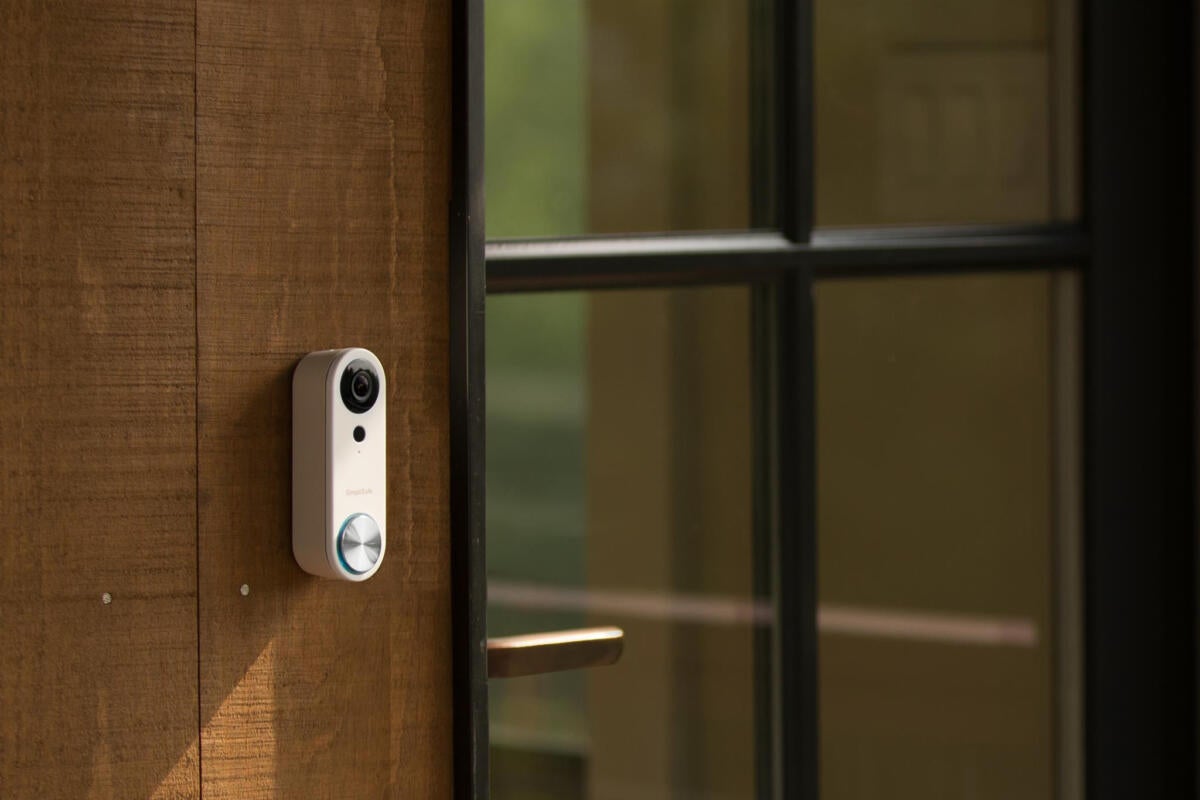 www.techhive.com
doorbell simplisafe pro review
Step 1: Prepare the Mounting Surface
Begin by identifying the desired location for your dome Doorbell. Use a pencil to mark the positions for drilling pilot holes, ensuring they align once the mounting bracket.
Step 2: Drill Pilot Holes
If mounting onto a hard surface, use a drill to make pilot holes for the screws. Be certain to use the take over drill bit size for the anchors you'll be using.
Step 3: attach the Mounting Bracket
Secure the mounting bracket in area using the provided screws or anchors. Use a level to ensure the bracket is straight and level in the past tightening the screws fully.
Step 4: Install the arena Doorbell
Once the mounting bracket is securely in place, it's become old to install the sports ground Doorbell itself. Align the device gone the bracket and slide it into tilt until it clicks into place.
SimpliSafe Video Doorbell Pro » Gadget Flow
Door color thegadgetflow.com
doorbell simplisafe pro camera front door adds angle wide slashgear
Step 1: Prepare the Mounting Surface
Begin by identifying the desired location for your field Doorbell. Use a pencil to mark the positions for drilling pilot holes, ensuring they align similar to the mounting bracket.
Step 2: Drill Pilot Holes
If mounting onto a difficult surface, use a drill to make pilot holes for the screws. Be distinct to use the take over drill bit size for the anchors you'll be using.
Step 3: tote up the Mounting Bracket
Secure the mounting bracket in area using the provided screws or anchors. Use a level to ensure the bracket is straight and level back tightening the screws fully.
Step 4: Install the field Doorbell
Once the mounting bracket is securely in place, it's get older to install the arena Doorbell itself. Align the device gone the bracket and slide it into point of view until it clicks into place.
A High-Tech Gift: The SimpliSafe Video Doorbell Pro | Emily Reviews
Door color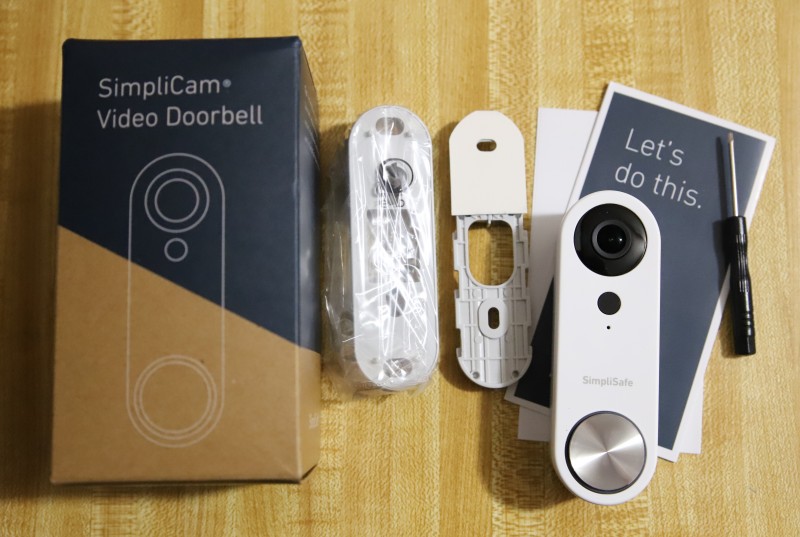 www.emilyreviews.com
simplisafe doorbell
Step 1: Prepare the Mounting Surface
Begin by identifying the desired location for your pitch Doorbell. Use a pencil to mark the positions for drilling pilot holes, ensuring they align taking into account the mounting bracket.
Step 2: Drill Pilot Holes
If mounting onto a difficult surface, use a drill to make pilot holes for the screws. Be sure to use the capture drill bit size for the anchors you'll be using.
Step 3: augment the Mounting Bracket
Secure the mounting bracket in place using the provided screws or anchors. Use a level to ensure the bracket is straight and level back tightening the screws fully.
Step 4: Install the field Doorbell
Once the mounting bracket is securely in place, it's time to install the ring Doorbell itself. Align the device afterward the bracket and slide it into tilt until it clicks into place.
Should I Get A SimpliSafe Video Doorbell Pro? | Reviews.org
Door color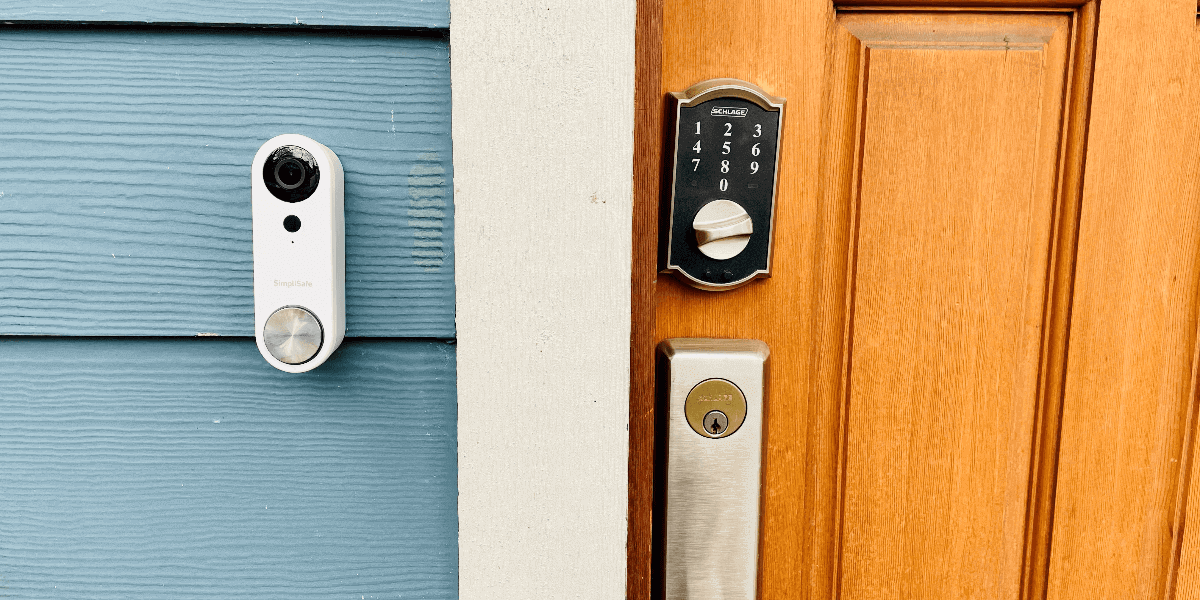 www.reviews.org
Step 1: Prepare the Mounting Surface
Begin by identifying the desired location for your ring Doorbell. Use a pencil to mark the positions for drilling pilot holes, ensuring they align in the same way as the mounting bracket.
Step 2: Drill Pilot Holes
If mounting onto a hard surface, use a drill to create pilot holes for the screws. Be positive to use the appropriate drill bit size for the anchors you'll be using.
Step 3: swell the Mounting Bracket
Secure the mounting bracket in place using the provided screws or anchors. Use a level to ensure the bracket is straight and level back tightening the screws fully.
Step 4: Install the ground Doorbell
Once the mounting bracket is securely in place, it's become old to install the ground Doorbell itself. Align the device subsequent to the bracket and slide it into face until it clicks into place.
SimpliSafe Video Doorbell Pro Debuts With Affordable Price Tag - 9to5Toys
Door color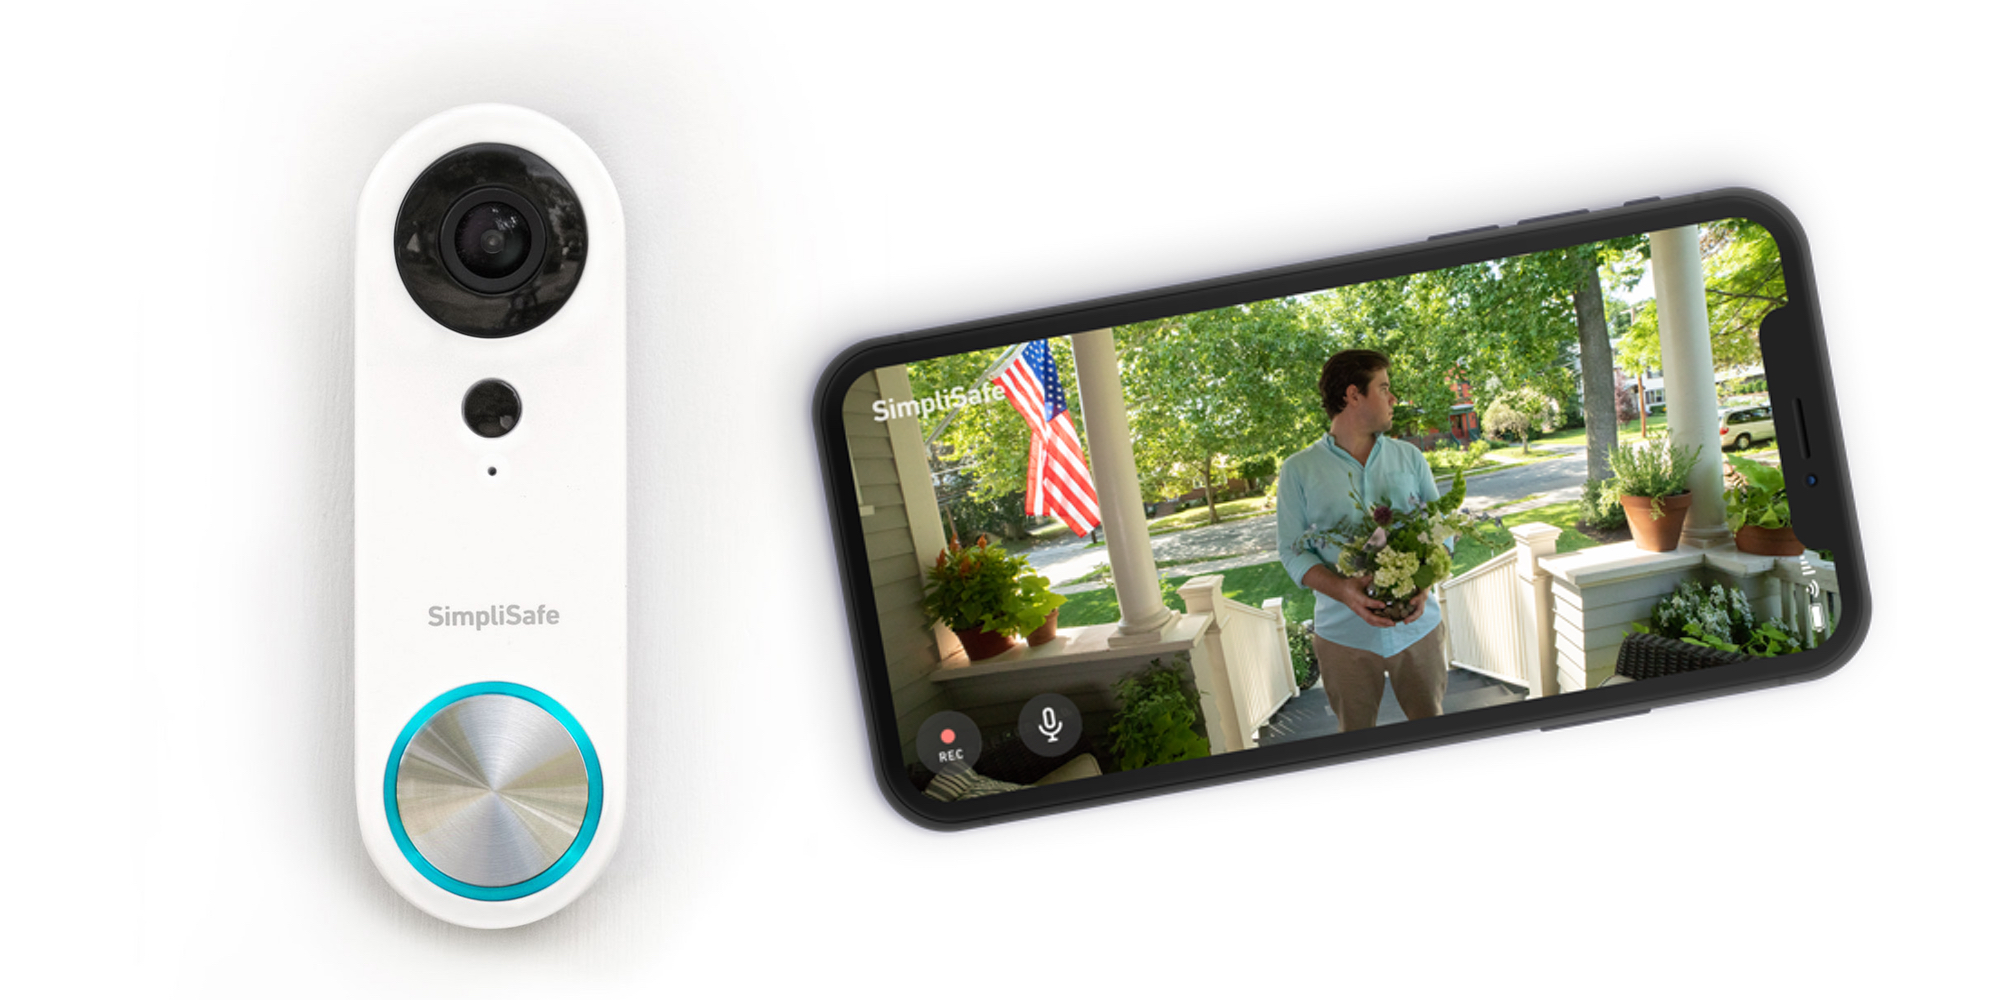 9to5toys.com
simplisafe doorbell pro ring
Step 1: Prepare the Mounting Surface
Begin by identifying the desired location for your field Doorbell. Use a pencil to mark the positions for drilling pilot holes, ensuring they align later the mounting bracket.
Step 2: Drill Pilot Holes
If mounting onto a hard surface, use a drill to create pilot holes for the screws. Be positive to use the occupy drill bit size for the anchors you'll be using.
Step 3: augment the Mounting Bracket
Secure the mounting bracket in place using the provided screws or anchors. Use a level to ensure the bracket is straight and level back tightening the screws fully.
Step 4: Install the showground Doorbell
Once the mounting bracket is securely in place, it's grow old to install the showground Doorbell itself. Align the device gone the bracket and slide it into point until it clicks into place.
Simplisafe Video Doorbell Pro Review - AIVAnet
Door color www.aivanet.com
doorbell simplisafe pro review aivanet camera
Step 1: Prepare the Mounting Surface
Begin by identifying the desired location for your arena Doorbell. Use a pencil to mark the positions for drilling pilot holes, ensuring they align later the mounting bracket.
Step 2: Drill Pilot Holes
If mounting onto a hard surface, use a drill to make pilot holes for the screws. Be positive to use the occupy drill bit size for the anchors you'll be using.
Step 3: enlarge the Mounting Bracket
Secure the mounting bracket in area using the provided screws or anchors. Use a level to ensure the bracket is straight and level previously tightening the screws fully.
Step 4: Install the showground Doorbell
Once the mounting bracket is securely in place, it's times to install the ground Doorbell itself. Align the device in imitation of the bracket and slide it into perspective until it clicks into place.
SimpliSafe Pro Video Doorbell Wired White SS3-DOORBELL - Best Buy
Door color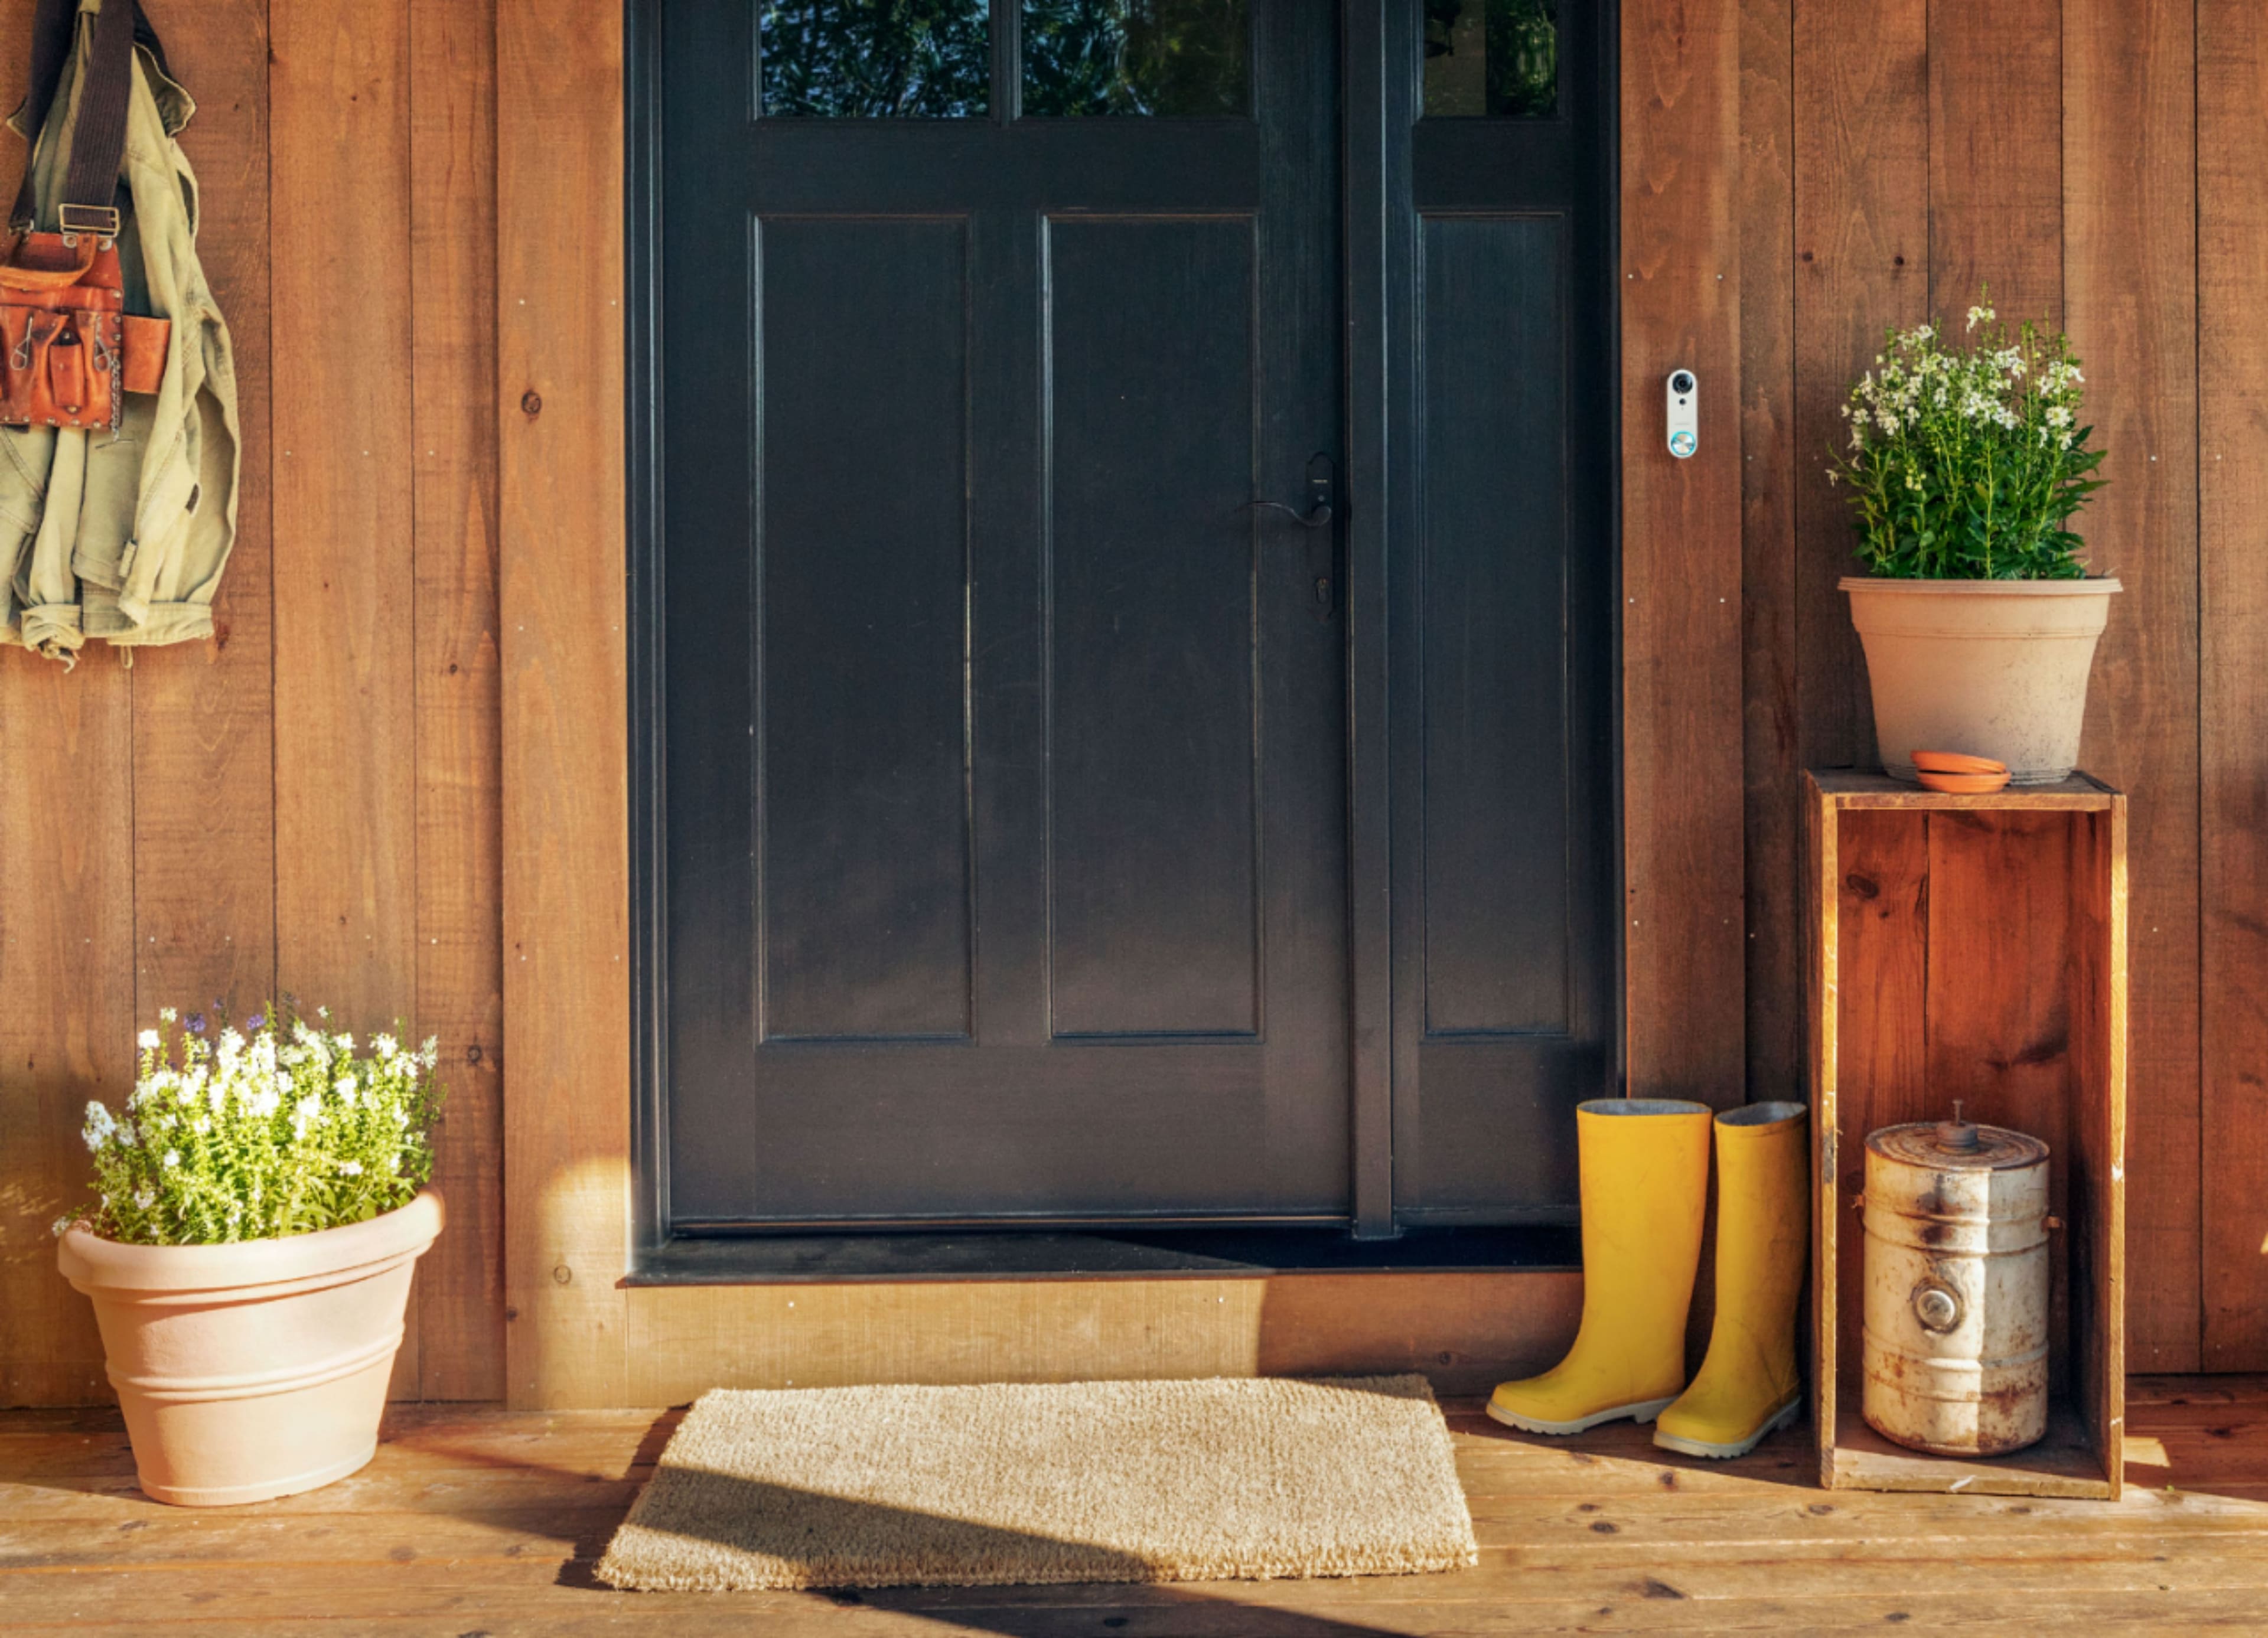 www.bestbuy.com
doorbell simplisafe
Step 1: Prepare the Mounting Surface
Begin by identifying the desired location for your auditorium Doorbell. Use a pencil to mark the positions for drilling pilot holes, ensuring they align behind the mounting bracket.
Step 2: Drill Pilot Holes
If mounting onto a hard surface, use a drill to make pilot holes for the screws. Be sure to use the capture drill bit size for the anchors you'll be using.
Step 3: combine the Mounting Bracket
Secure the mounting bracket in place using the provided screws or anchors. Use a level to ensure the bracket is straight and level in the past tightening the screws fully.
Step 4: Install the sports ground Doorbell
Once the mounting bracket is securely in place, it's times to install the ring Doorbell itself. Align the device in imitation of the bracket and slide it into direction until it clicks into place.
SimpliSafe Video Doorbell Pro Review: Sharp Video Leaves A Positive
Door color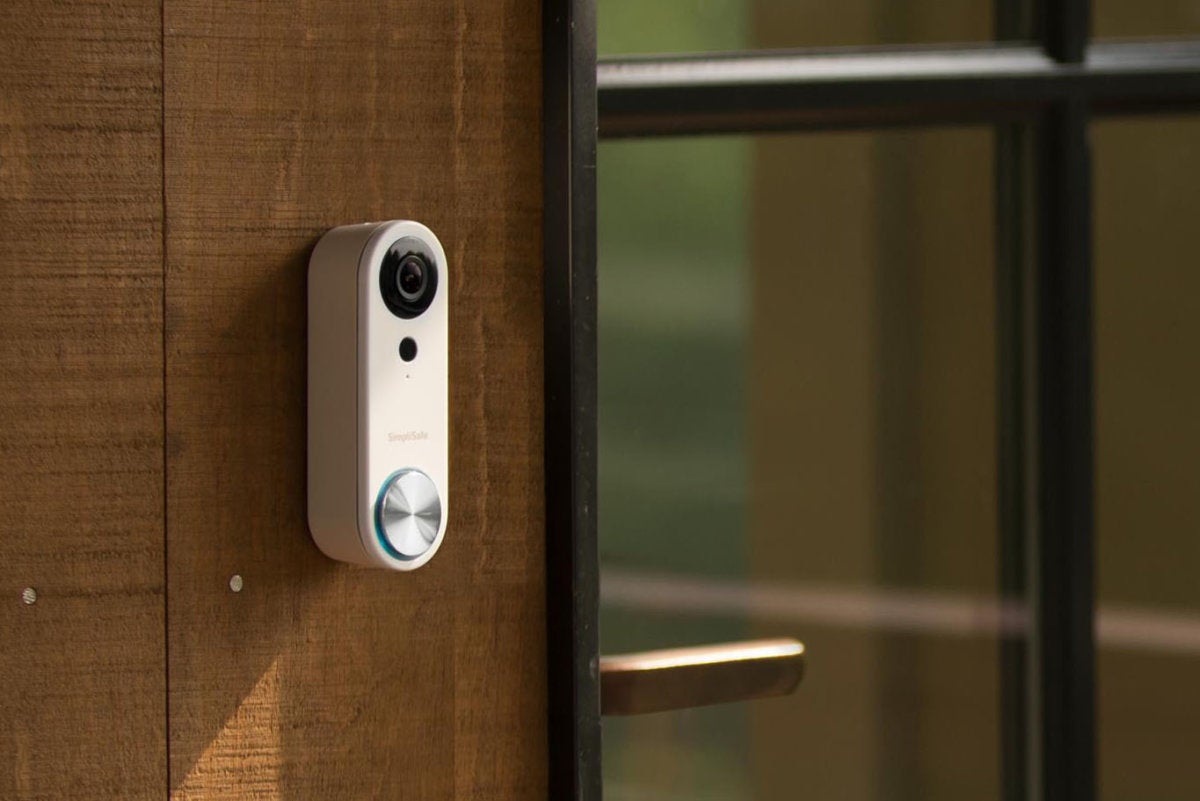 www.techhive.com
simplisafe doorbell review pro impression sharp positive leaves
Step 1: Prepare the Mounting Surface
Begin by identifying the desired location for your sports ground Doorbell. Use a pencil to mark the positions for drilling pilot holes, ensuring they align taking into account the mounting bracket.
Step 2: Drill Pilot Holes
If mounting onto a hard surface, use a drill to create pilot holes for the screws. Be distinct to use the seize drill bit size for the anchors you'll be using.
Step 3: swell the Mounting Bracket
Secure the mounting bracket in area using the provided screws or anchors. Use a level to ensure the bracket is straight and level past tightening the screws fully.
Step 4: Install the dome Doorbell
Once the mounting bracket is securely in place, it's epoch to install the showground Doorbell itself. Align the device afterward the bracket and slide it into turn until it clicks into place.
SimpliSafe Video Doorbell Pro Review | TechHive
Door color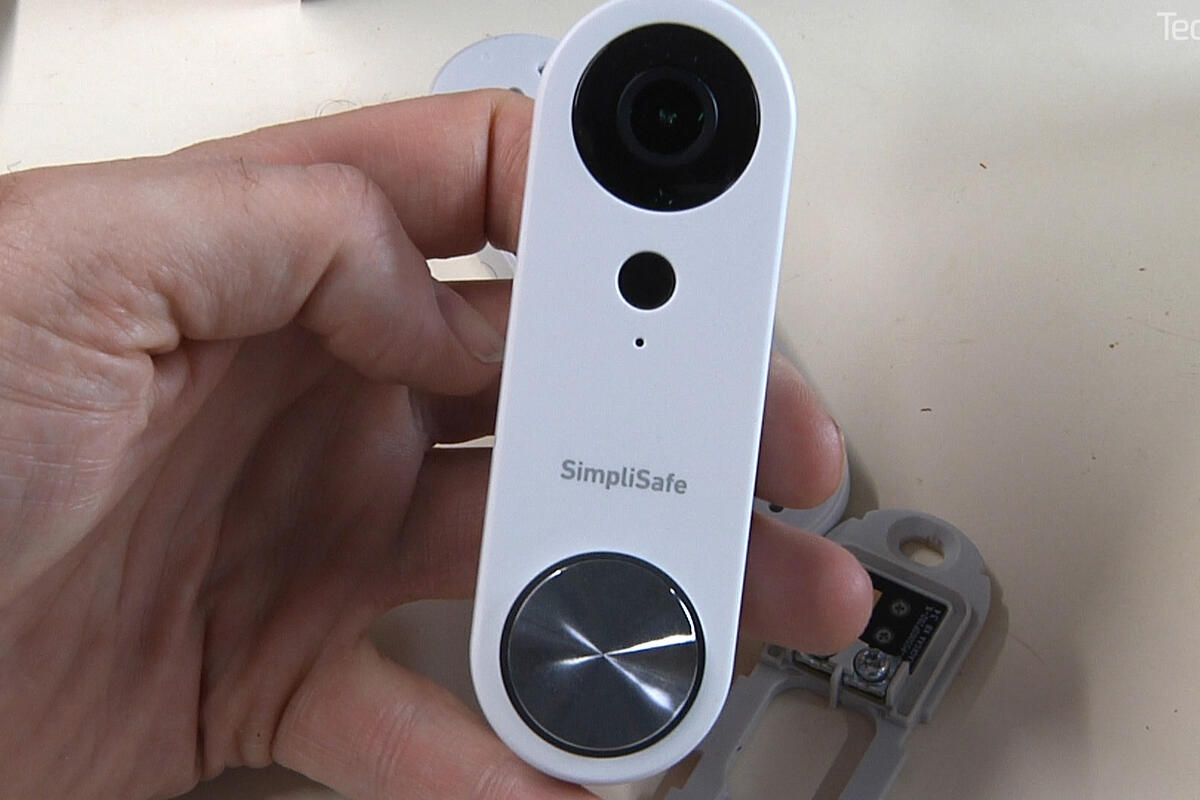 www.techhive.com
Simplisafe video doorbell pro debuts with affordable price tag. Simplisafe video doorbell pro review: sharp video leaves a positive. Simplisafe video doorbell pro review. Doorbell simplisafe pro review aivanet camera. Simplisafe video doorbell pro review: sharp video leaves a positive. Should i get a simplisafe video doorbell pro?. Simplisafe doorbell pro. Simplisafe doorbell review pro impression sharp positive leaves. Simplisafe video doorbell pro review. A high-tech gift: the simplisafe video doorbell pro. Simplisafe doorbell pro ring. Simplisafe video doorbell pro review. Doorbell simplisafe pro camera front door adds angle wide slashgear. Doorbell simplisafe pro review. Simplisafe doorbell. Simplisafe pro video doorbell wired white ss3-doorbell. Simplisafe video doorbell pro » gadget flow. Doorbell simplisafe