ring solar panel for ring video doorbell
If you are looking for Ae A Mr Ring V D 1st 2nd Gen/Ring Wi-Fi Ed 706084752292 US $3.08 you've visit to the right page. We have 10 Images about Ae A Mr Ring V D 1st 2nd Gen/Ring Wi-Fi Ed 706084752292 US $3.08 like Ring Video Doorbell 1 (2nd Gen, 2020 Release) Solar Charger Mount, Solar Panel for Ring Video Doorbell 3/3 Plus,3.5W Output (No Include and also Ring Solar Panel for Doorbells - Video Doorbell 2, Video Doorbell 3. Here you go:
Step 1: Prepare the Mounting Surface
Begin by identifying the desired location for your ring Doorbell. Use a pencil to mark the positions for drilling pilot holes, ensuring they align in the same way as the mounting bracket.
Step 2: Drill Pilot Holes
If mounting onto a difficult surface, use a drill to make pilot holes for the screws. Be positive to use the appropriate drill bit size for the anchors you'll be using.
Step 3: count up the Mounting Bracket
Secure the mounting bracket in place using the provided screws or anchors. Use a level to ensure the bracket is straight and level back tightening the screws fully.
Step 4: Install the arena Doorbell
Once the mounting bracket is securely in place, it's era to install the field Doorbell itself. Align the device later the bracket and slide it into point of view until it clicks into place.
Ae A Mr Ring V D 1st 2nd Gen/Ring Wi-Fi Ed 706084752292 US $3.08
Door color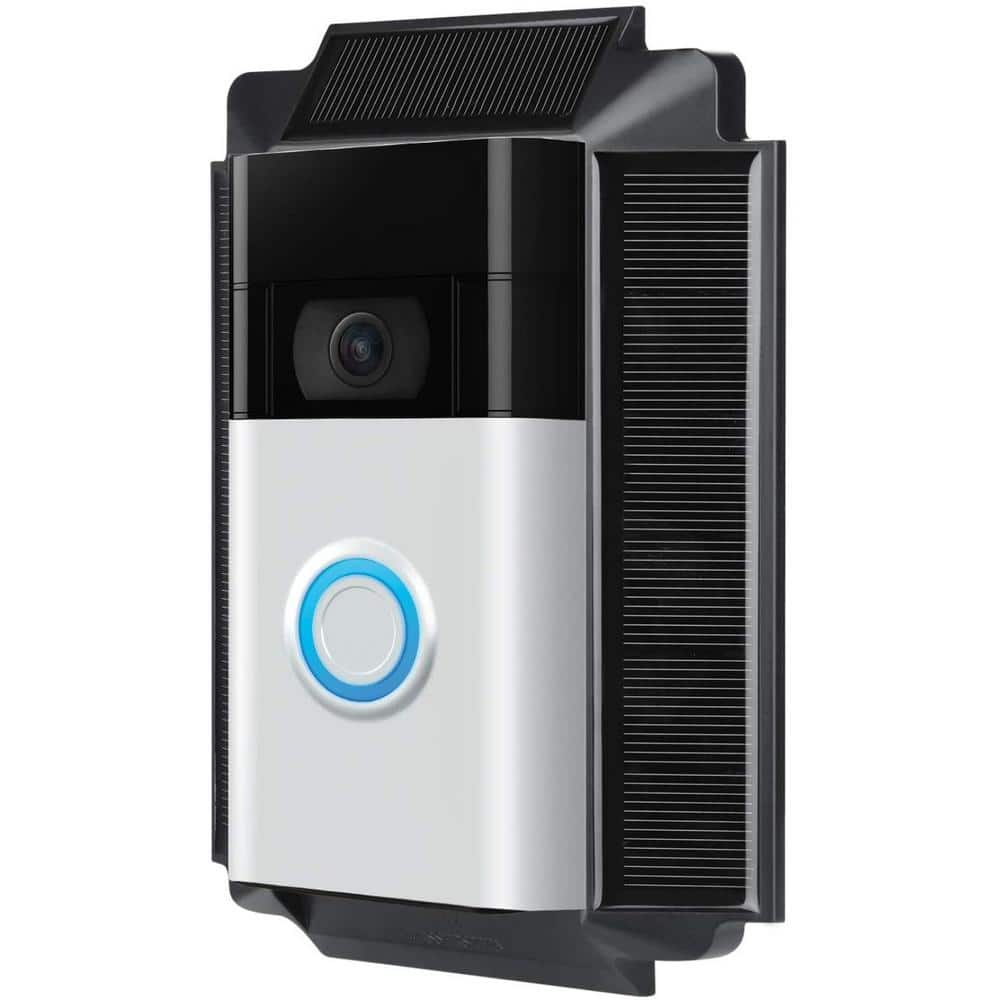 laces501c.org
Step 1: Prepare the Mounting Surface
Begin by identifying the desired location for your pitch Doorbell. Use a pencil to mark the positions for drilling pilot holes, ensuring they align taking into consideration the mounting bracket.
Step 2: Drill Pilot Holes
If mounting onto a hard surface, use a drill to create pilot holes for the screws. Be positive to use the take possession of drill bit size for the anchors you'll be using.
Step 3: total the Mounting Bracket
Secure the mounting bracket in place using the provided screws or anchors. Use a level to ensure the bracket is straight and level back tightening the screws fully.
Step 4: Install the auditorium Doorbell
Once the mounting bracket is securely in place, it's grow old to install the sports ground Doorbell itself. Align the device later the bracket and slide it into slope until it clicks into place.
Solar Panel For Ring Video Doorbell 3/3 Plus,3.5W Output (No Include
Door color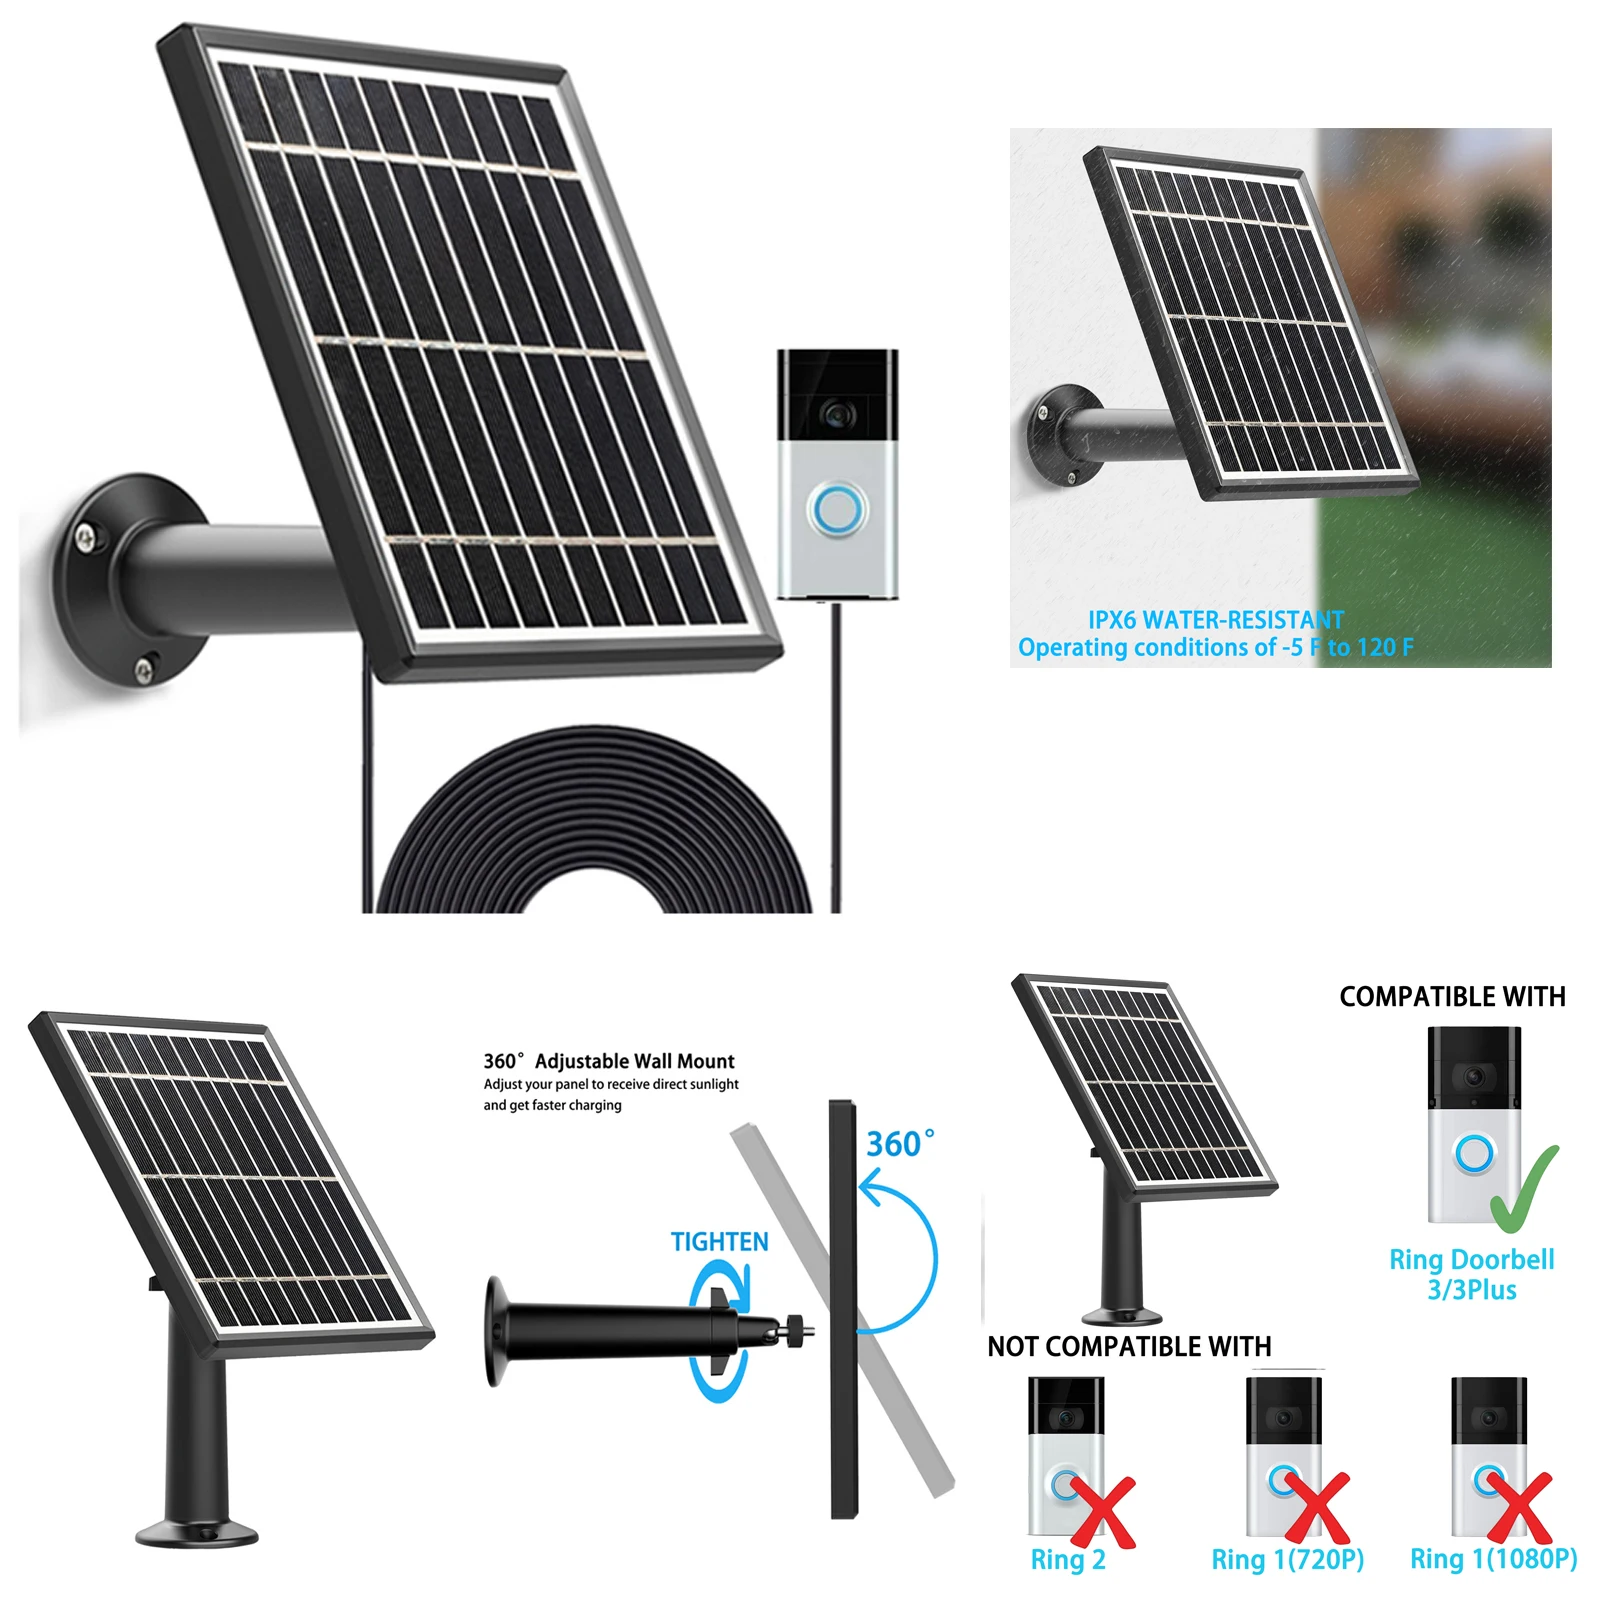 www.aliexpress.com
Step 1: Prepare the Mounting Surface
Begin by identifying the desired location for your arena Doorbell. Use a pencil to mark the positions for drilling pilot holes, ensuring they align following the mounting bracket.
Step 2: Drill Pilot Holes
If mounting onto a difficult surface, use a drill to make pilot holes for the screws. Be definite to use the seize drill bit size for the anchors you'll be using.
Step 3: swell the Mounting Bracket
Secure the mounting bracket in place using the provided screws or anchors. Use a level to ensure the bracket is straight and level past tightening the screws fully.
Step 4: Install the dome Doorbell
Once the mounting bracket is securely in place, it's period to install the showground Doorbell itself. Align the device with the bracket and slide it into approach until it clicks into place.
Door Ring Camera & Ring-in-app
Door color pezcame.com
ring doorbell solar door charger wireless bell camera cameras depot sc st qa security
Step 1: Prepare the Mounting Surface
Begin by identifying the desired location for your arena Doorbell. Use a pencil to mark the positions for drilling pilot holes, ensuring they align following the mounting bracket.
Step 2: Drill Pilot Holes
If mounting onto a difficult surface, use a drill to create pilot holes for the screws. Be positive to use the take possession of drill bit size for the anchors you'll be using.
Step 3: supplement the Mounting Bracket
Secure the mounting bracket in place using the provided screws or anchors. Use a level to ensure the bracket is straight and level since tightening the screws fully.
Step 4: Install the arena Doorbell
Once the mounting bracket is securely in place, it's become old to install the ground Doorbell itself. Align the device in imitation of the bracket and slide it into direction until it clicks into place.
Ring Solar Panel For Doorbells - Video Doorbell 2, Video Doorbell 3
Door color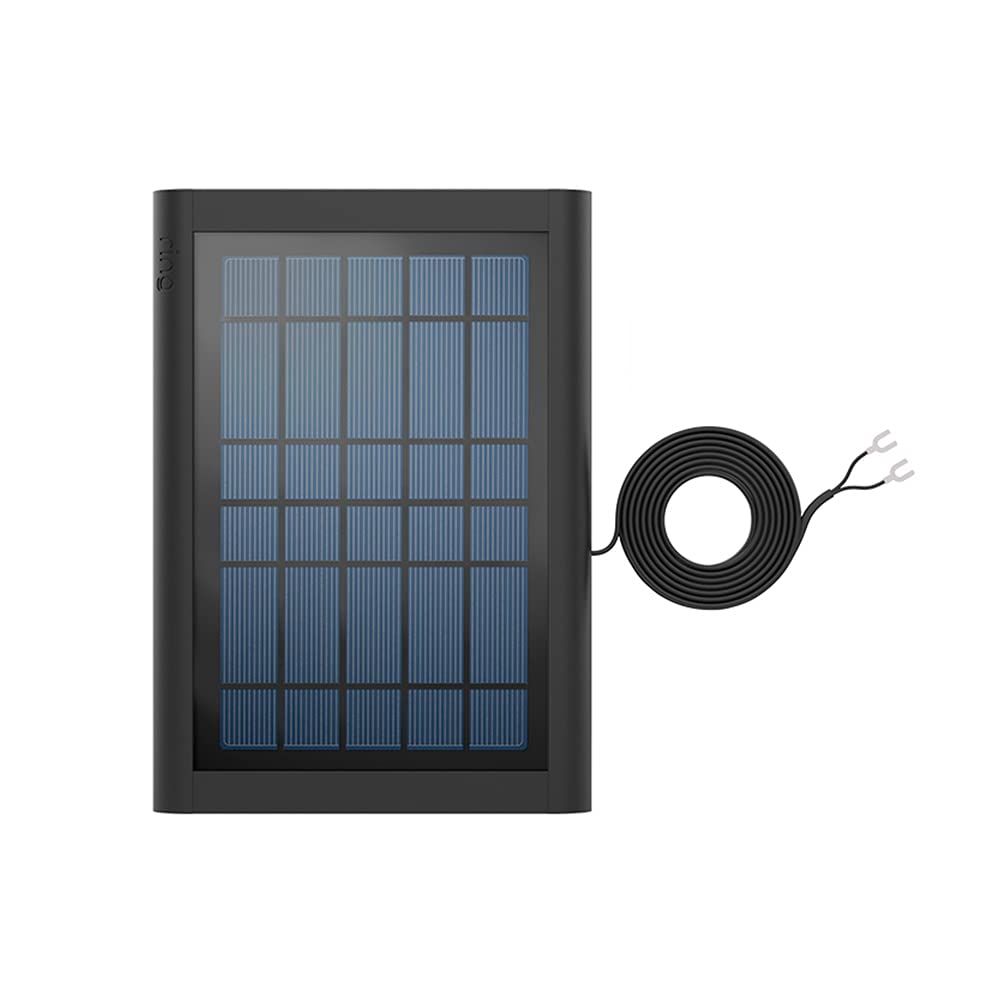 www.amazon.co.uk
doorbell solar
Step 1: Prepare the Mounting Surface
Begin by identifying the desired location for your ground Doorbell. Use a pencil to mark the positions for drilling pilot holes, ensuring they align bearing in mind the mounting bracket.
Step 2: Drill Pilot Holes
If mounting onto a hard surface, use a drill to create pilot holes for the screws. Be sure to use the capture drill bit size for the anchors you'll be using.
Step 3: tote up the Mounting Bracket
Secure the mounting bracket in place using the provided screws or anchors. Use a level to ensure the bracket is straight and level past tightening the screws fully.
Step 4: Install the ring Doorbell
Once the mounting bracket is securely in place, it's period to install the dome Doorbell itself. Align the device following the bracket and slide it into point until it clicks into place.
Wasserstein Ring Doorbell Gen 2 Solar Panel -Unboxing/Review - YouTube
Door color www.youtube.com
Step 1: Prepare the Mounting Surface
Begin by identifying the desired location for your pitch Doorbell. Use a pencil to mark the positions for drilling pilot holes, ensuring they align taking into consideration the mounting bracket.
Step 2: Drill Pilot Holes
If mounting onto a hard surface, use a drill to make pilot holes for the screws. Be distinct to use the take over drill bit size for the anchors you'll be using.
Step 3: add up the Mounting Bracket
Secure the mounting bracket in area using the provided screws or anchors. Use a level to ensure the bracket is straight and level back tightening the screws fully.
Step 4: Install the ring Doorbell
Once the mounting bracket is securely in place, it's period to install the ring Doorbell itself. Align the device once the bracket and slide it into viewpoint until it clicks into place.
Solar Panel For Ring Video Doorbell 2 Waterproof Charge 5 V 3.2W (Max
Door color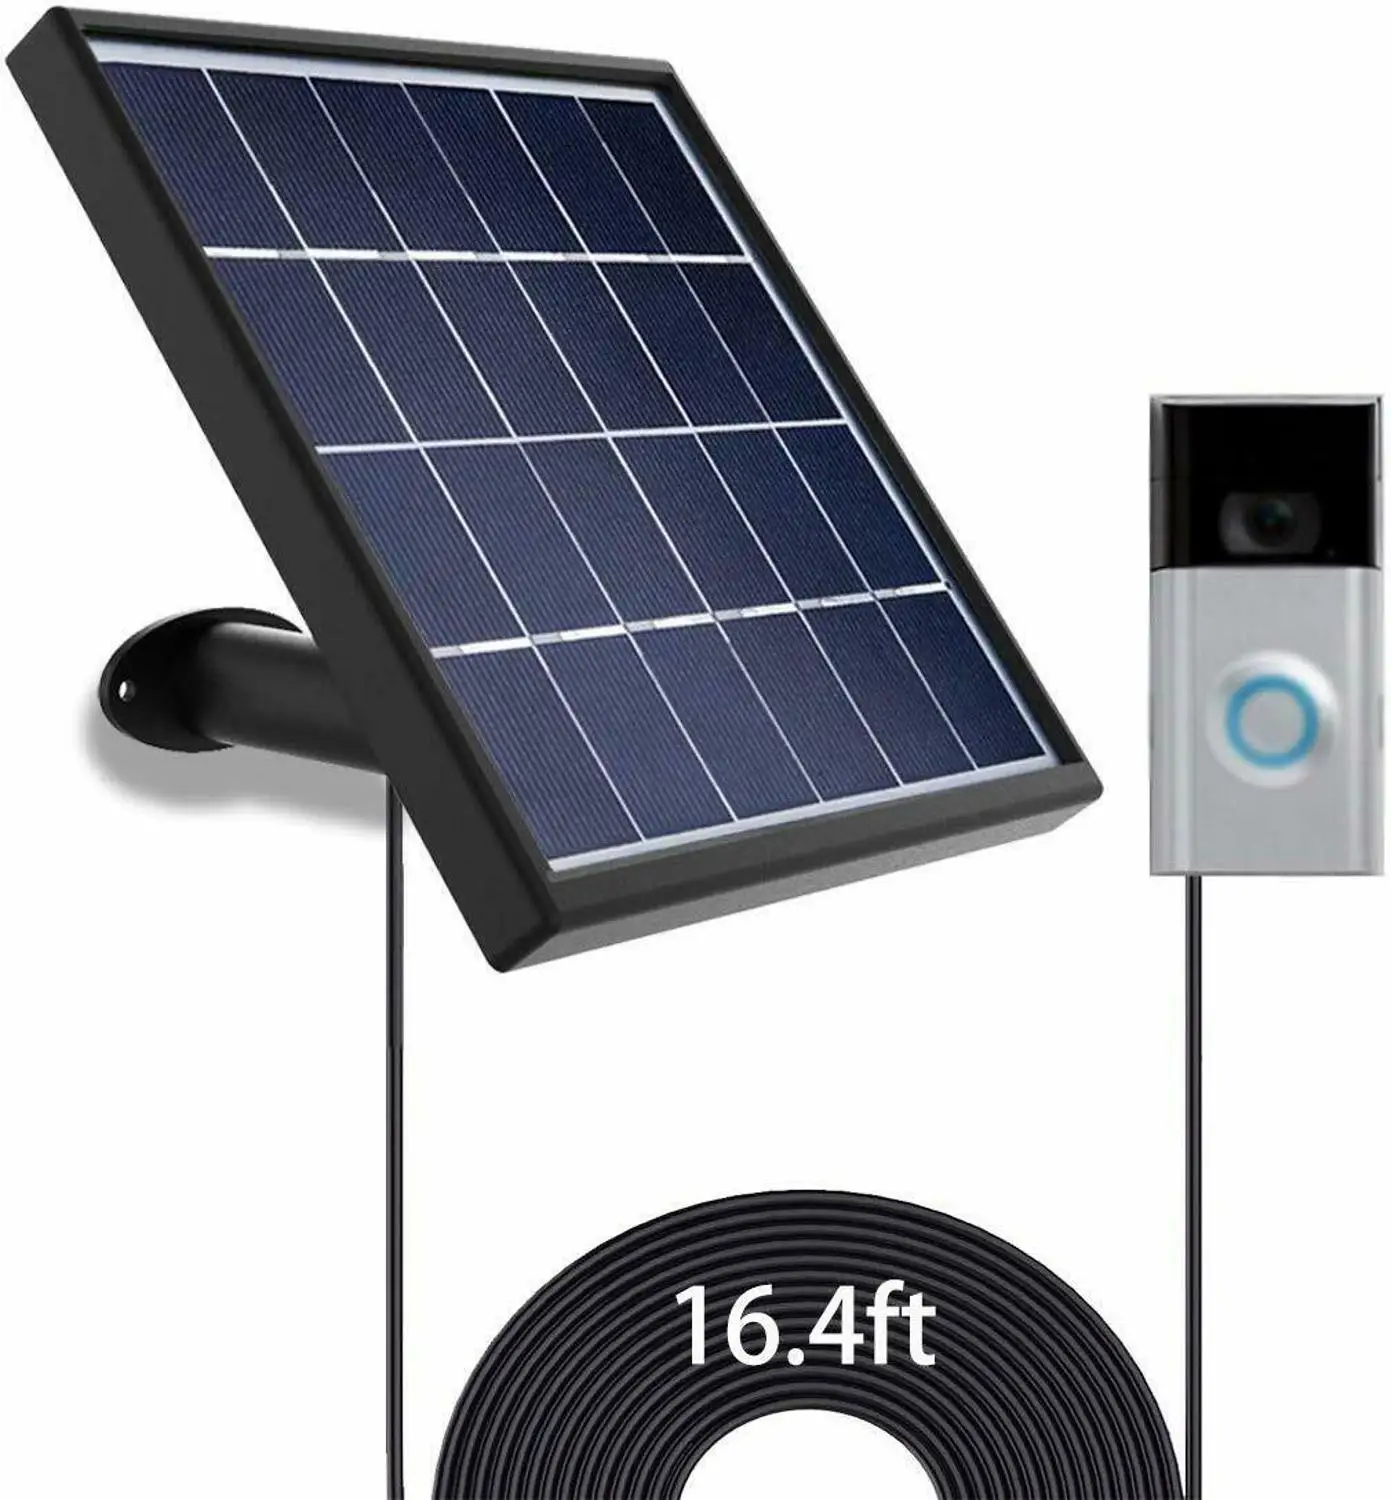 www.aliexpress.com
ring doorbell solar panel
Step 1: Prepare the Mounting Surface
Begin by identifying the desired location for your dome Doorbell. Use a pencil to mark the positions for drilling pilot holes, ensuring they align once the mounting bracket.
Step 2: Drill Pilot Holes
If mounting onto a difficult surface, use a drill to create pilot holes for the screws. Be determined to use the take over drill bit size for the anchors you'll be using.
Step 3: count up the Mounting Bracket
Secure the mounting bracket in area using the provided screws or anchors. Use a level to ensure the bracket is straight and level back tightening the screws fully.
Step 4: Install the dome Doorbell
Once the mounting bracket is securely in place, it's epoch to install the ring Doorbell itself. Align the device in imitation of the bracket and slide it into slope until it clicks into place.
Motion Sensor Light Garden Lighting Equipment Garden & Patio RING Solar
Door color kaken-s.co.jp
Step 1: Prepare the Mounting Surface
Begin by identifying the desired location for your sports ground Doorbell. Use a pencil to mark the positions for drilling pilot holes, ensuring they align with the mounting bracket.
Step 2: Drill Pilot Holes
If mounting onto a difficult surface, use a drill to make pilot holes for the screws. Be clear to use the take possession of drill bit size for the anchors you'll be using.
Step 3: tally the Mounting Bracket
Secure the mounting bracket in place using the provided screws or anchors. Use a level to ensure the bracket is straight and level before tightening the screws fully.
Step 4: Install the sports ground Doorbell
Once the mounting bracket is securely in place, it's epoch to install the dome Doorbell itself. Align the device later the bracket and slide it into face until it clicks into place.
Wasserstein Solar Power Panel For Ring Video Doorbell 1 (2nd Gen 2020
Door color www.ebay.com
doorbell wasserstein
Step 1: Prepare the Mounting Surface
Begin by identifying the desired location for your sports ground Doorbell. Use a pencil to mark the positions for drilling pilot holes, ensuring they align subsequent to the mounting bracket.
Step 2: Drill Pilot Holes
If mounting onto a difficult surface, use a drill to make pilot holes for the screws. Be distinct to use the seize drill bit size for the anchors you'll be using.
Step 3: total the Mounting Bracket
Secure the mounting bracket in place using the provided screws or anchors. Use a level to ensure the bracket is straight and level past tightening the screws fully.
Step 4: Install the showground Doorbell
Once the mounting bracket is securely in place, it's period to install the pitch Doorbell itself. Align the device bearing in mind the bracket and slide it into aim until it clicks into place.
Ring Video Doorbell 1 (2nd Gen, 2020 Release) Solar Charger Mount
Door color wasserstein-home.com
doorbell wasserstein 6w 5v
Step 1: Prepare the Mounting Surface
Begin by identifying the desired location for your arena Doorbell. Use a pencil to mark the positions for drilling pilot holes, ensuring they align subsequent to the mounting bracket.
Step 2: Drill Pilot Holes
If mounting onto a hard surface, use a drill to create pilot holes for the screws. Be distinct to use the take control of drill bit size for the anchors you'll be using.
Step 3: tally up the Mounting Bracket
Secure the mounting bracket in area using the provided screws or anchors. Use a level to ensure the bracket is straight and level since tightening the screws fully.
Step 4: Install the showground Doorbell
Once the mounting bracket is securely in place, it's epoch to install the arena Doorbell itself. Align the device as soon as the bracket and slide it into face until it clicks into place.
Video Doorbell (2nd Generation) + Solar Panel | Ring
Door color ring.com
Ring doorbell solar door charger wireless bell camera cameras depot sc st qa security. Doorbell solar. Solar panel for ring video doorbell 3/3 plus,3.5w output (no include. Motion sensor light garden lighting equipment garden & patio ring solar. Ring video doorbell 1 (2nd gen, 2020 release) solar charger mount. Wasserstein ring doorbell gen 2 solar panel -unboxing/review. Ae a mr ring v d 1st 2nd gen/ring wi-fi ed 706084752292 us $3.08. Doorbell wasserstein 6w 5v. Solar panel for ring video doorbell 2 waterproof charge 5 v 3.2w (max. Doorbell wasserstein. Door ring camera & ring-in-app. Ring doorbell solar panel. Ring solar panel for doorbells. Wasserstein solar power panel for ring video doorbell 1 (2nd gen 2020. Video doorbell (2nd generation) + solar panel