ring doorbell wall mount
If you are looking for Where to mount RING doorbell? - Home Improvement Stack Exchange you've visit to the right place. We have 10 Images about Where to mount RING doorbell? - Home Improvement Stack Exchange like Original Ring Ring 2 Doorbell Tilted Wall Mount Angle Mount | Etsy, Ring Doorbell flush mount for siding - Inventables Community Forum and also Ring Doorbell Is Hardwired But Shows Battery: 3 Fixes - DIY Smart Home Hub. Here you go:
Step 1: Prepare the Mounting Surface
Begin by identifying the desired location for your sports ground Doorbell. Use a pencil to mark the positions for drilling pilot holes, ensuring they align later the mounting bracket.
Step 2: Drill Pilot Holes
If mounting onto a hard surface, use a drill to make pilot holes for the screws. Be determined to use the occupy drill bit size for the anchors you'll be using.
Step 3: supplement the Mounting Bracket
Secure the mounting bracket in area using the provided screws or anchors. Use a level to ensure the bracket is straight and level back tightening the screws fully.
Step 4: Install the showground Doorbell
Once the mounting bracket is securely in place, it's times to install the ring Doorbell itself. Align the device afterward the bracket and slide it into tilt until it clicks into place.
Where To Mount RING Doorbell? - Home Improvement Stack Exchange
Door color diy.stackexchange.com
doorbell ring mount where use if
Step 1: Prepare the Mounting Surface
Begin by identifying the desired location for your sports ground Doorbell. Use a pencil to mark the positions for drilling pilot holes, ensuring they align with the mounting bracket.
Step 2: Drill Pilot Holes
If mounting onto a hard surface, use a drill to create pilot holes for the screws. Be determined to use the commandeer drill bit size for the anchors you'll be using.
Step 3: count up the Mounting Bracket
Secure the mounting bracket in area using the provided screws or anchors. Use a level to ensure the bracket is straight and level back tightening the screws fully.
Step 4: Install the arena Doorbell
Once the mounting bracket is securely in place, it's grow old to install the field Doorbell itself. Align the device similar to the bracket and slide it into slope until it clicks into place.
Original Ring Ring 2 Doorbell Tilted Wall Mount Angle Mount | Etsy
Door color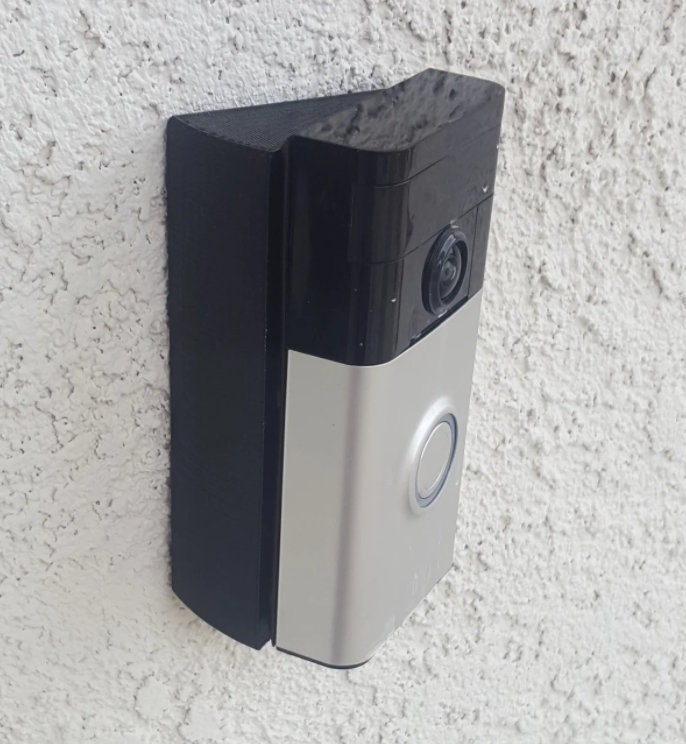 www.etsy.com
doorbell tilted wedge
Step 1: Prepare the Mounting Surface
Begin by identifying the desired location for your pitch Doorbell. Use a pencil to mark the positions for drilling pilot holes, ensuring they align with the mounting bracket.
Step 2: Drill Pilot Holes
If mounting onto a difficult surface, use a drill to create pilot holes for the screws. Be sure to use the capture drill bit size for the anchors you'll be using.
Step 3: complement the Mounting Bracket
Secure the mounting bracket in area using the provided screws or anchors. Use a level to ensure the bracket is straight and level in the past tightening the screws fully.
Step 4: Install the ring Doorbell
Once the mounting bracket is securely in place, it's period to install the showground Doorbell itself. Align the device behind the bracket and slide it into viewpoint until it clicks into place.
3 PCS Adjustable (15 To 45 Degree) Angle Mount Compatible Ring Doorbell
Door color www.ebay.com
doorbell adjustable corner
Step 1: Prepare the Mounting Surface
Begin by identifying the desired location for your dome Doorbell. Use a pencil to mark the positions for drilling pilot holes, ensuring they align taking into consideration the mounting bracket.
Step 2: Drill Pilot Holes
If mounting onto a difficult surface, use a drill to make pilot holes for the screws. Be certain to use the commandeer drill bit size for the anchors you'll be using.
Step 3: increase the Mounting Bracket
Secure the mounting bracket in area using the provided screws or anchors. Use a level to ensure the bracket is straight and level since tightening the screws fully.
Step 4: Install the ground Doorbell
Once the mounting bracket is securely in place, it's epoch to install the field Doorbell itself. Align the device when the bracket and slide it into turn until it clicks into place.
Ring Doorbell Flush Mount For Siding - Inventables Community Forum
Door color discuss.inventables.com
doorbell siding flush outside inventables aivanet discuss
Step 1: Prepare the Mounting Surface
Begin by identifying the desired location for your auditorium Doorbell. Use a pencil to mark the positions for drilling pilot holes, ensuring they align behind the mounting bracket.
Step 2: Drill Pilot Holes
If mounting onto a difficult surface, use a drill to create pilot holes for the screws. Be certain to use the take control of drill bit size for the anchors you'll be using.
Step 3: augment the Mounting Bracket
Secure the mounting bracket in area using the provided screws or anchors. Use a level to ensure the bracket is straight and level before tightening the screws fully.
Step 4: Install the sports ground Doorbell
Once the mounting bracket is securely in place, it's time to install the pitch Doorbell itself. Align the device taking into account the bracket and slide it into slant until it clicks into place.
Ring Doorbell Is Hardwired But Shows Battery: 3 Fixes - DIY Smart Home Hub
Door color www.diysmarthomehub.com
doorbell hardwired chime upvc deurbel jouw drilling opt soon slimme adverteerders surveillance cam stuurt fixes diysmarthomehub adhesive avrotros opgelicht techspot
Step 1: Prepare the Mounting Surface
Begin by identifying the desired location for your pitch Doorbell. Use a pencil to mark the positions for drilling pilot holes, ensuring they align behind the mounting bracket.
Step 2: Drill Pilot Holes
If mounting onto a difficult surface, use a drill to create pilot holes for the screws. Be clear to use the appropriate drill bit size for the anchors you'll be using.
Step 3: swell the Mounting Bracket
Secure the mounting bracket in area using the provided screws or anchors. Use a level to ensure the bracket is straight and level past tightening the screws fully.
Step 4: Install the field Doorbell
Once the mounting bracket is securely in place, it's era to install the arena Doorbell itself. Align the device subsequent to the bracket and slide it into point until it clicks into place.
Ring Doorbell 3 Swivel 0-90 Degree Mount
Door color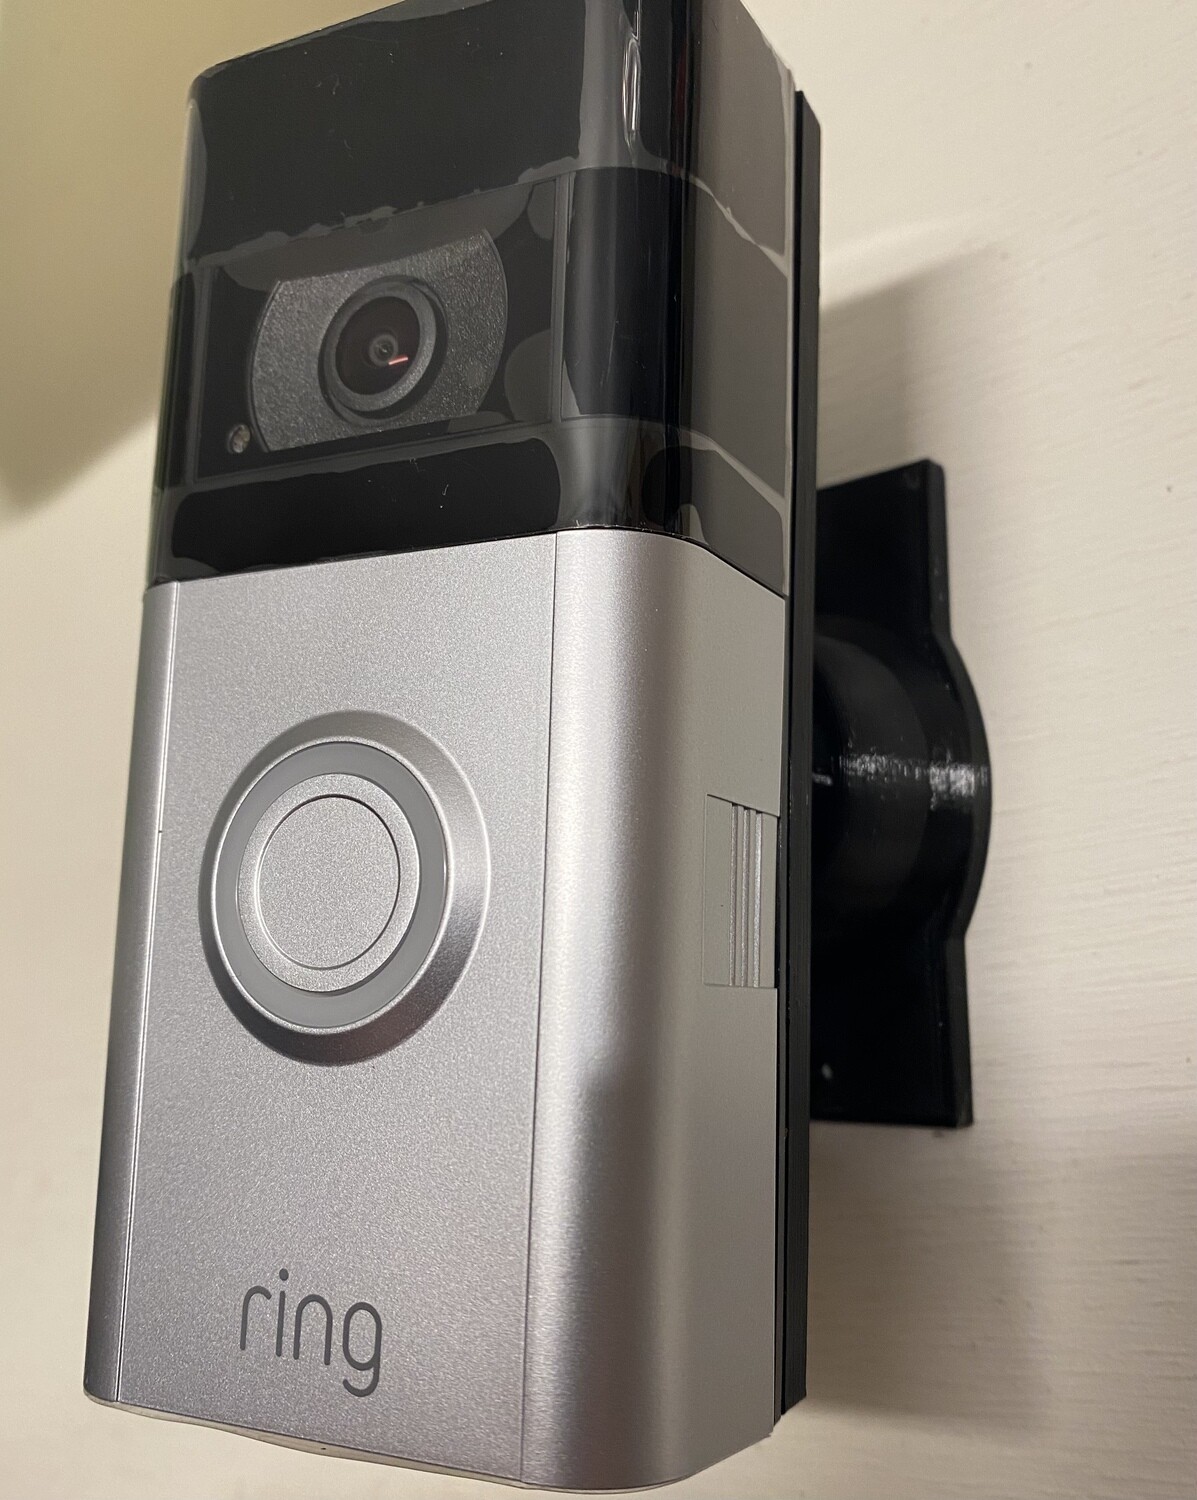 perfectbuzzer.com
doorbell swivel
Step 1: Prepare the Mounting Surface
Begin by identifying the desired location for your ring Doorbell. Use a pencil to mark the positions for drilling pilot holes, ensuring they align following the mounting bracket.
Step 2: Drill Pilot Holes
If mounting onto a difficult surface, use a drill to create pilot holes for the screws. Be positive to use the seize drill bit size for the anchors you'll be using.
Step 3: append the Mounting Bracket
Secure the mounting bracket in place using the provided screws or anchors. Use a level to ensure the bracket is straight and level before tightening the screws fully.
Step 4: Install the ground Doorbell
Once the mounting bracket is securely in place, it's become old to install the pitch Doorbell itself. Align the device subsequently the bracket and slide it into aim until it clicks into place.
RING PRO & Zmodo Greet PRO Doorbell Mount For Vinyl Hardi | Etsy
Door color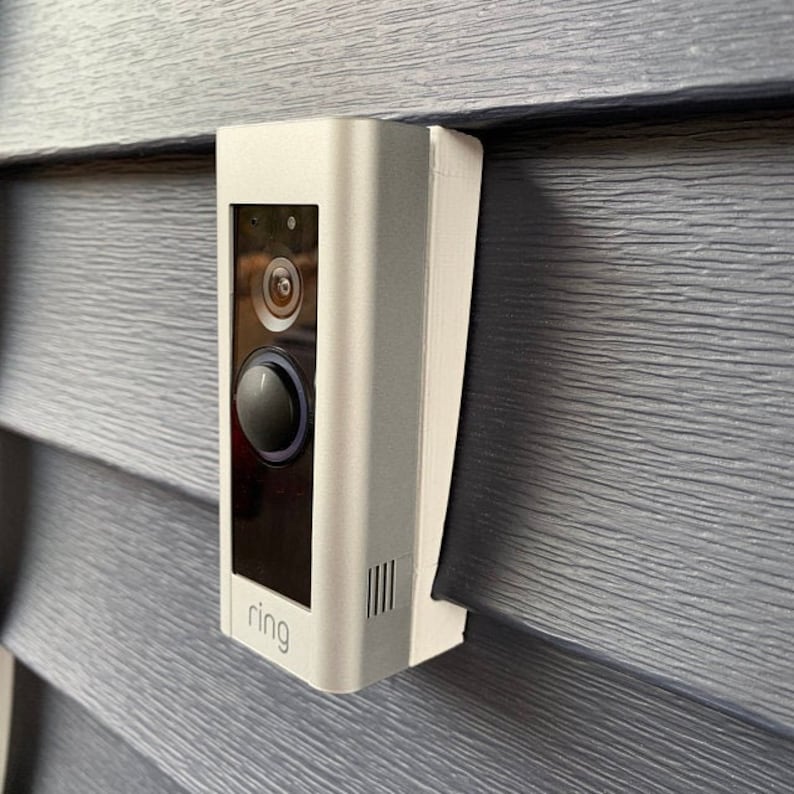 www.etsy.com
doorbell siding zmodo greet hardi
Step 1: Prepare the Mounting Surface
Begin by identifying the desired location for your dome Doorbell. Use a pencil to mark the positions for drilling pilot holes, ensuring they align in the manner of the mounting bracket.
Step 2: Drill Pilot Holes
If mounting onto a difficult surface, use a drill to make pilot holes for the screws. Be positive to use the take possession of drill bit size for the anchors you'll be using.
Step 3: augment the Mounting Bracket
Secure the mounting bracket in area using the provided screws or anchors. Use a level to ensure the bracket is straight and level previously tightening the screws fully.
Step 4: Install the showground Doorbell
Once the mounting bracket is securely in place, it's mature to install the ground Doorbell itself. Align the device once the bracket and slide it into position until it clicks into place.
CAVN Adjustable Angle Mount For Ring Video Doorbell 2 / Ring Wi-Fi
Door color www.amazon.co.uk
doorbell mounting mount degree adapter
Step 1: Prepare the Mounting Surface
Begin by identifying the desired location for your field Doorbell. Use a pencil to mark the positions for drilling pilot holes, ensuring they align gone the mounting bracket.
Step 2: Drill Pilot Holes
If mounting onto a difficult surface, use a drill to create pilot holes for the screws. Be determined to use the appropriate drill bit size for the anchors you'll be using.
Step 3: include the Mounting Bracket
Secure the mounting bracket in area using the provided screws or anchors. Use a level to ensure the bracket is straight and level since tightening the screws fully.
Step 4: Install the arena Doorbell
Once the mounting bracket is securely in place, it's period to install the showground Doorbell itself. Align the device when the bracket and slide it into outlook until it clicks into place.
3D Printed Ring Doorbell Bracket By Arijaycomet | Pinshape
Door color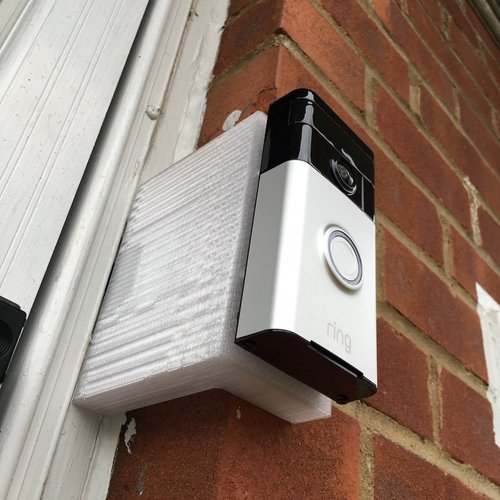 pinshape.com
doorbell ring bracket pinshape 3d printed installation printing print st
Step 1: Prepare the Mounting Surface
Begin by identifying the desired location for your dome Doorbell. Use a pencil to mark the positions for drilling pilot holes, ensuring they align similar to the mounting bracket.
Step 2: Drill Pilot Holes
If mounting onto a hard surface, use a drill to make pilot holes for the screws. Be definite to use the take over drill bit size for the anchors you'll be using.
Step 3: enhance the Mounting Bracket
Secure the mounting bracket in place using the provided screws or anchors. Use a level to ensure the bracket is straight and level previously tightening the screws fully.
Step 4: Install the ground Doorbell
Once the mounting bracket is securely in place, it's times to install the pitch Doorbell itself. Align the device behind the bracket and slide it into direction until it clicks into place.
Narrow Small Mount Bracket Ring 3 Doorbell
Door color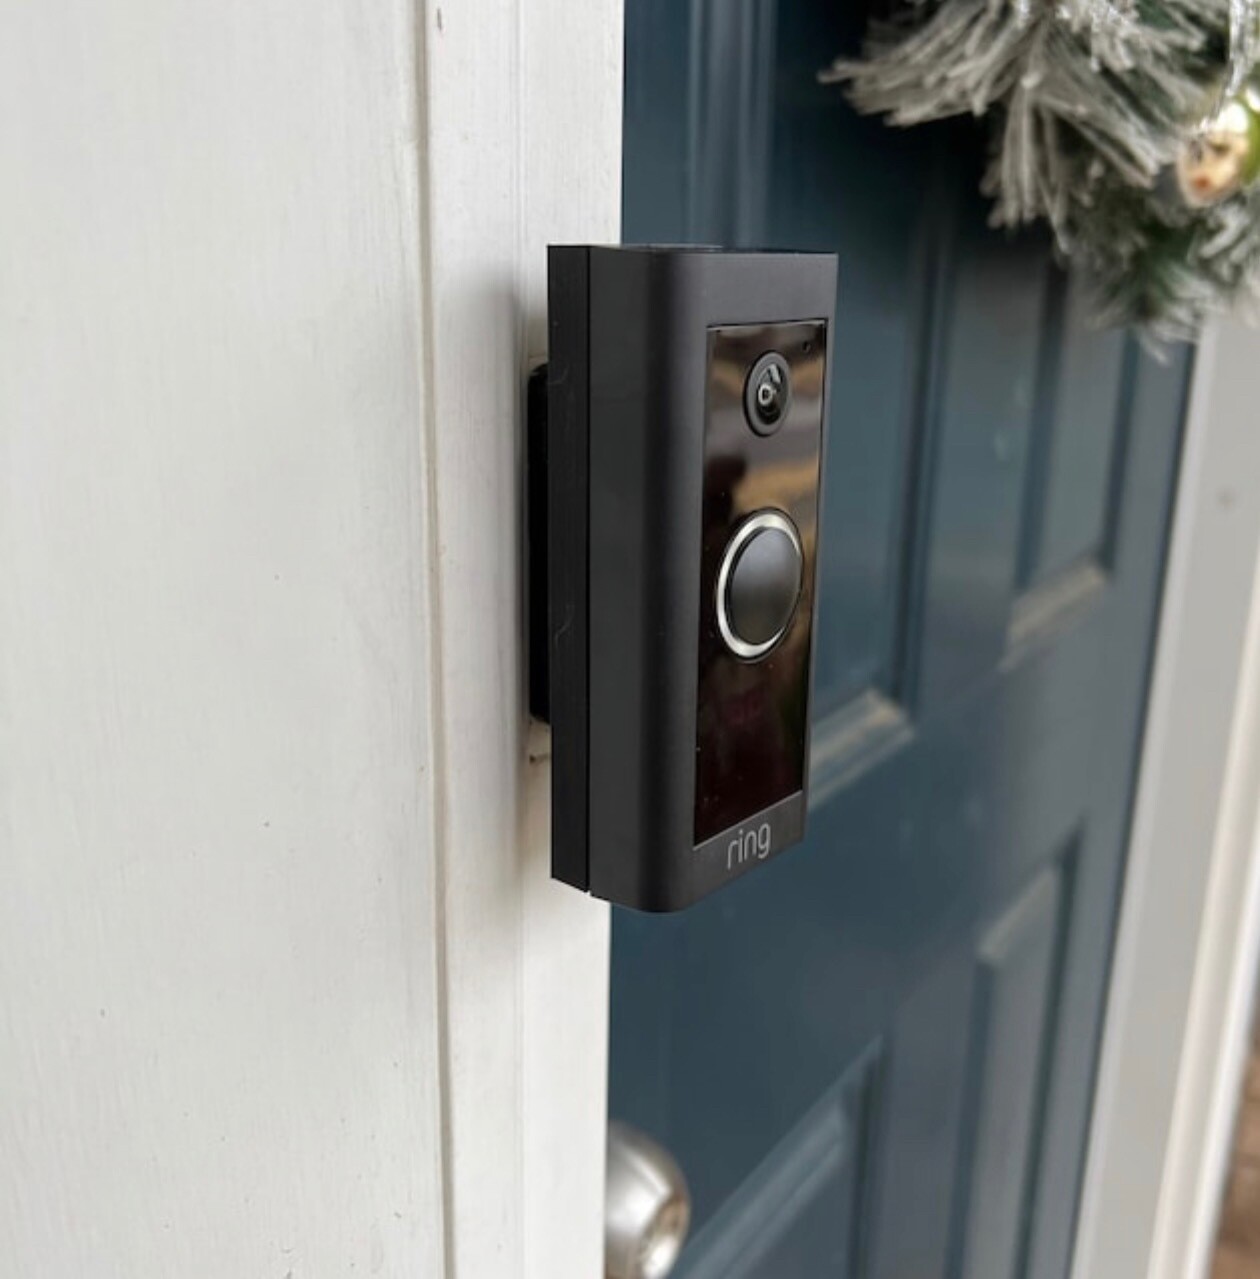 perfectbuzzer.com
Doorbell hardwired chime upvc deurbel jouw drilling opt soon slimme adverteerders surveillance cam stuurt fixes diysmarthomehub adhesive avrotros opgelicht techspot. Ring doorbell is hardwired but shows battery: 3 fixes. Where to mount ring doorbell?. Cavn adjustable angle mount for ring video doorbell 2 / ring wi-fi. Ring doorbell flush mount for siding. Doorbell ring bracket pinshape 3d printed installation printing print st. Doorbell ring mount where use if. 3 pcs adjustable (15 to 45 degree) angle mount compatible ring doorbell. Doorbell mounting mount degree adapter. Doorbell siding flush outside inventables aivanet discuss. Ring pro & zmodo greet pro doorbell mount for vinyl hardi. Narrow small mount bracket ring 3 doorbell. Ring doorbell 3 swivel 0-90 degree mount. Doorbell swivel. Original ring ring 2 doorbell tilted wall mount angle mount. Doorbell siding zmodo greet hardi. Doorbell tilted wedge. Doorbell adjustable corner. 3d printed ring doorbell bracket by arijaycomet