ring doorbell voltage requirement
If you are looking for Buy Doorbell Transformer with 8M Long Cable, 24V-500MA Ring Doorbell AC you've visit to the right web. We have 10 Pics about Buy Doorbell Transformer with 8M Long Cable, 24V-500MA Ring Doorbell AC like Ring Doorbell 2 Wiring Diagram - Glen's Home Automation: Installing the, How Much Voltage Does A Ring Doorbell Need? (Know It Now and also How To Hardwire Ring Doorbell Without Existing Doorbell? - Robot. Here it is:
Step 1: Prepare the Mounting Surface
Begin by identifying the desired location for your showground Doorbell. Use a pencil to mark the positions for drilling pilot holes, ensuring they align later than the mounting bracket.
Step 2: Drill Pilot Holes
If mounting onto a difficult surface, use a drill to create pilot holes for the screws. Be clear to use the appropriate drill bit size for the anchors you'll be using.
Step 3: count up the Mounting Bracket
Secure the mounting bracket in area using the provided screws or anchors. Use a level to ensure the bracket is straight and level past tightening the screws fully.
Step 4: Install the dome Doorbell
Once the mounting bracket is securely in place, it's period to install the field Doorbell itself. Align the device gone the bracket and slide it into turn until it clicks into place.
Buy Doorbell Transformer With 8M Long Cable, 24V-500MA Ring Doorbell AC
Door color www.desertcart.jp
Step 1: Prepare the Mounting Surface
Begin by identifying the desired location for your pitch Doorbell. Use a pencil to mark the positions for drilling pilot holes, ensuring they align later than the mounting bracket.
Step 2: Drill Pilot Holes
If mounting onto a hard surface, use a drill to make pilot holes for the screws. Be positive to use the take control of drill bit size for the anchors you'll be using.
Step 3: complement the Mounting Bracket
Secure the mounting bracket in area using the provided screws or anchors. Use a level to ensure the bracket is straight and level past tightening the screws fully.
Step 4: Install the showground Doorbell
Once the mounting bracket is securely in place, it's grow old to install the dome Doorbell itself. Align the device taking into consideration the bracket and slide it into perspective until it clicks into place.
Ring Doorbell: Power And Voltage Requirements [Explained] - Robot
Door color![Ring Doorbell: Power and Voltage Requirements [Explained] - Robot](https://robotpoweredhome.com/wp-content/uploads/2021/08/Why-Should-You-Know-The-Power-Voltage-Requirements-1024x576.png) robotpoweredhome.com
robotpoweredhome.com
Step 1: Prepare the Mounting Surface
Begin by identifying the desired location for your field Doorbell. Use a pencil to mark the positions for drilling pilot holes, ensuring they align once the mounting bracket.
Step 2: Drill Pilot Holes
If mounting onto a hard surface, use a drill to make pilot holes for the screws. Be certain to use the take over drill bit size for the anchors you'll be using.
Step 3: count the Mounting Bracket
Secure the mounting bracket in area using the provided screws or anchors. Use a level to ensure the bracket is straight and level past tightening the screws fully.
Step 4: Install the field Doorbell
Once the mounting bracket is securely in place, it's get older to install the field Doorbell itself. Align the device taking into account the bracket and slide it into aim until it clicks into place.
How To Hardwire Ring Doorbell Without Existing Doorbell? - Robot
Door color robotpoweredhome.com
doorbell ring existing hardwire voltage
Step 1: Prepare the Mounting Surface
Begin by identifying the desired location for your auditorium Doorbell. Use a pencil to mark the positions for drilling pilot holes, ensuring they align behind the mounting bracket.
Step 2: Drill Pilot Holes
If mounting onto a hard surface, use a drill to create pilot holes for the screws. Be certain to use the appropriate drill bit size for the anchors you'll be using.
Step 3: tally up the Mounting Bracket
Secure the mounting bracket in area using the provided screws or anchors. Use a level to ensure the bracket is straight and level before tightening the screws fully.
Step 4: Install the arena Doorbell
Once the mounting bracket is securely in place, it's time to install the dome Doorbell itself. Align the device following the bracket and slide it into perspective until it clicks into place.
Ring Doorbell 2 Wiring Diagram - Glen's Home Automation: Installing The
Door color nearlynathans.blogspot.com
doorbell ring wiring diagram wires identify wire pro installing installation which stackable automation glen wedges comes
Step 1: Prepare the Mounting Surface
Begin by identifying the desired location for your dome Doorbell. Use a pencil to mark the positions for drilling pilot holes, ensuring they align in the same way as the mounting bracket.
Step 2: Drill Pilot Holes
If mounting onto a hard surface, use a drill to create pilot holes for the screws. Be determined to use the take possession of drill bit size for the anchors you'll be using.
Step 3: swell the Mounting Bracket
Secure the mounting bracket in place using the provided screws or anchors. Use a level to ensure the bracket is straight and level since tightening the screws fully.
Step 4: Install the pitch Doorbell
Once the mounting bracket is securely in place, it's mature to install the ground Doorbell itself. Align the device like the bracket and slide it into slant until it clicks into place.
Ring Doorbell: Power And Voltage Requirements [Explained] - Robot
Door color![Ring Doorbell: Power and Voltage Requirements [Explained] - Robot](https://robotpoweredhome.com/wp-content/uploads/2021/08/Video-Doorbell-1-2-3-and-4-1024x576.png) robotpoweredhome.com
robotpoweredhome.com
Step 1: Prepare the Mounting Surface
Begin by identifying the desired location for your ground Doorbell. Use a pencil to mark the positions for drilling pilot holes, ensuring they align later than the mounting bracket.
Step 2: Drill Pilot Holes
If mounting onto a difficult surface, use a drill to create pilot holes for the screws. Be positive to use the appropriate drill bit size for the anchors you'll be using.
Step 3: enhance the Mounting Bracket
Secure the mounting bracket in area using the provided screws or anchors. Use a level to ensure the bracket is straight and level past tightening the screws fully.
Step 4: Install the pitch Doorbell
Once the mounting bracket is securely in place, it's grow old to install the dome Doorbell itself. Align the device subsequently the bracket and slide it into point until it clicks into place.
Ring Doorbell Voltage Cheap Buy, Save 40% | Jlcatj.gob.mx
Door color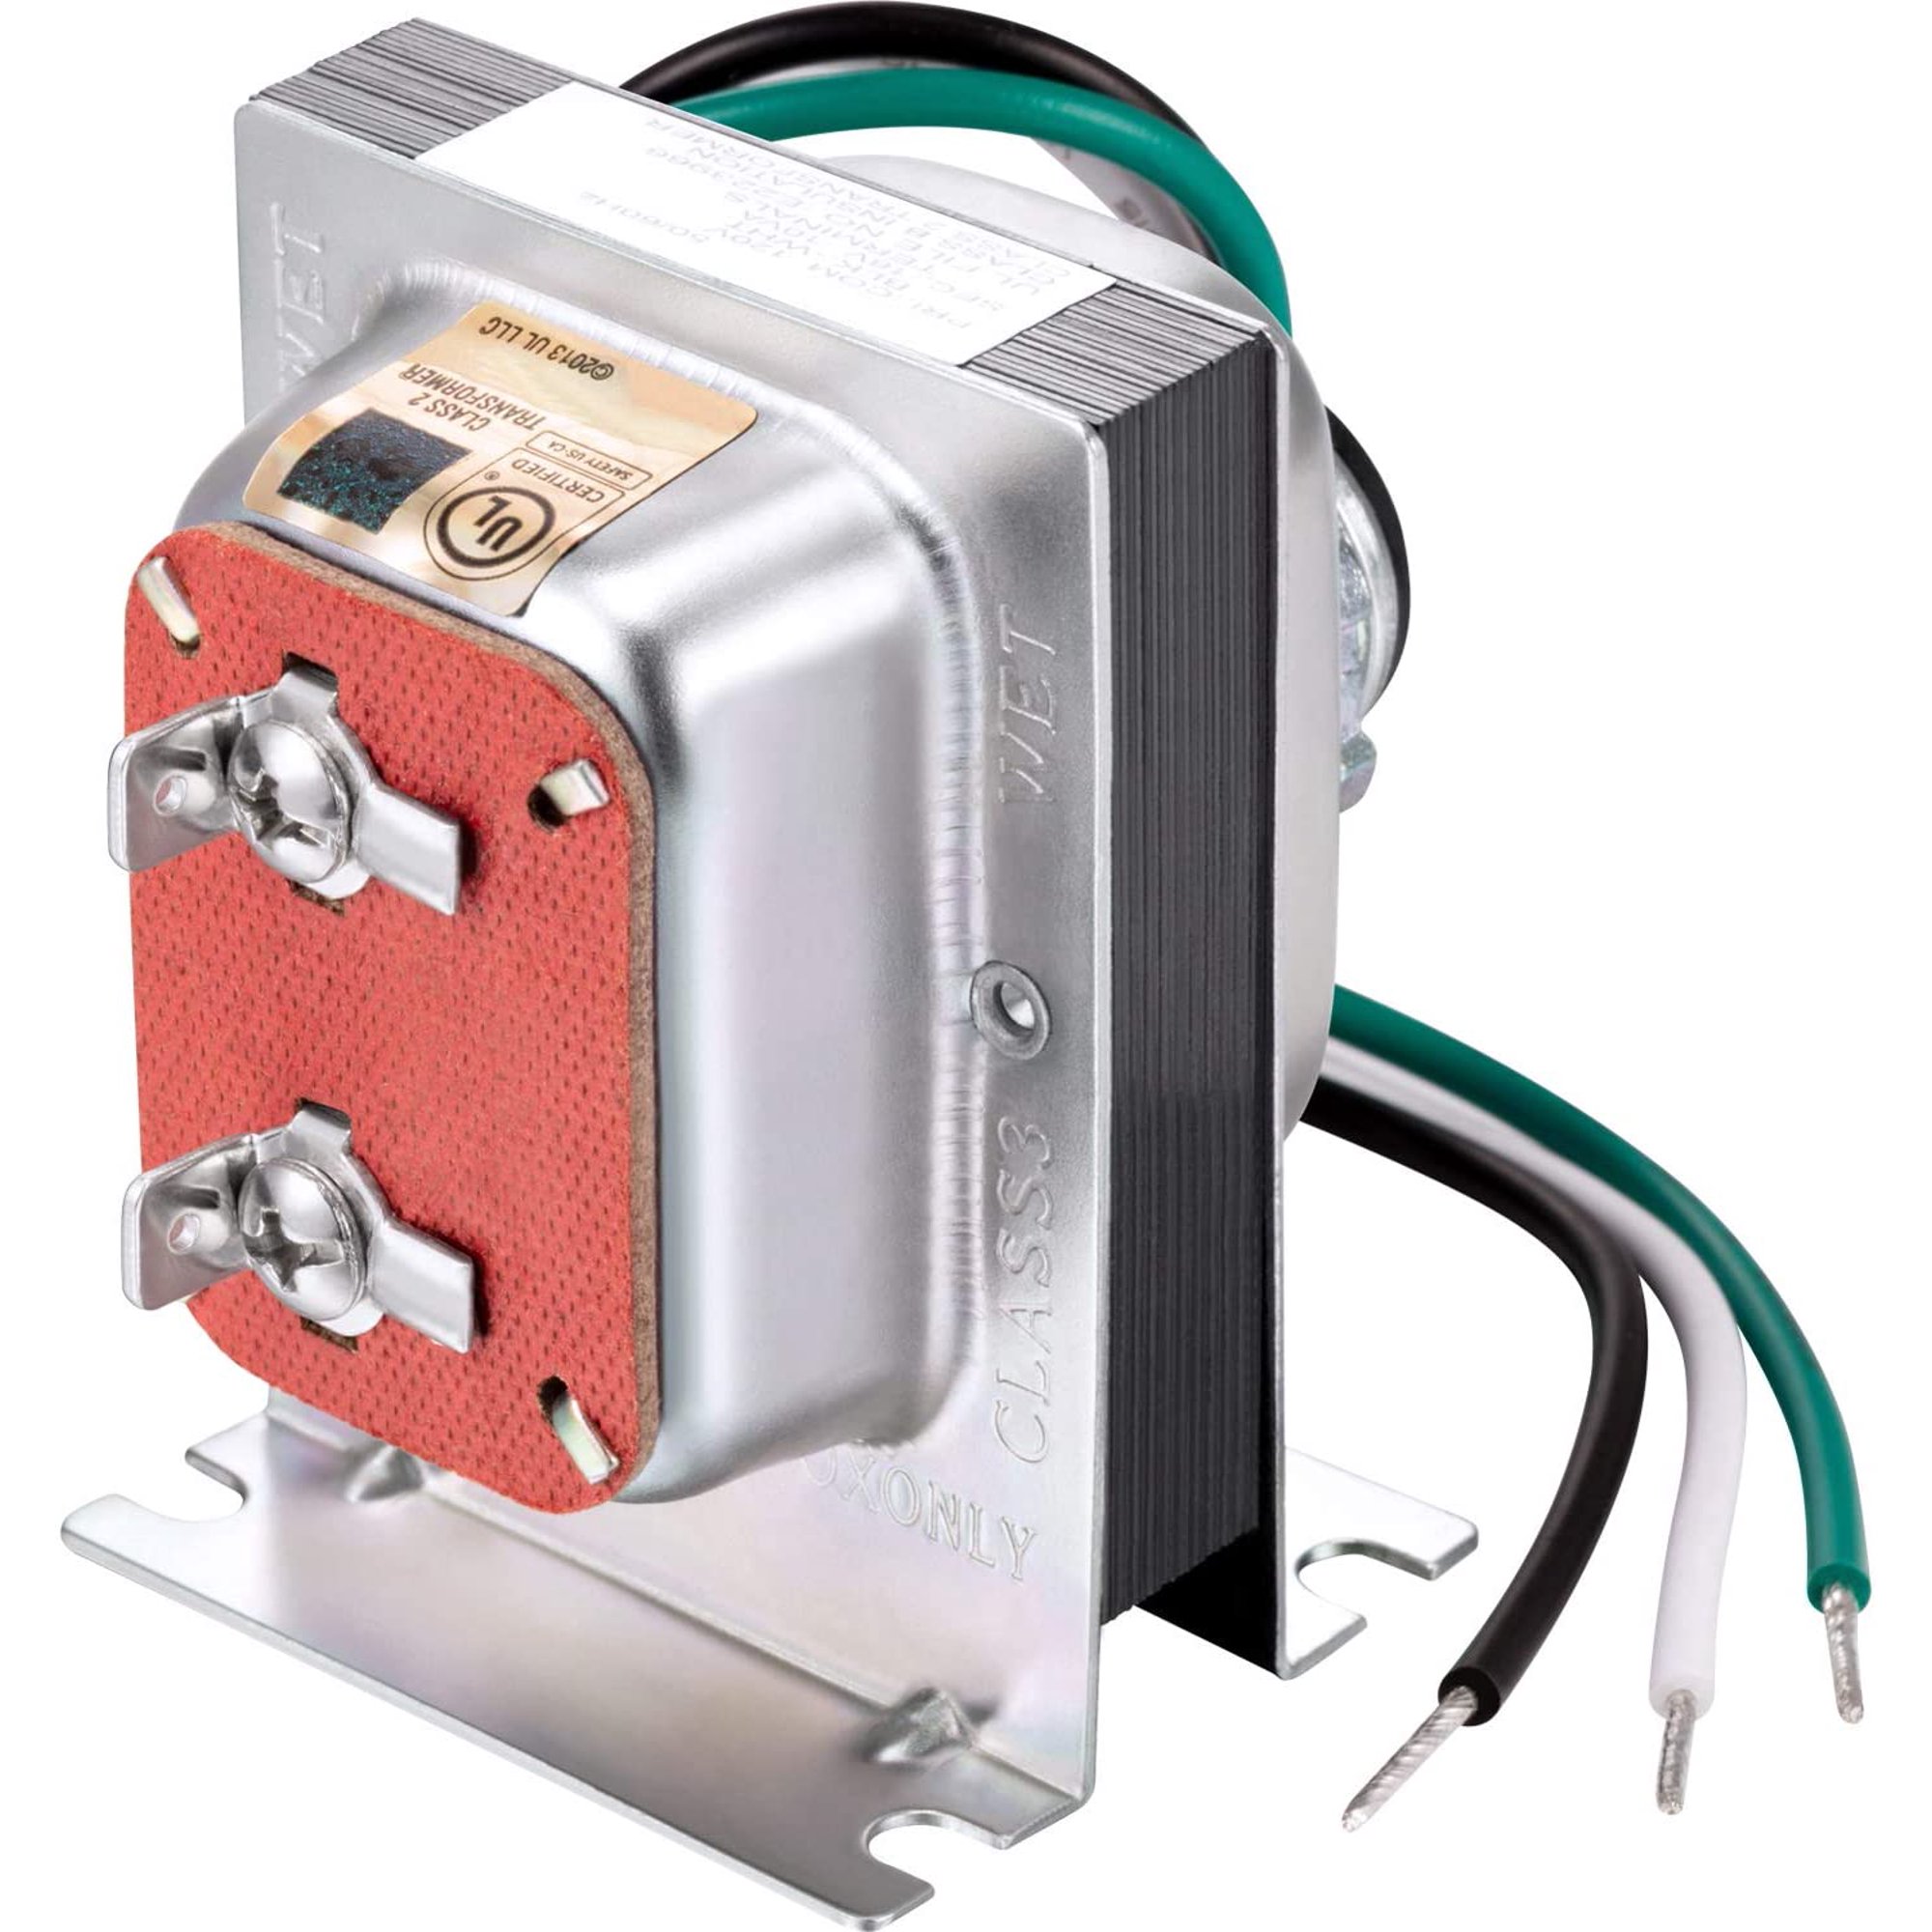 www.jlcatj.gob.mx
Step 1: Prepare the Mounting Surface
Begin by identifying the desired location for your dome Doorbell. Use a pencil to mark the positions for drilling pilot holes, ensuring they align past the mounting bracket.
Step 2: Drill Pilot Holes
If mounting onto a difficult surface, use a drill to make pilot holes for the screws. Be clear to use the take over drill bit size for the anchors you'll be using.
Step 3: tally up the Mounting Bracket
Secure the mounting bracket in area using the provided screws or anchors. Use a level to ensure the bracket is straight and level since tightening the screws fully.
Step 4: Install the ground Doorbell
Once the mounting bracket is securely in place, it's mature to install the ground Doorbell itself. Align the device next the bracket and slide it into aim until it clicks into place.
How To Select The Right Transformer For Ring Video Doorbell Pro | Mashtips
Door color mashtips.com
doorbell mashtips voltage transformer
Step 1: Prepare the Mounting Surface
Begin by identifying the desired location for your arena Doorbell. Use a pencil to mark the positions for drilling pilot holes, ensuring they align in the same way as the mounting bracket.
Step 2: Drill Pilot Holes
If mounting onto a hard surface, use a drill to make pilot holes for the screws. Be clear to use the take control of drill bit size for the anchors you'll be using.
Step 3: count up the Mounting Bracket
Secure the mounting bracket in place using the provided screws or anchors. Use a level to ensure the bracket is straight and level back tightening the screws fully.
Step 4: Install the sports ground Doorbell
Once the mounting bracket is securely in place, it's become old to install the pitch Doorbell itself. Align the device considering the bracket and slide it into slant until it clicks into place.
Ring Doorbell Voltage | Sites.unimi.it
Door color sites.unimi.it
Step 1: Prepare the Mounting Surface
Begin by identifying the desired location for your field Doorbell. Use a pencil to mark the positions for drilling pilot holes, ensuring they align later the mounting bracket.
Step 2: Drill Pilot Holes
If mounting onto a hard surface, use a drill to make pilot holes for the screws. Be definite to use the occupy drill bit size for the anchors you'll be using.
Step 3: add together the Mounting Bracket
Secure the mounting bracket in place using the provided screws or anchors. Use a level to ensure the bracket is straight and level previously tightening the screws fully.
Step 4: Install the auditorium Doorbell
Once the mounting bracket is securely in place, it's mature to install the pitch Doorbell itself. Align the device in the same way as the bracket and slide it into twist until it clicks into place.
Decode Ring Doorbell Lights: Tested Fixes For Blue, White, Red
Door color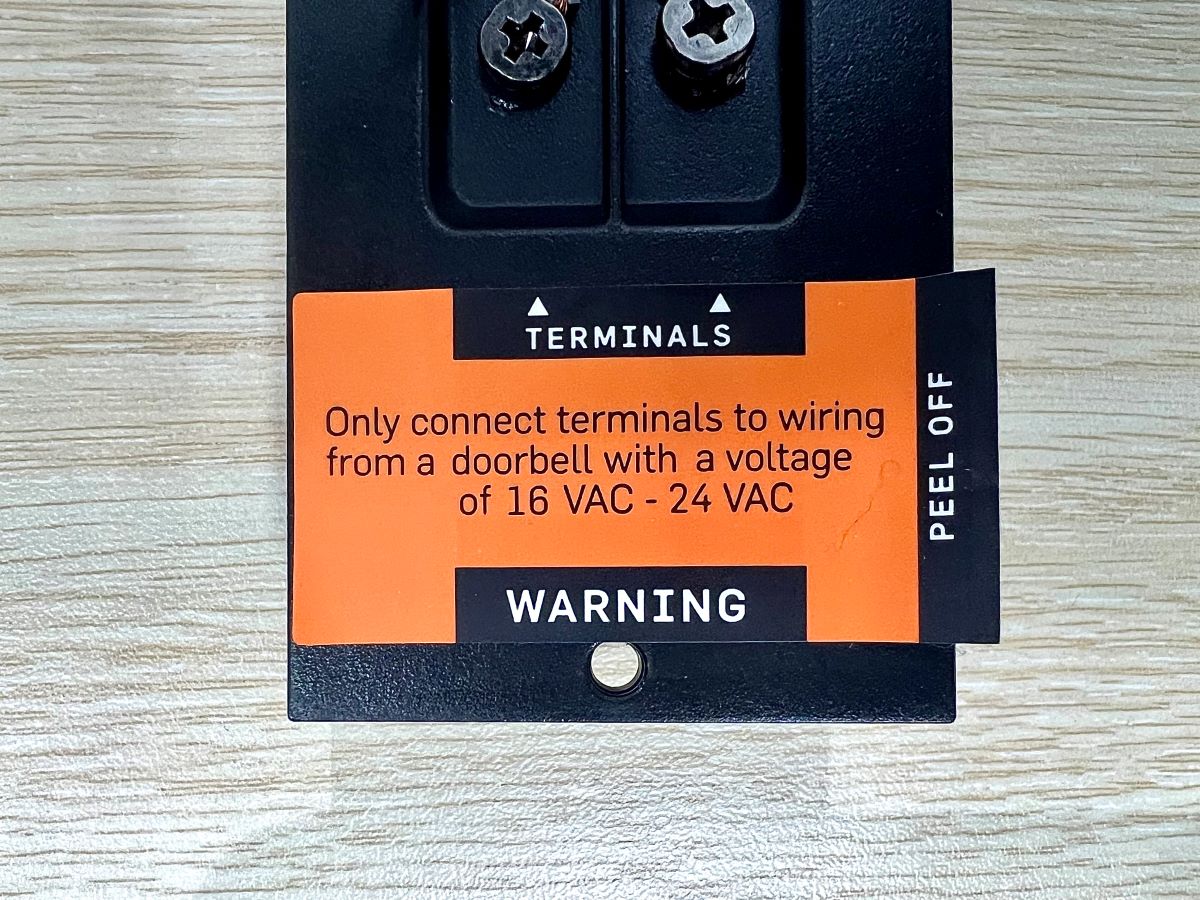 pointerclicker.com
Step 1: Prepare the Mounting Surface
Begin by identifying the desired location for your arena Doorbell. Use a pencil to mark the positions for drilling pilot holes, ensuring they align once the mounting bracket.
Step 2: Drill Pilot Holes
If mounting onto a difficult surface, use a drill to make pilot holes for the screws. Be clear to use the take possession of drill bit size for the anchors you'll be using.
Step 3: enlarge the Mounting Bracket
Secure the mounting bracket in area using the provided screws or anchors. Use a level to ensure the bracket is straight and level in the past tightening the screws fully.
Step 4: Install the sports ground Doorbell
Once the mounting bracket is securely in place, it's time to install the sports ground Doorbell itself. Align the device taking into consideration the bracket and slide it into twist until it clicks into place.
How Much Voltage Does A Ring Doorbell Need? (Know It Now
Door color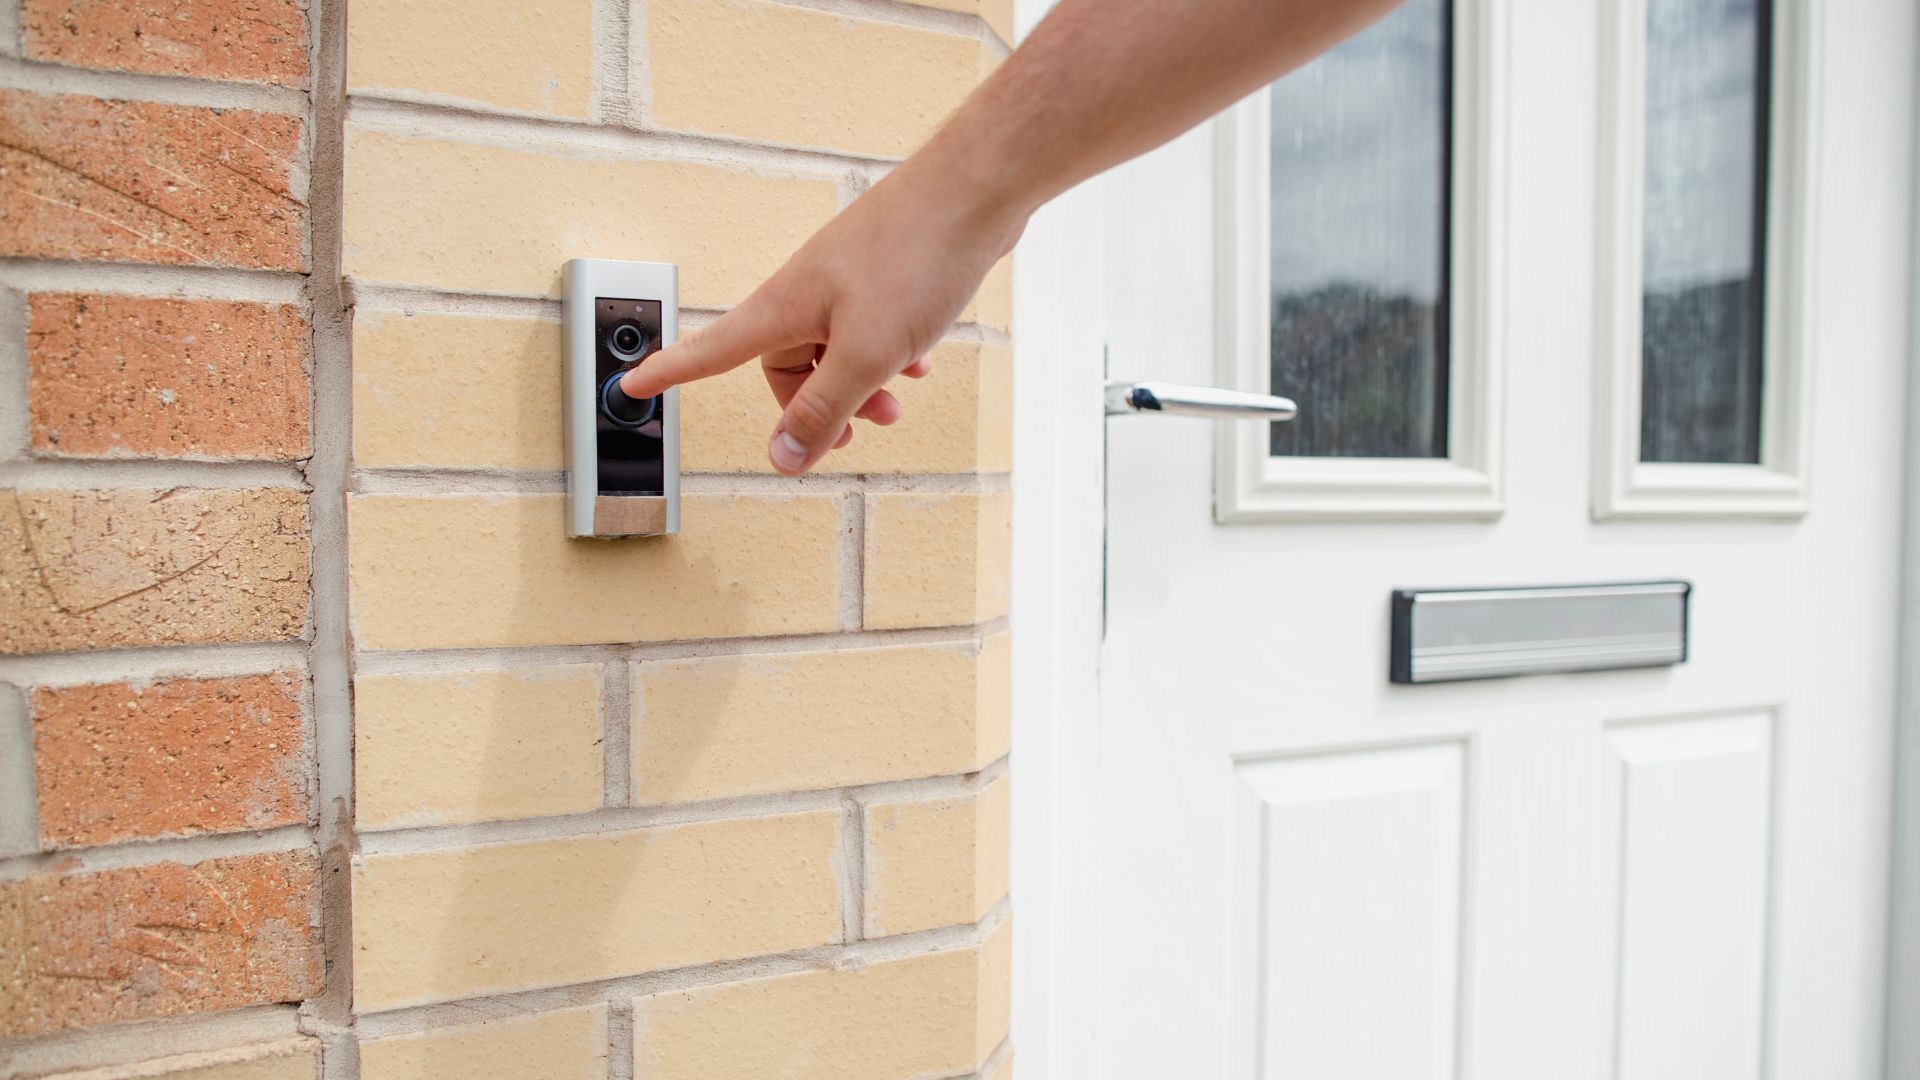 portablepowerguides.com
Doorbell mashtips voltage transformer. How to select the right transformer for ring video doorbell pro. Ring doorbell voltage cheap buy, save 40%. Ring doorbell voltage. Decode ring doorbell lights: tested fixes for blue, white, red. Doorbell ring wiring diagram wires identify wire pro installing installation which stackable automation glen wedges comes. How to hardwire ring doorbell without existing doorbell?. Doorbell ring existing hardwire voltage. How much voltage does a ring doorbell need? (know it now. Ring doorbell: power and voltage requirements [explained]. Ring doorbell: power and voltage requirements [explained]. Ring doorbell 2 wiring diagram. Buy doorbell transformer with 8m long cable, 24v-500ma ring doorbell ac