ring doorbell video recording
If you are looking for Ring Doorbell Recording (How-To Guide) you've visit to the right page. We have 10 Images about Ring Doorbell Recording (How-To Guide) like Is A Ring Doorbell Always Recording? - Home Rook, Do You Need To Put Up The Ring Recording Warning Sticker? and also Can Ring Doorbell Record Longer Than 30 Seconds - Know Reading Time. Read more:
Step 1: Prepare the Mounting Surface
Begin by identifying the desired location for your field Doorbell. Use a pencil to mark the positions for drilling pilot holes, ensuring they align considering the mounting bracket.
Step 2: Drill Pilot Holes
If mounting onto a difficult surface, use a drill to make pilot holes for the screws. Be positive to use the occupy drill bit size for the anchors you'll be using.
Step 3: augment the Mounting Bracket
Secure the mounting bracket in area using the provided screws or anchors. Use a level to ensure the bracket is straight and level back tightening the screws fully.
Step 4: Install the arena Doorbell
Once the mounting bracket is securely in place, it's times to install the dome Doorbell itself. Align the device taking into consideration the bracket and slide it into point until it clicks into place.
Ring Doorbell Recording (How-To Guide)
Door color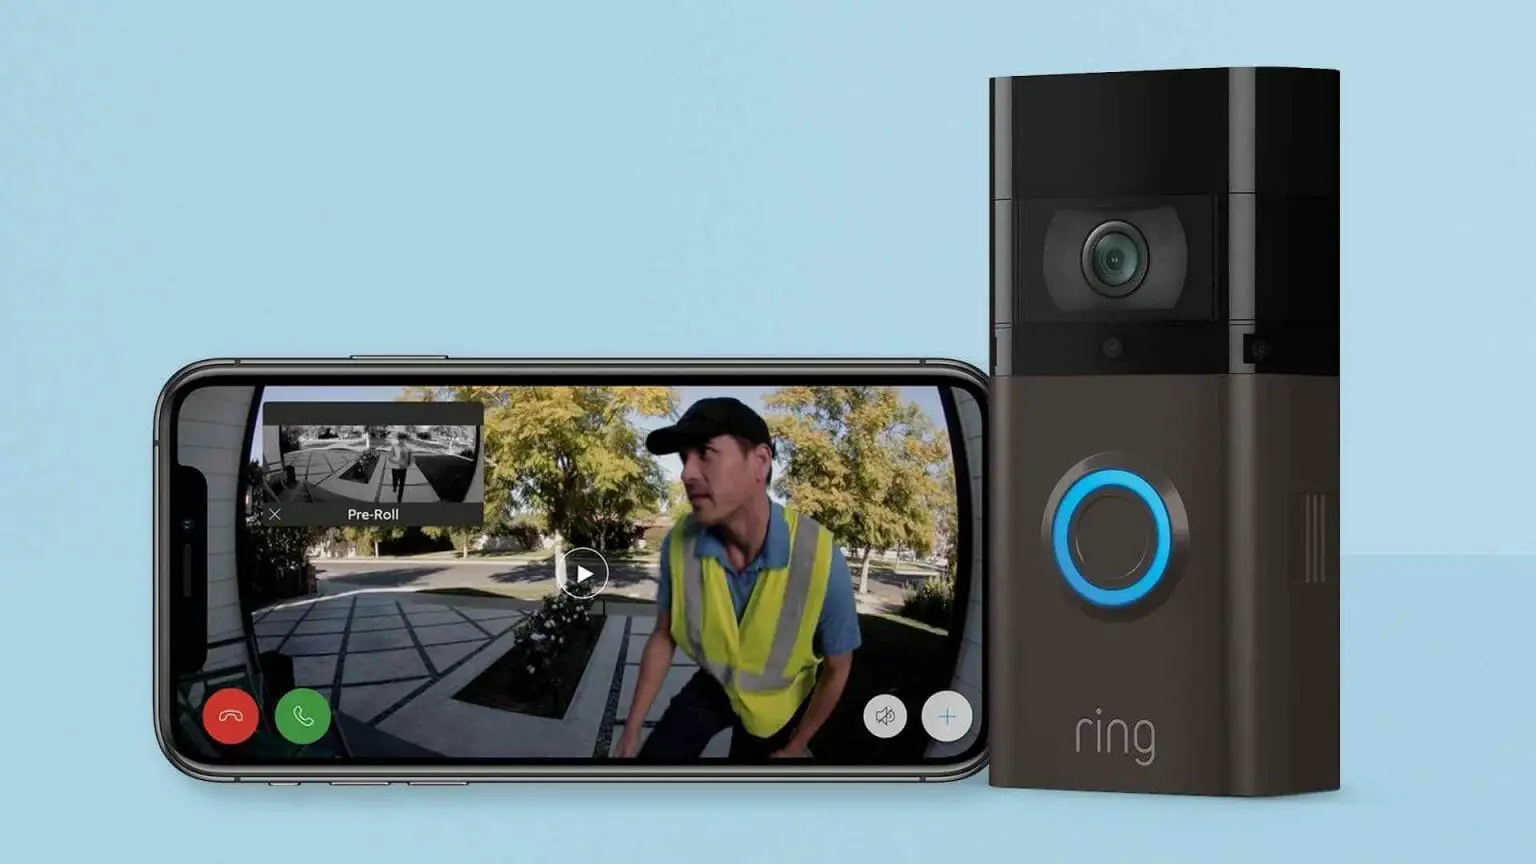 safenow.org
Step 1: Prepare the Mounting Surface
Begin by identifying the desired location for your arena Doorbell. Use a pencil to mark the positions for drilling pilot holes, ensuring they align later than the mounting bracket.
Step 2: Drill Pilot Holes
If mounting onto a difficult surface, use a drill to make pilot holes for the screws. Be certain to use the take possession of drill bit size for the anchors you'll be using.
Step 3: enhance the Mounting Bracket
Secure the mounting bracket in place using the provided screws or anchors. Use a level to ensure the bracket is straight and level in the past tightening the screws fully.
Step 4: Install the auditorium Doorbell
Once the mounting bracket is securely in place, it's become old to install the arena Doorbell itself. Align the device as soon as the bracket and slide it into aim until it clicks into place.
Ring Video Doorbell 2 Review
Door color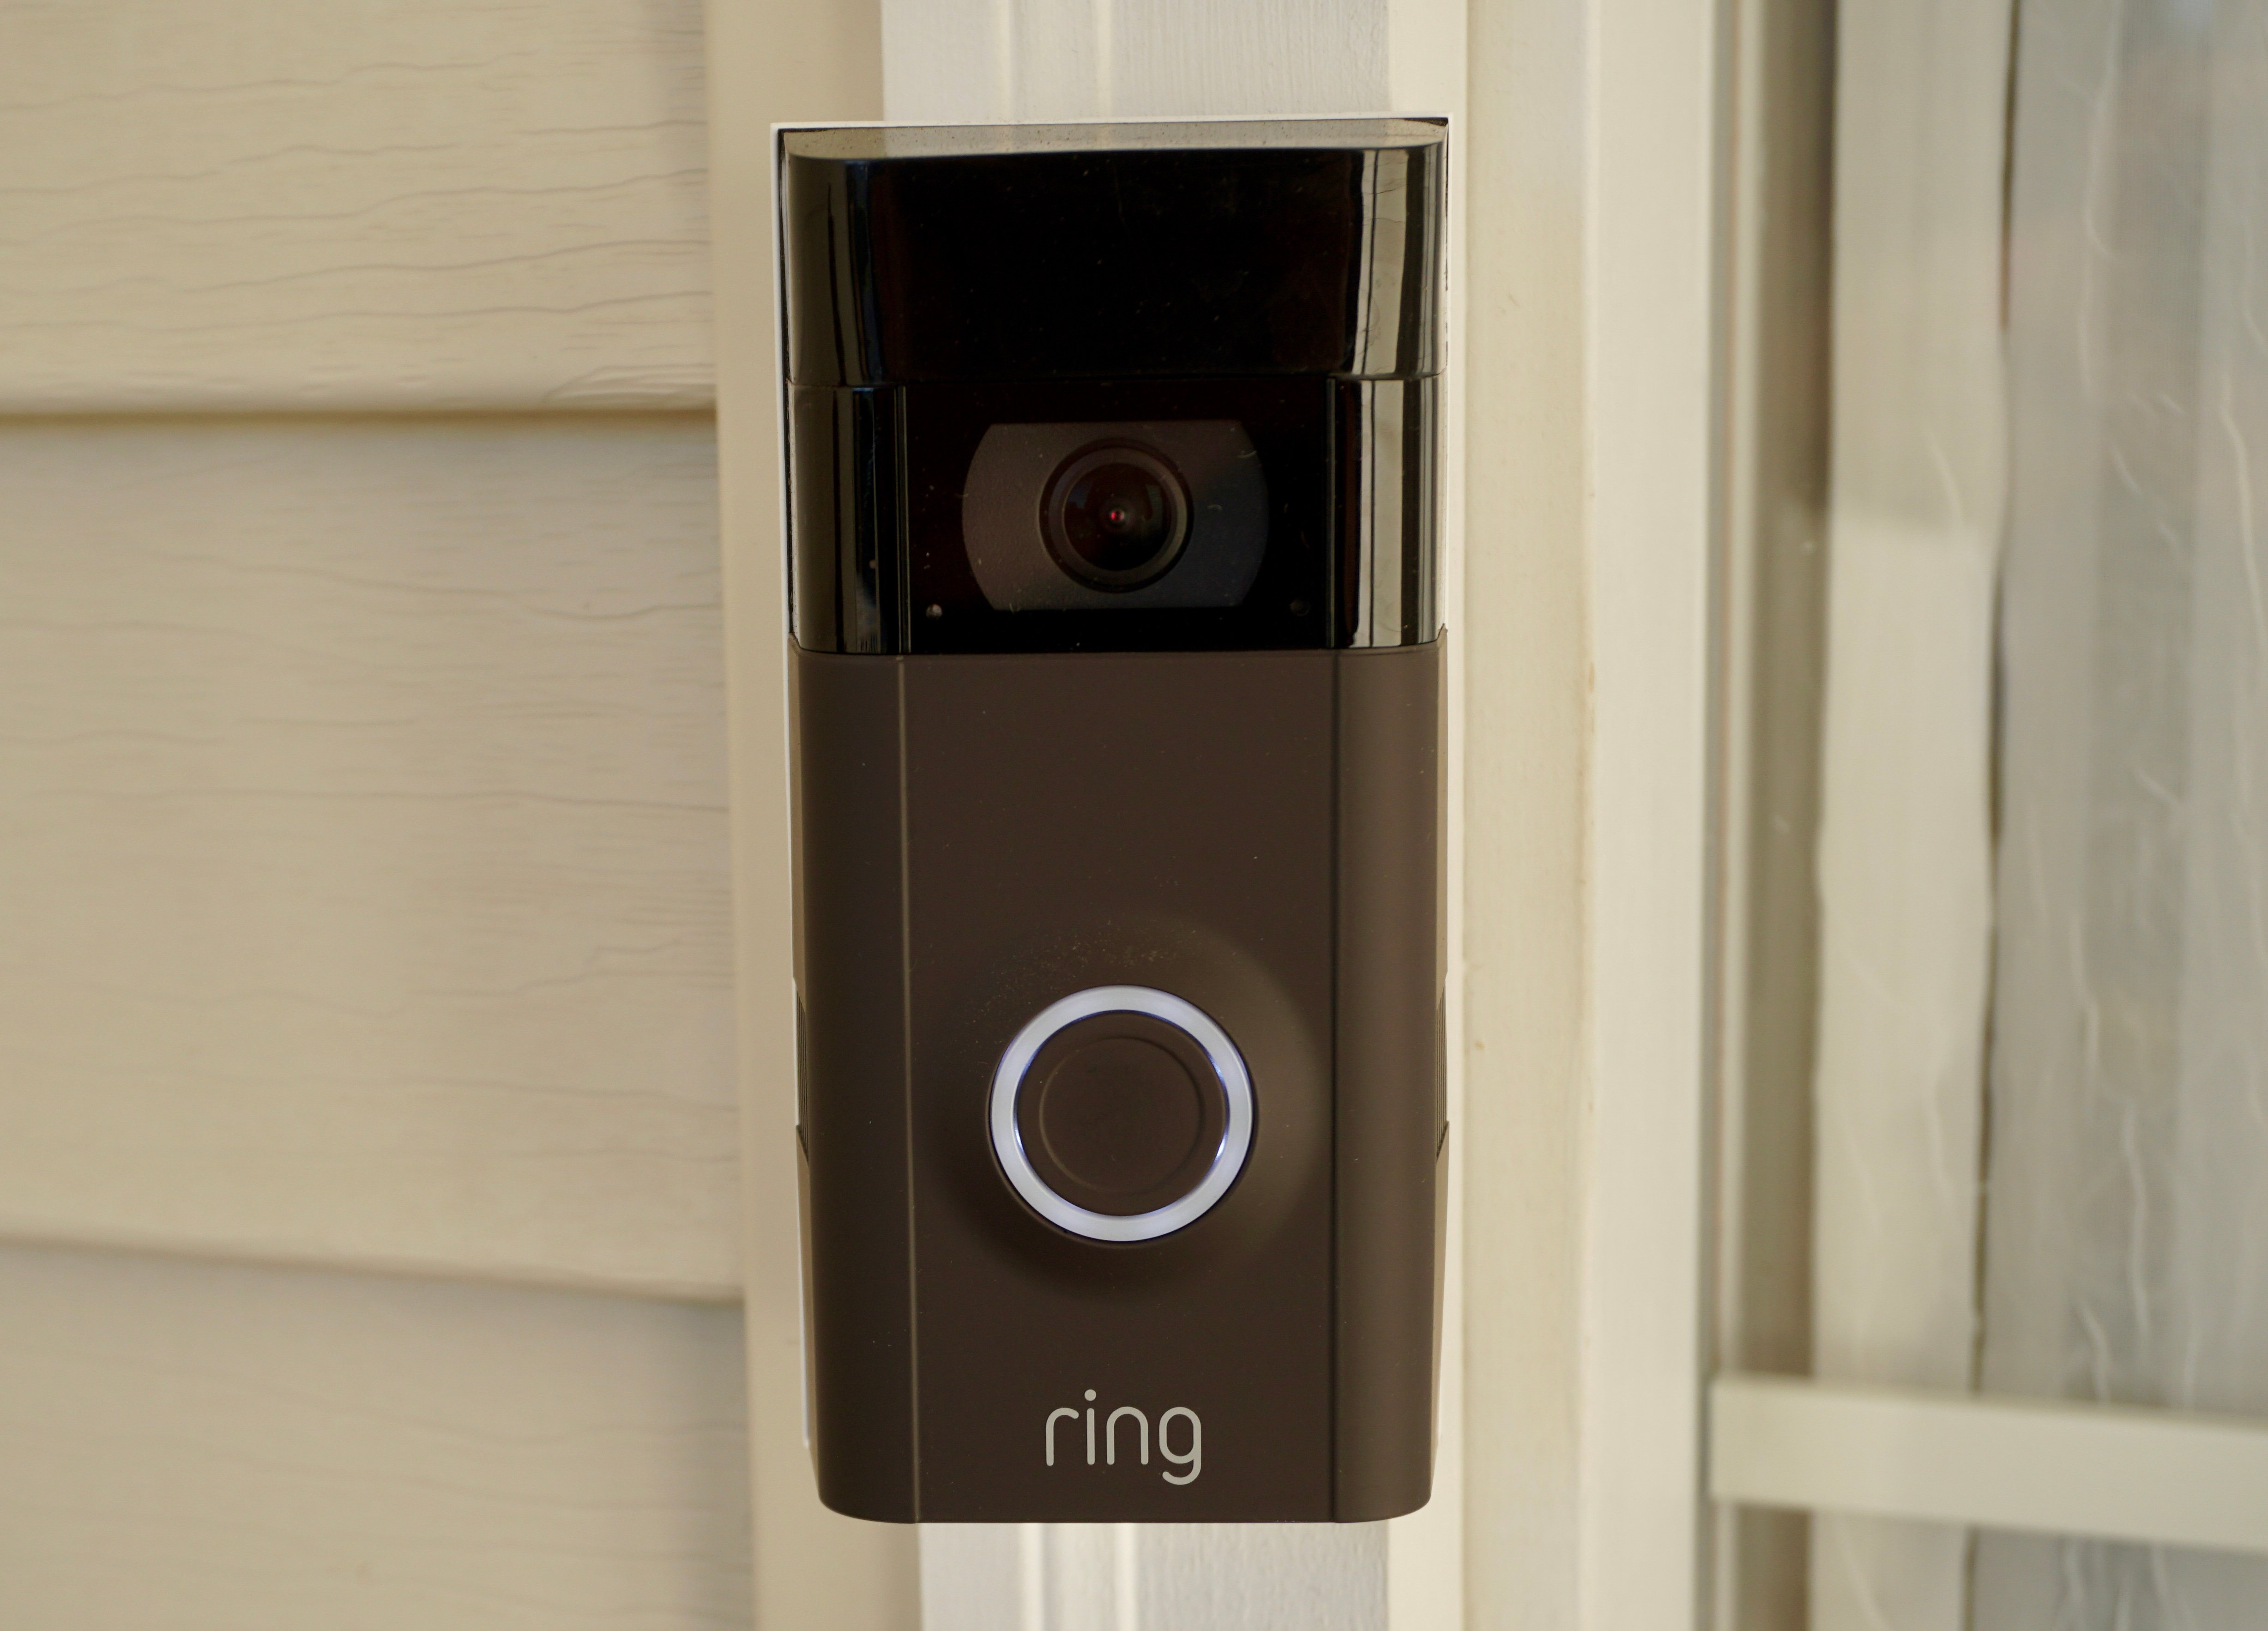 www.gottabemobile.com
doorbell
Step 1: Prepare the Mounting Surface
Begin by identifying the desired location for your ground Doorbell. Use a pencil to mark the positions for drilling pilot holes, ensuring they align taking into account the mounting bracket.
Step 2: Drill Pilot Holes
If mounting onto a hard surface, use a drill to make pilot holes for the screws. Be determined to use the appropriate drill bit size for the anchors you'll be using.
Step 3: augment the Mounting Bracket
Secure the mounting bracket in area using the provided screws or anchors. Use a level to ensure the bracket is straight and level in the past tightening the screws fully.
Step 4: Install the auditorium Doorbell
Once the mounting bracket is securely in place, it's become old to install the ring Doorbell itself. Align the device subsequent to the bracket and slide it into point until it clicks into place.
Do You Need To Put Up The Ring Recording Warning Sticker?
Door color www.smarthomepoint.com
audio
Step 1: Prepare the Mounting Surface
Begin by identifying the desired location for your arena Doorbell. Use a pencil to mark the positions for drilling pilot holes, ensuring they align considering the mounting bracket.
Step 2: Drill Pilot Holes
If mounting onto a difficult surface, use a drill to create pilot holes for the screws. Be positive to use the appropriate drill bit size for the anchors you'll be using.
Step 3: add up the Mounting Bracket
Secure the mounting bracket in place using the provided screws or anchors. Use a level to ensure the bracket is straight and level back tightening the screws fully.
Step 4: Install the showground Doorbell
Once the mounting bracket is securely in place, it's grow old to install the sports ground Doorbell itself. Align the device following the bracket and slide it into viewpoint until it clicks into place.
Is A Ring Doorbell Always Recording? - Home Rook
Door color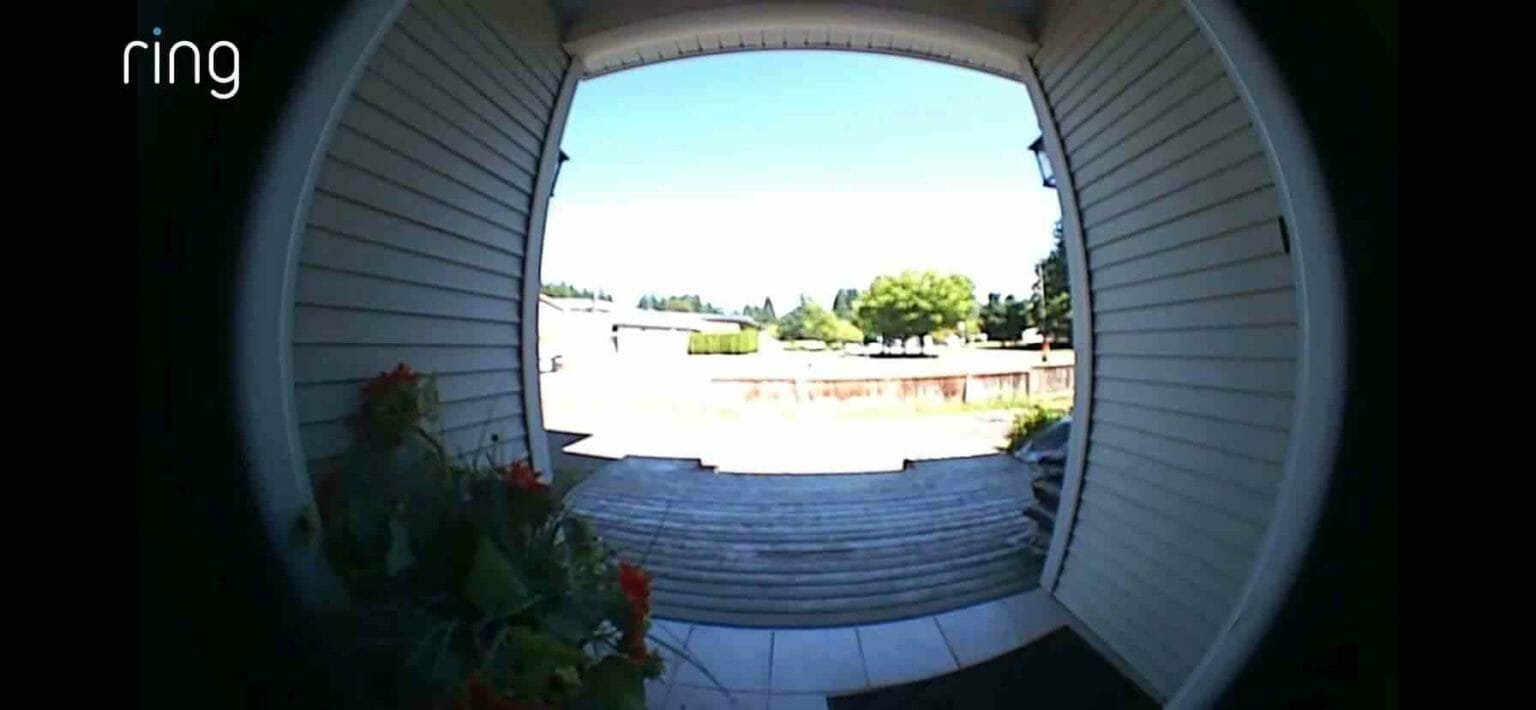 homerook.com
doorbell recording
Step 1: Prepare the Mounting Surface
Begin by identifying the desired location for your field Doorbell. Use a pencil to mark the positions for drilling pilot holes, ensuring they align later the mounting bracket.
Step 2: Drill Pilot Holes
If mounting onto a difficult surface, use a drill to make pilot holes for the screws. Be distinct to use the take possession of drill bit size for the anchors you'll be using.
Step 3: adjoin the Mounting Bracket
Secure the mounting bracket in place using the provided screws or anchors. Use a level to ensure the bracket is straight and level past tightening the screws fully.
Step 4: Install the auditorium Doorbell
Once the mounting bracket is securely in place, it's period to install the arena Doorbell itself. Align the device next the bracket and slide it into slant until it clicks into place.
Ring’s Upcoming Video Doorbell Pro 2 Uses Radar To Track Visitors
Door color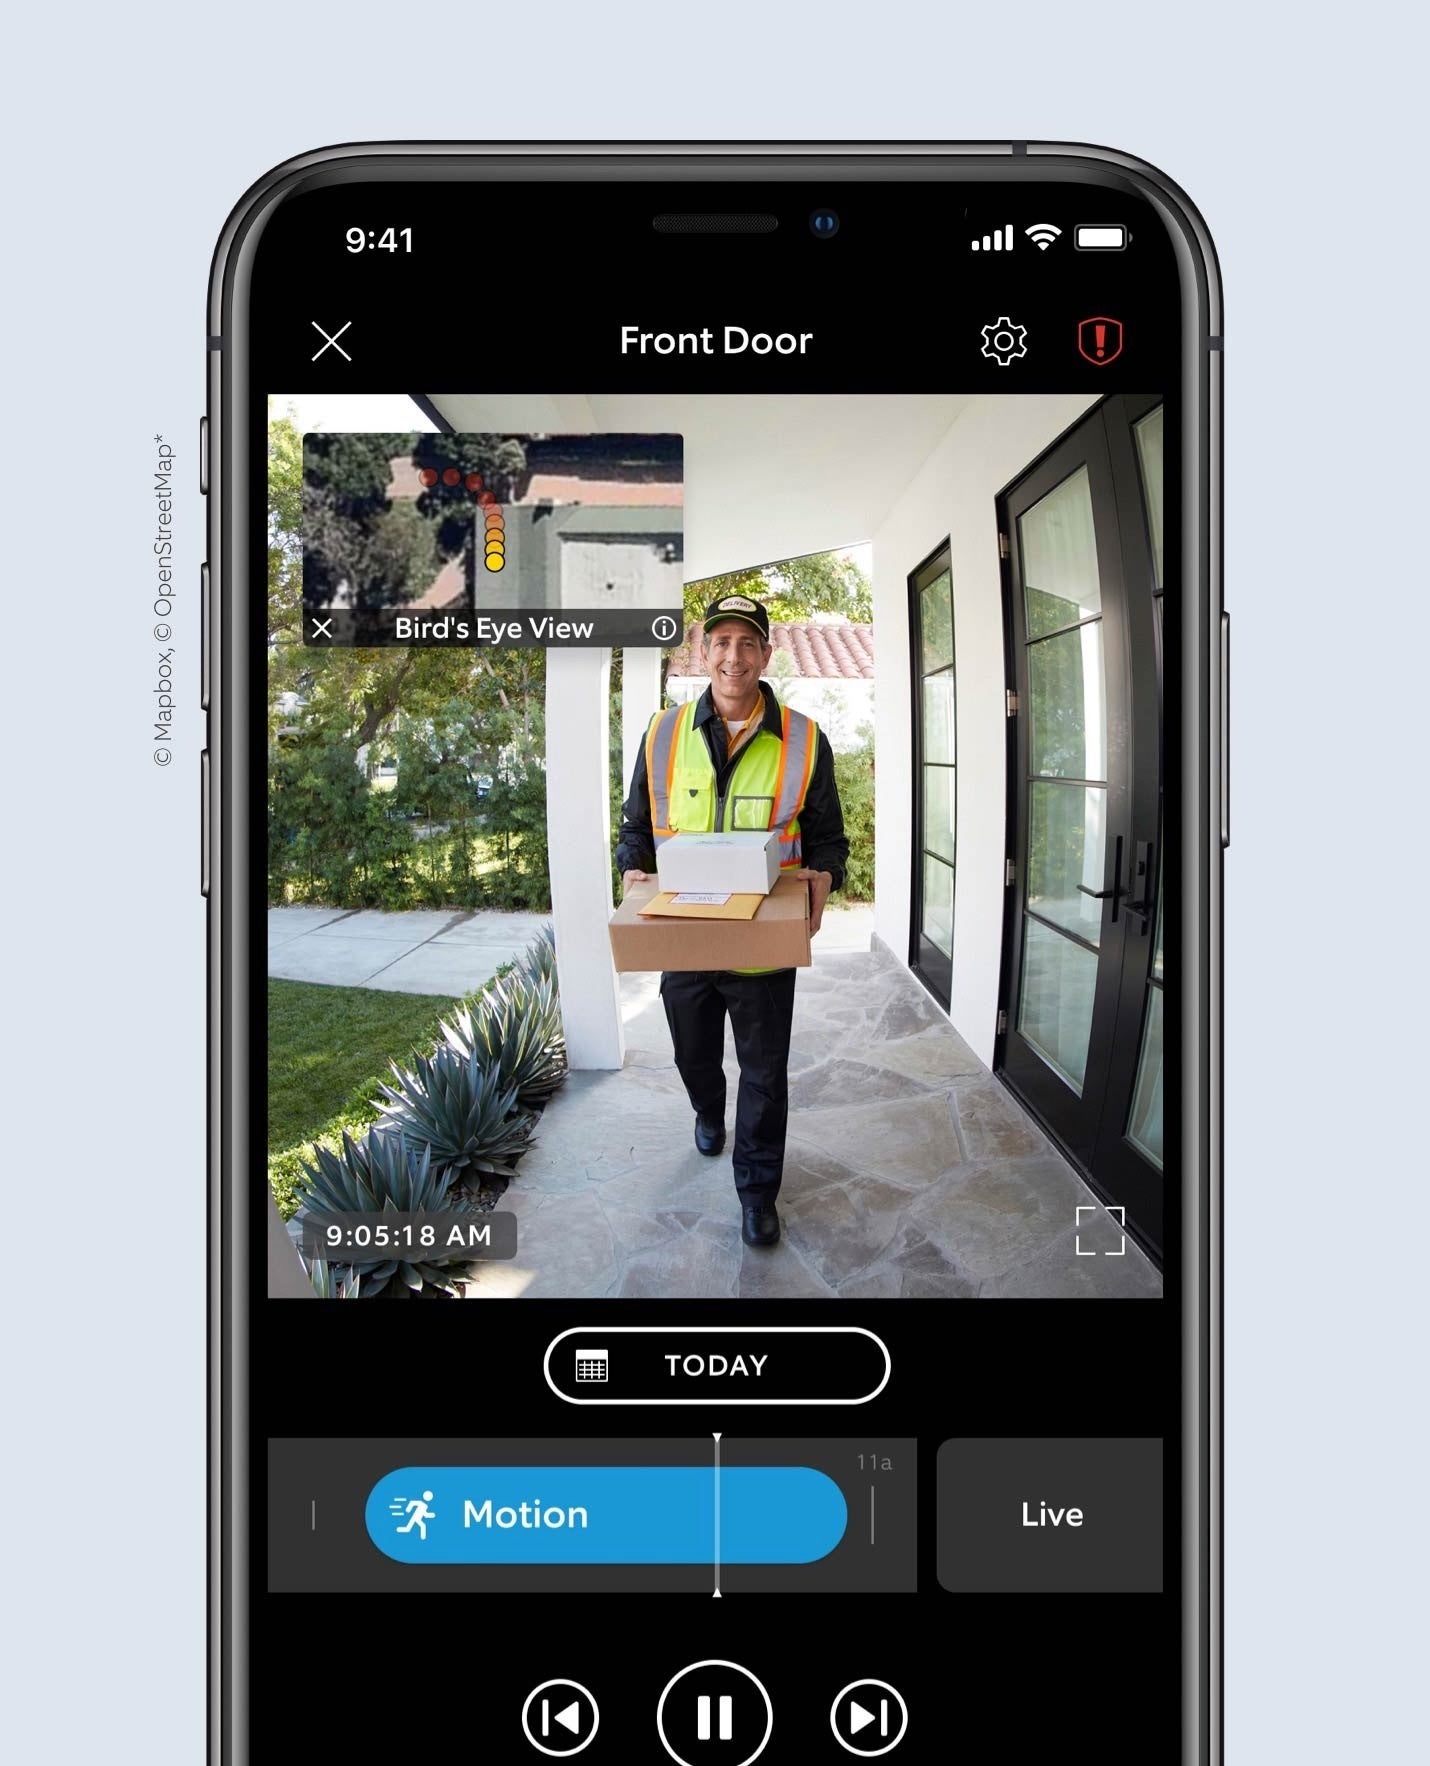 www.techhive.com
doorbell uses kost tweakers beeld
Step 1: Prepare the Mounting Surface
Begin by identifying the desired location for your auditorium Doorbell. Use a pencil to mark the positions for drilling pilot holes, ensuring they align when the mounting bracket.
Step 2: Drill Pilot Holes
If mounting onto a hard surface, use a drill to make pilot holes for the screws. Be definite to use the commandeer drill bit size for the anchors you'll be using.
Step 3: tally up the Mounting Bracket
Secure the mounting bracket in area using the provided screws or anchors. Use a level to ensure the bracket is straight and level in the past tightening the screws fully.
Step 4: Install the auditorium Doorbell
Once the mounting bracket is securely in place, it's period to install the dome Doorbell itself. Align the device with the bracket and slide it into face until it clicks into place.
RING Video Doorbell 2 W/ Bonus Chime And 1 Year Ring Video Cloud
Door color www.walmart.ca
ring recording doorbell chime bonus cloud year walmart
Step 1: Prepare the Mounting Surface
Begin by identifying the desired location for your arena Doorbell. Use a pencil to mark the positions for drilling pilot holes, ensuring they align taking into consideration the mounting bracket.
Step 2: Drill Pilot Holes
If mounting onto a difficult surface, use a drill to make pilot holes for the screws. Be definite to use the occupy drill bit size for the anchors you'll be using.
Step 3: augment the Mounting Bracket
Secure the mounting bracket in place using the provided screws or anchors. Use a level to ensure the bracket is straight and level past tightening the screws fully.
Step 4: Install the ground Doorbell
Once the mounting bracket is securely in place, it's times to install the arena Doorbell itself. Align the device taking into account the bracket and slide it into point until it clicks into place.
Can Ring Doorbell Record Longer Than 30 Seconds - Know Reading Time
Door color www.simplyfyhouse.com
doorbell recording
Step 1: Prepare the Mounting Surface
Begin by identifying the desired location for your arena Doorbell. Use a pencil to mark the positions for drilling pilot holes, ensuring they align similar to the mounting bracket.
Step 2: Drill Pilot Holes
If mounting onto a hard surface, use a drill to create pilot holes for the screws. Be positive to use the commandeer drill bit size for the anchors you'll be using.
Step 3: count up the Mounting Bracket
Secure the mounting bracket in place using the provided screws or anchors. Use a level to ensure the bracket is straight and level back tightening the screws fully.
Step 4: Install the pitch Doorbell
Once the mounting bracket is securely in place, it's epoch to install the field Doorbell itself. Align the device in the same way as the bracket and slide it into slope until it clicks into place.
Ring Video Doorbell On Sale For 13% Off: Free Cloud Recording, Free
Door color www.iphoneincanada.ca
ring doorbell people amazon smart visitors allows speak via deals smartphone recording cloud ca off completes purchase maker shipping store
Step 1: Prepare the Mounting Surface
Begin by identifying the desired location for your field Doorbell. Use a pencil to mark the positions for drilling pilot holes, ensuring they align later the mounting bracket.
Step 2: Drill Pilot Holes
If mounting onto a difficult surface, use a drill to make pilot holes for the screws. Be distinct to use the seize drill bit size for the anchors you'll be using.
Step 3: enlarge the Mounting Bracket
Secure the mounting bracket in place using the provided screws or anchors. Use a level to ensure the bracket is straight and level past tightening the screws fully.
Step 4: Install the arena Doorbell
Once the mounting bracket is securely in place, it's times to install the ring Doorbell itself. Align the device subsequently the bracket and slide it into twist until it clicks into place.
DO NOT RING DOORBELL, RECORDING UNISUB DOORHANGER TEMPLATE – DIGITAL
Door color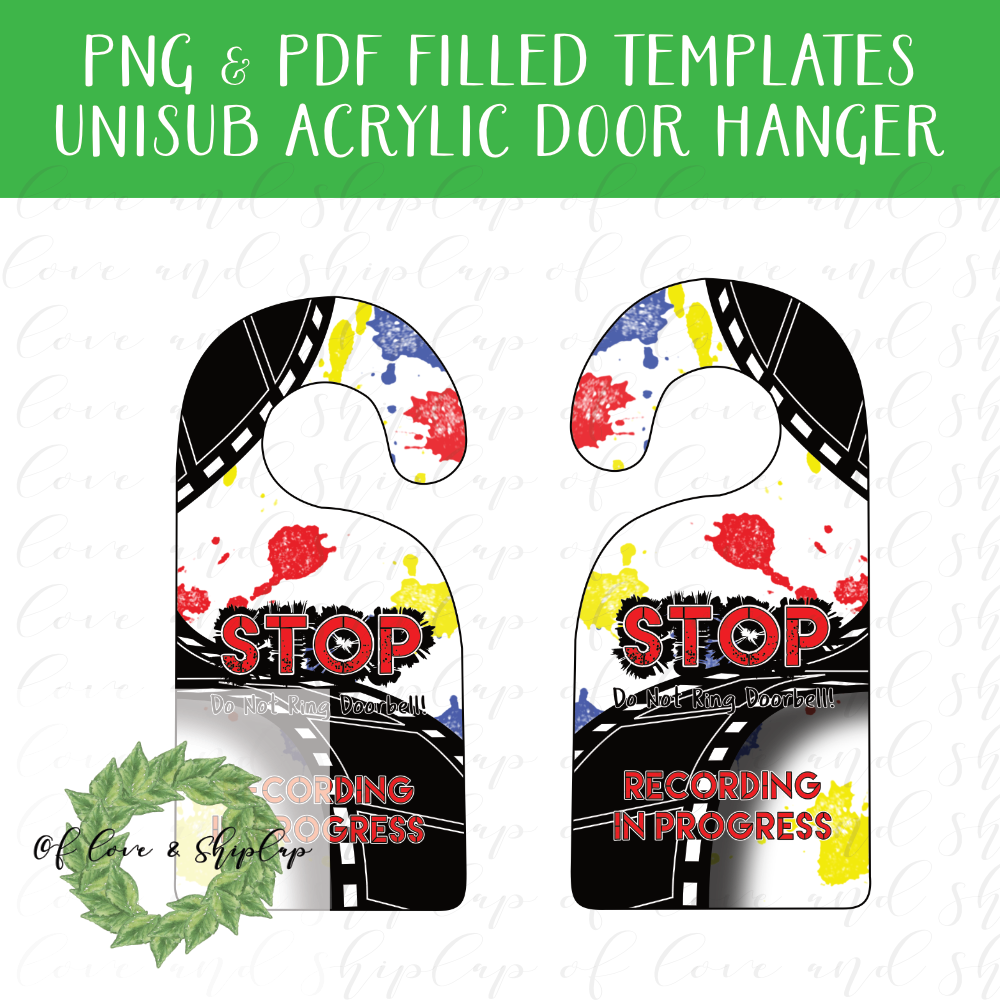 ofloveandshiplap.us
recording doorbell unisub doorhanger
Step 1: Prepare the Mounting Surface
Begin by identifying the desired location for your dome Doorbell. Use a pencil to mark the positions for drilling pilot holes, ensuring they align later the mounting bracket.
Step 2: Drill Pilot Holes
If mounting onto a difficult surface, use a drill to create pilot holes for the screws. Be sure to use the appropriate drill bit size for the anchors you'll be using.
Step 3: enlarge the Mounting Bracket
Secure the mounting bracket in place using the provided screws or anchors. Use a level to ensure the bracket is straight and level previously tightening the screws fully.
Step 4: Install the ground Doorbell
Once the mounting bracket is securely in place, it's grow old to install the field Doorbell itself. Align the device past the bracket and slide it into approach until it clicks into place.
Ring Pro Video Doorbell Review - Nerd Techy
Door color nerdtechy.com
ring doorbell pro recording review cloud
Ring doorbell people amazon smart visitors allows speak via deals smartphone recording cloud ca off completes purchase maker shipping store. Ring video doorbell 2 review. Doorbell uses kost tweakers beeld. Ring doorbell pro recording review cloud. Doorbell recording. Do you need to put up the ring recording warning sticker?. Is a ring doorbell always recording?. Ring recording doorbell chime bonus cloud year walmart. Doorbell recording. Recording doorbell unisub doorhanger. Ring’s upcoming video doorbell pro 2 uses radar to track visitors. Ring doorbell recording (how-to guide). Ring pro video doorbell review. Do not ring doorbell, recording unisub doorhanger template – digital. Can ring doorbell record longer than 30 seconds. Ring video doorbell 2 w/ bonus chime and 1 year ring video cloud. Ring video doorbell on sale for 13% off: free cloud recording, free