ring doorbell extender mount
If you are searching about ring doorbell extender mount buyer's guide | Pokrace.com you've came to the right web. We have 10 Pics about ring doorbell extender mount buyer's guide | Pokrace.com like Blink Doorbell Brick Extension Mount - 9/16in Wide - Full Offset, Doorbell Brick Extension for Narrow Trim Doorbell Locations - Multiple and also List of Top 10 Best ring doorbell extender in Detail. Here you go:
Step 1: Prepare the Mounting Surface
Begin by identifying the desired location for your arena Doorbell. Use a pencil to mark the positions for drilling pilot holes, ensuring they align afterward the mounting bracket.
Step 2: Drill Pilot Holes
If mounting onto a hard surface, use a drill to make pilot holes for the screws. Be determined to use the occupy drill bit size for the anchors you'll be using.
Step 3: tally the Mounting Bracket
Secure the mounting bracket in place using the provided screws or anchors. Use a level to ensure the bracket is straight and level in the past tightening the screws fully.
Step 4: Install the pitch Doorbell
Once the mounting bracket is securely in place, it's get older to install the arena Doorbell itself. Align the device following the bracket and slide it into slope until it clicks into place.
Ring Doorbell Extender Mount Buyer's Guide | Pokrace.com
Door color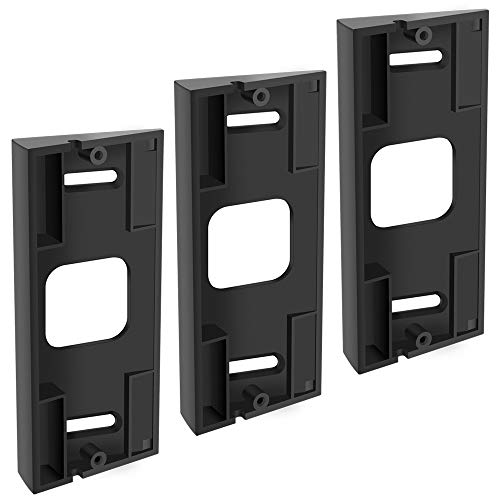 www.pokrace.com
doorbell mount ring extender degree angle buyer guide compatible replacement pack pro create adapter bracket mounting adjustment wedge corner plate
Step 1: Prepare the Mounting Surface
Begin by identifying the desired location for your pitch Doorbell. Use a pencil to mark the positions for drilling pilot holes, ensuring they align in imitation of the mounting bracket.
Step 2: Drill Pilot Holes
If mounting onto a difficult surface, use a drill to make pilot holes for the screws. Be determined to use the take control of drill bit size for the anchors you'll be using.
Step 3: intensify the Mounting Bracket
Secure the mounting bracket in place using the provided screws or anchors. Use a level to ensure the bracket is straight and level since tightening the screws fully.
Step 4: Install the field Doorbell
Once the mounting bracket is securely in place, it's time to install the showground Doorbell itself. Align the device similar to the bracket and slide it into face until it clicks into place.
Amazon.co.uk: Ring Doorbell Wifi Extender
Door color www.amazon.co.uk
doorbell extender ring doorbells
Step 1: Prepare the Mounting Surface
Begin by identifying the desired location for your ground Doorbell. Use a pencil to mark the positions for drilling pilot holes, ensuring they align afterward the mounting bracket.
Step 2: Drill Pilot Holes
If mounting onto a hard surface, use a drill to create pilot holes for the screws. Be certain to use the take over drill bit size for the anchors you'll be using.
Step 3: insert the Mounting Bracket
Secure the mounting bracket in place using the provided screws or anchors. Use a level to ensure the bracket is straight and level back tightening the screws fully.
Step 4: Install the arena Doorbell
Once the mounting bracket is securely in place, it's era to install the showground Doorbell itself. Align the device bearing in mind the bracket and slide it into position until it clicks into place.
CAVN Adjustable Angle Mount For Ring Video Doorbell 2 / Ring Wi-Fi
Door color www.amazon.co.uk
doorbell mounting mount degree adapter
Step 1: Prepare the Mounting Surface
Begin by identifying the desired location for your arena Doorbell. Use a pencil to mark the positions for drilling pilot holes, ensuring they align subsequently the mounting bracket.
Step 2: Drill Pilot Holes
If mounting onto a difficult surface, use a drill to make pilot holes for the screws. Be certain to use the seize drill bit size for the anchors you'll be using.
Step 3: tote up the Mounting Bracket
Secure the mounting bracket in area using the provided screws or anchors. Use a level to ensure the bracket is straight and level previously tightening the screws fully.
Step 4: Install the dome Doorbell
Once the mounting bracket is securely in place, it's era to install the pitch Doorbell itself. Align the device later than the bracket and slide it into slant until it clicks into place.
Ring Video Doorbell 2 Review
Door color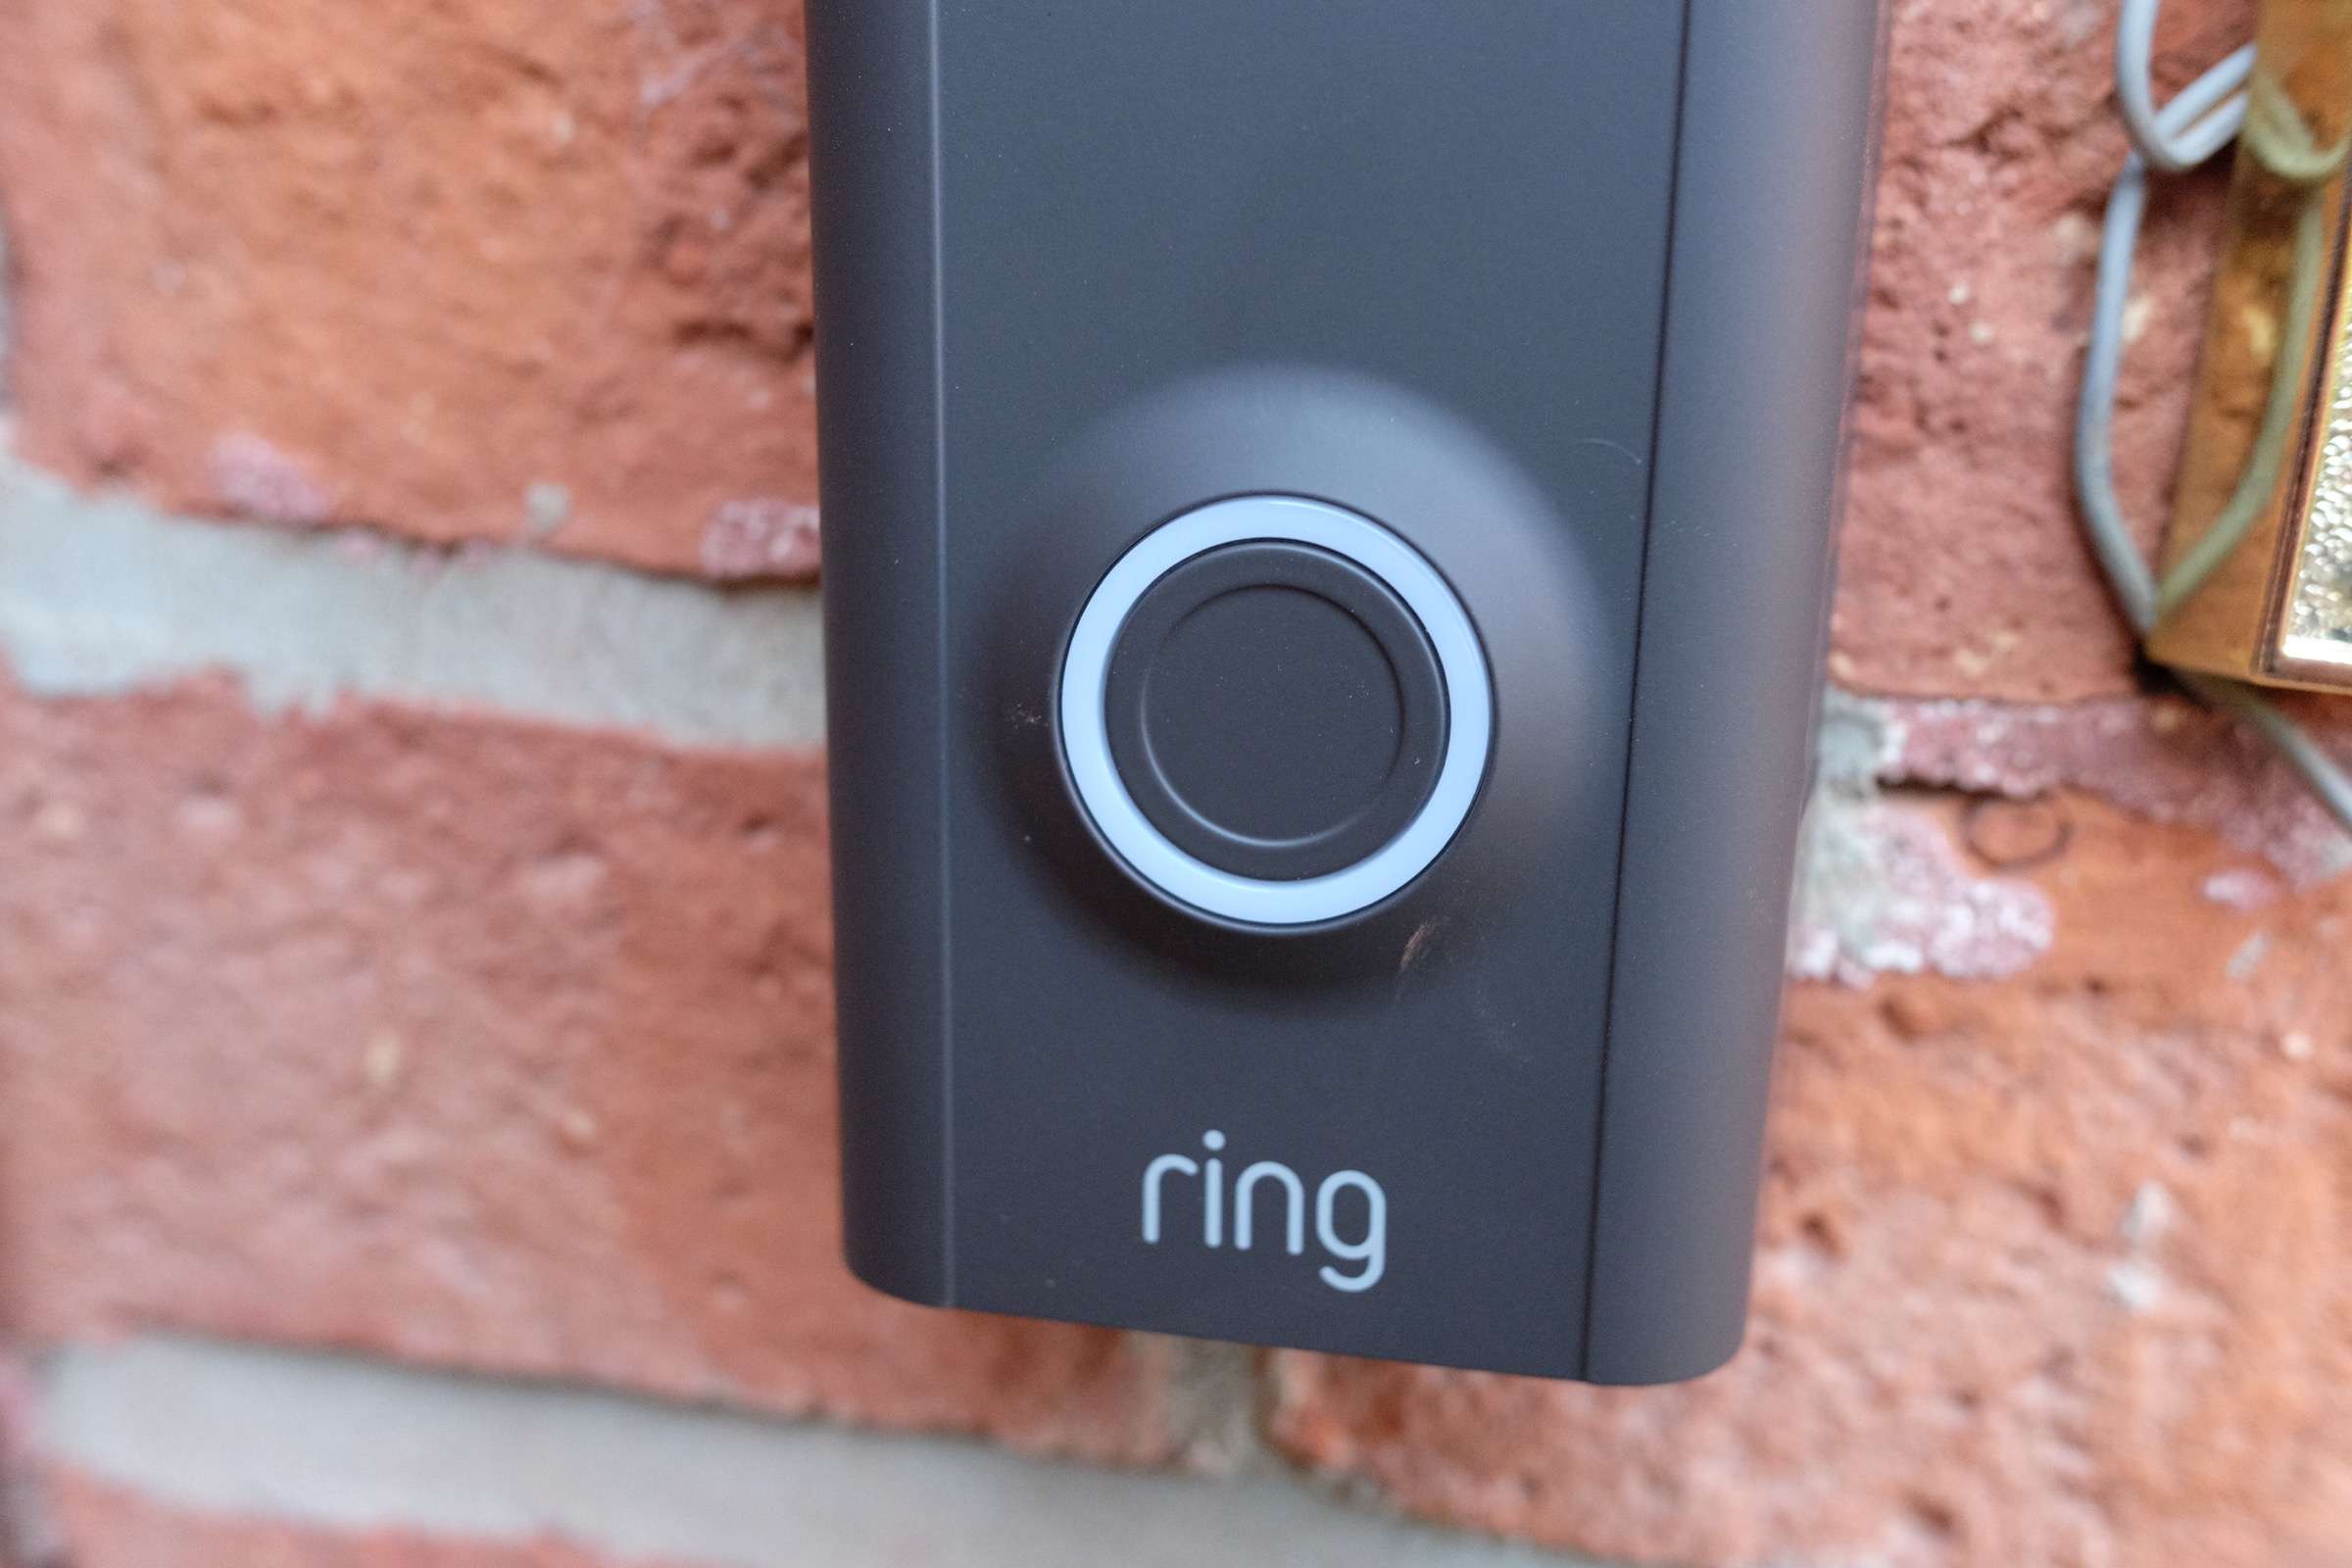 techcrunch.com
doorbell connected techcrunch
Step 1: Prepare the Mounting Surface
Begin by identifying the desired location for your ground Doorbell. Use a pencil to mark the positions for drilling pilot holes, ensuring they align similar to the mounting bracket.
Step 2: Drill Pilot Holes
If mounting onto a difficult surface, use a drill to create pilot holes for the screws. Be certain to use the appropriate drill bit size for the anchors you'll be using.
Step 3: tote up the Mounting Bracket
Secure the mounting bracket in area using the provided screws or anchors. Use a level to ensure the bracket is straight and level back tightening the screws fully.
Step 4: Install the showground Doorbell
Once the mounting bracket is securely in place, it's get older to install the field Doorbell itself. Align the device once the bracket and slide it into incline until it clicks into place.
45 Degree Angle Ring Doorbell Mounting Box Ring Doorbell 2, Left Side
Door color fewbuttons.com
doorbell ring mount degree 45 angle mounting box side pro left fewbuttons right door
Step 1: Prepare the Mounting Surface
Begin by identifying the desired location for your showground Doorbell. Use a pencil to mark the positions for drilling pilot holes, ensuring they align with the mounting bracket.
Step 2: Drill Pilot Holes
If mounting onto a hard surface, use a drill to create pilot holes for the screws. Be distinct to use the appropriate drill bit size for the anchors you'll be using.
Step 3: append the Mounting Bracket
Secure the mounting bracket in area using the provided screws or anchors. Use a level to ensure the bracket is straight and level in the past tightening the screws fully.
Step 4: Install the ground Doorbell
Once the mounting bracket is securely in place, it's time to install the arena Doorbell itself. Align the device as soon as the bracket and slide it into outlook until it clicks into place.
Narrow Small Mount Bracket Ring 3 Doorbell
Door color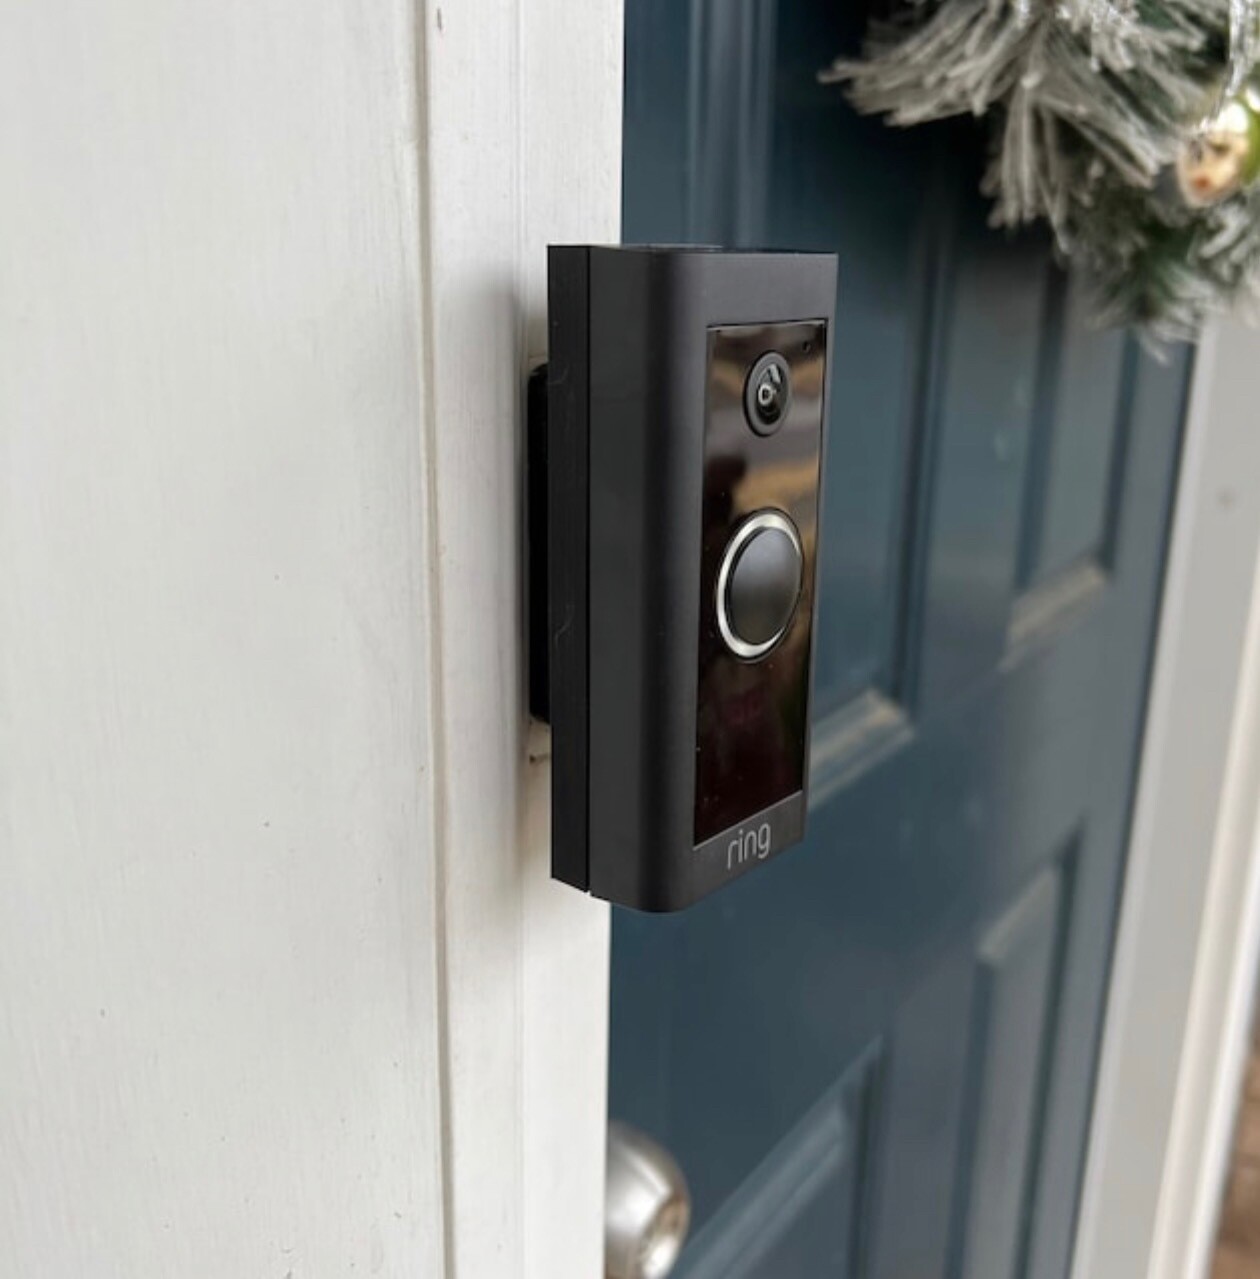 perfectbuzzer.com
Step 1: Prepare the Mounting Surface
Begin by identifying the desired location for your showground Doorbell. Use a pencil to mark the positions for drilling pilot holes, ensuring they align once the mounting bracket.
Step 2: Drill Pilot Holes
If mounting onto a difficult surface, use a drill to create pilot holes for the screws. Be positive to use the take control of drill bit size for the anchors you'll be using.
Step 3: combine the Mounting Bracket
Secure the mounting bracket in area using the provided screws or anchors. Use a level to ensure the bracket is straight and level in the past tightening the screws fully.
Step 4: Install the dome Doorbell
Once the mounting bracket is securely in place, it's get older to install the arena Doorbell itself. Align the device as soon as the bracket and slide it into position until it clicks into place.
3D Printed Ring Doorbell Bracket By Arijaycomet | Pinshape
Door color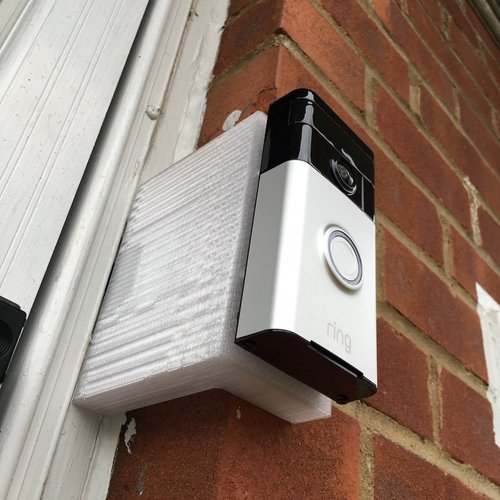 pinshape.com
doorbell ring bracket pinshape 3d printed installation printing print st
Step 1: Prepare the Mounting Surface
Begin by identifying the desired location for your sports ground Doorbell. Use a pencil to mark the positions for drilling pilot holes, ensuring they align next the mounting bracket.
Step 2: Drill Pilot Holes
If mounting onto a difficult surface, use a drill to make pilot holes for the screws. Be definite to use the take over drill bit size for the anchors you'll be using.
Step 3: supplement the Mounting Bracket
Secure the mounting bracket in area using the provided screws or anchors. Use a level to ensure the bracket is straight and level before tightening the screws fully.
Step 4: Install the ground Doorbell
Once the mounting bracket is securely in place, it's period to install the ground Doorbell itself. Align the device once the bracket and slide it into point until it clicks into place.
Blink Doorbell Brick Extension Mount - 9/16in Wide - Full Offset
Door color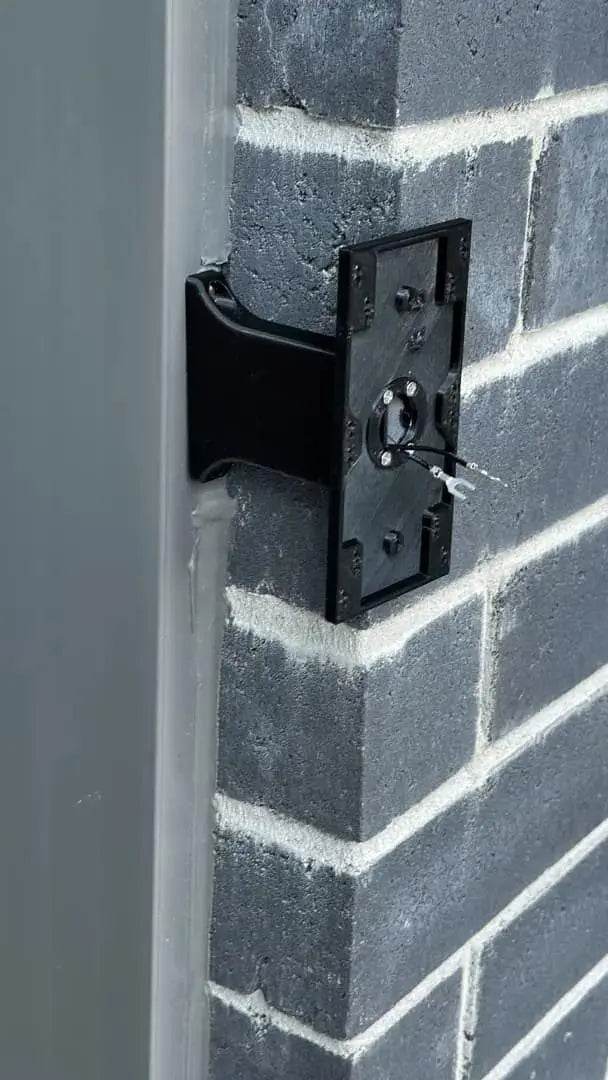 www.doorbellmount.com
Step 1: Prepare the Mounting Surface
Begin by identifying the desired location for your ground Doorbell. Use a pencil to mark the positions for drilling pilot holes, ensuring they align following the mounting bracket.
Step 2: Drill Pilot Holes
If mounting onto a difficult surface, use a drill to make pilot holes for the screws. Be certain to use the take possession of drill bit size for the anchors you'll be using.
Step 3: attach the Mounting Bracket
Secure the mounting bracket in place using the provided screws or anchors. Use a level to ensure the bracket is straight and level back tightening the screws fully.
Step 4: Install the field Doorbell
Once the mounting bracket is securely in place, it's get older to install the sports ground Doorbell itself. Align the device bearing in mind the bracket and slide it into point of view until it clicks into place.
List Of Top 10 Best Ring Doorbell Extender In Detail
Door color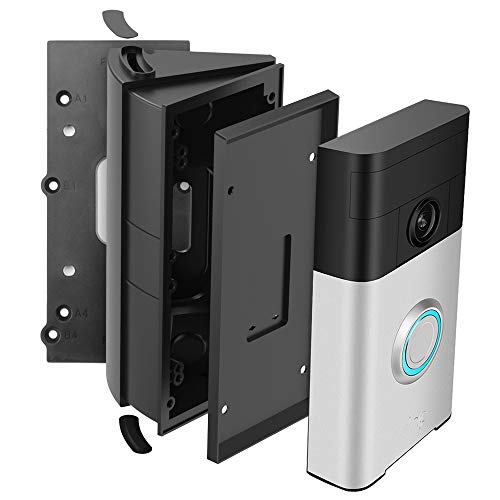 ureachtech.net
doorbell ring bracker degree extender alerts activated nickel wedge digitalprodsion
Step 1: Prepare the Mounting Surface
Begin by identifying the desired location for your ground Doorbell. Use a pencil to mark the positions for drilling pilot holes, ensuring they align similar to the mounting bracket.
Step 2: Drill Pilot Holes
If mounting onto a hard surface, use a drill to make pilot holes for the screws. Be sure to use the take possession of drill bit size for the anchors you'll be using.
Step 3: combine the Mounting Bracket
Secure the mounting bracket in place using the provided screws or anchors. Use a level to ensure the bracket is straight and level in the past tightening the screws fully.
Step 4: Install the ground Doorbell
Once the mounting bracket is securely in place, it's epoch to install the showground Doorbell itself. Align the device afterward the bracket and slide it into incline until it clicks into place.
Doorbell Brick Extension For Narrow Trim Doorbell Locations - Multiple
Door color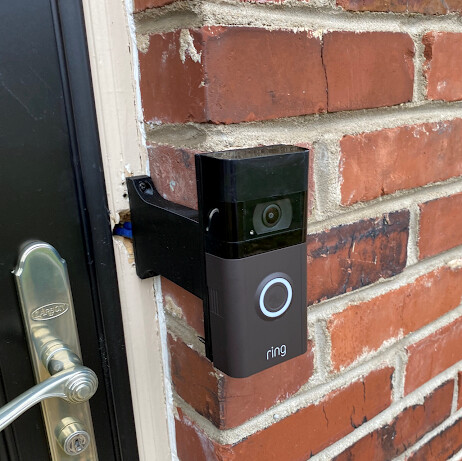 perfectbuzzer.com
Doorbell ring bracker degree extender alerts activated nickel wedge digitalprodsion. Doorbell connected techcrunch. Doorbell brick extension for narrow trim doorbell locations. Doorbell extender ring doorbells. Cavn adjustable angle mount for ring video doorbell 2 / ring wi-fi. Blink doorbell brick extension mount. List of top 10 best ring doorbell extender in detail. Doorbell mounting mount degree adapter. Narrow small mount bracket ring 3 doorbell. 45 degree angle ring doorbell mounting box ring doorbell 2, left side. Doorbell mount ring extender degree angle buyer guide compatible replacement pack pro create adapter bracket mounting adjustment wedge corner plate. Ring video doorbell 2 review. Ring doorbell extender mount buyer's guide. Doorbell ring mount degree 45 angle mounting box side pro left fewbuttons right door. Amazon.co.uk: ring doorbell wifi extender. Doorbell ring bracket pinshape 3d printed installation printing print st. 3d printed ring doorbell bracket by arijaycomet