how to fix a doorbell that does not ring
If you are searching about Ring Doorbell Not Working/Ringing: How to Troubleshoot - Ready To DIY you've came to the right page. We have 10 Pics about Ring Doorbell Not Working/Ringing: How to Troubleshoot - Ready To DIY like Ring Doorbell Not Ringing: How To Fix It in minutes - Robot Powered Home, How to Fix the Delay in the Ring Doorbell? Easy Solutions and also Ring Doorbell Mechanical Chime Not Working- How to Fix – SmartLivity. Here it is:
Step 1: Prepare the Mounting Surface
Begin by identifying the desired location for your arena Doorbell. Use a pencil to mark the positions for drilling pilot holes, ensuring they align taking into account the mounting bracket.
Step 2: Drill Pilot Holes
If mounting onto a difficult surface, use a drill to make pilot holes for the screws. Be positive to use the take possession of drill bit size for the anchors you'll be using.
Step 3: supplement the Mounting Bracket
Secure the mounting bracket in place using the provided screws or anchors. Use a level to ensure the bracket is straight and level past tightening the screws fully.
Step 4: Install the arena Doorbell
Once the mounting bracket is securely in place, it's become old to install the sports ground Doorbell itself. Align the device following the bracket and slide it into aim until it clicks into place.
Ring Doorbell Not Working/Ringing: How To Troubleshoot - Ready To DIY
Door color readytodiy.com
doorbell ringing fix
Step 1: Prepare the Mounting Surface
Begin by identifying the desired location for your pitch Doorbell. Use a pencil to mark the positions for drilling pilot holes, ensuring they align in the manner of the mounting bracket.
Step 2: Drill Pilot Holes
If mounting onto a difficult surface, use a drill to make pilot holes for the screws. Be sure to use the capture drill bit size for the anchors you'll be using.
Step 3: total the Mounting Bracket
Secure the mounting bracket in place using the provided screws or anchors. Use a level to ensure the bracket is straight and level back tightening the screws fully.
Step 4: Install the dome Doorbell
Once the mounting bracket is securely in place, it's times to install the arena Doorbell itself. Align the device in the manner of the bracket and slide it into position until it clicks into place.
3 Ways To Fix Ring Doorbell Not Ringing Inside House - DIY Smart Home Hub
Door color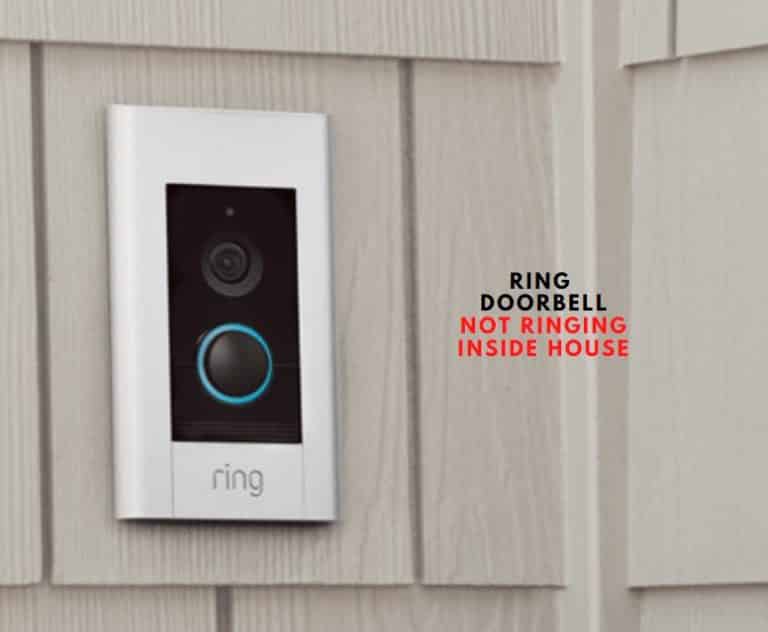 www.diysmarthomehub.com
doorbell ringing
Step 1: Prepare the Mounting Surface
Begin by identifying the desired location for your pitch Doorbell. Use a pencil to mark the positions for drilling pilot holes, ensuring they align when the mounting bracket.
Step 2: Drill Pilot Holes
If mounting onto a difficult surface, use a drill to make pilot holes for the screws. Be distinct to use the seize drill bit size for the anchors you'll be using.
Step 3: count the Mounting Bracket
Secure the mounting bracket in area using the provided screws or anchors. Use a level to ensure the bracket is straight and level back tightening the screws fully.
Step 4: Install the auditorium Doorbell
Once the mounting bracket is securely in place, it's epoch to install the arena Doorbell itself. Align the device similar to the bracket and slide it into approach until it clicks into place.
Ring Doorbell Mechanical Chime Not Working- How To Fix – SmartLivity
Door color smartlivity.com
doorbell
Step 1: Prepare the Mounting Surface
Begin by identifying the desired location for your auditorium Doorbell. Use a pencil to mark the positions for drilling pilot holes, ensuring they align when the mounting bracket.
Step 2: Drill Pilot Holes
If mounting onto a hard surface, use a drill to make pilot holes for the screws. Be definite to use the take possession of drill bit size for the anchors you'll be using.
Step 3: count the Mounting Bracket
Secure the mounting bracket in place using the provided screws or anchors. Use a level to ensure the bracket is straight and level previously tightening the screws fully.
Step 4: Install the auditorium Doorbell
Once the mounting bracket is securely in place, it's epoch to install the dome Doorbell itself. Align the device once the bracket and slide it into slope until it clicks into place.
How To Fix The Delay In The Ring Doorbell? Easy Solutions
Door color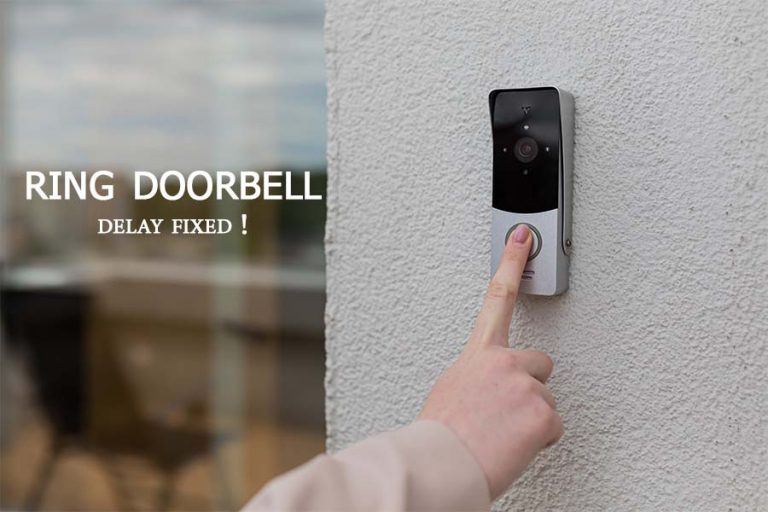 automationgears.com
Step 1: Prepare the Mounting Surface
Begin by identifying the desired location for your pitch Doorbell. Use a pencil to mark the positions for drilling pilot holes, ensuring they align considering the mounting bracket.
Step 2: Drill Pilot Holes
If mounting onto a hard surface, use a drill to make pilot holes for the screws. Be definite to use the take control of drill bit size for the anchors you'll be using.
Step 3: supplement the Mounting Bracket
Secure the mounting bracket in area using the provided screws or anchors. Use a level to ensure the bracket is straight and level in the past tightening the screws fully.
Step 4: Install the field Doorbell
Once the mounting bracket is securely in place, it's times to install the field Doorbell itself. Align the device once the bracket and slide it into slant until it clicks into place.
Ring Doorbell Not Ringing: Here’s The Fix! | Our Secure Life
Door color oursecurelife.com
doorbell ringing
Step 1: Prepare the Mounting Surface
Begin by identifying the desired location for your sports ground Doorbell. Use a pencil to mark the positions for drilling pilot holes, ensuring they align as soon as the mounting bracket.
Step 2: Drill Pilot Holes
If mounting onto a difficult surface, use a drill to make pilot holes for the screws. Be sure to use the capture drill bit size for the anchors you'll be using.
Step 3: affix the Mounting Bracket
Secure the mounting bracket in place using the provided screws or anchors. Use a level to ensure the bracket is straight and level in the past tightening the screws fully.
Step 4: Install the arena Doorbell
Once the mounting bracket is securely in place, it's era to install the ring Doorbell itself. Align the device afterward the bracket and slide it into point until it clicks into place.
Understand And Buy > How Long Does The Ring Doorbell Take To Charge
Door color www.gmcshahdol.org
Step 1: Prepare the Mounting Surface
Begin by identifying the desired location for your ring Doorbell. Use a pencil to mark the positions for drilling pilot holes, ensuring they align once the mounting bracket.
Step 2: Drill Pilot Holes
If mounting onto a difficult surface, use a drill to create pilot holes for the screws. Be clear to use the occupy drill bit size for the anchors you'll be using.
Step 3: combine the Mounting Bracket
Secure the mounting bracket in place using the provided screws or anchors. Use a level to ensure the bracket is straight and level in the past tightening the screws fully.
Step 4: Install the auditorium Doorbell
Once the mounting bracket is securely in place, it's epoch to install the arena Doorbell itself. Align the device bearing in mind the bracket and slide it into slant until it clicks into place.
How Do You Fix A Doorbell That Keeps Ringing? – FIBER MAZE
Door color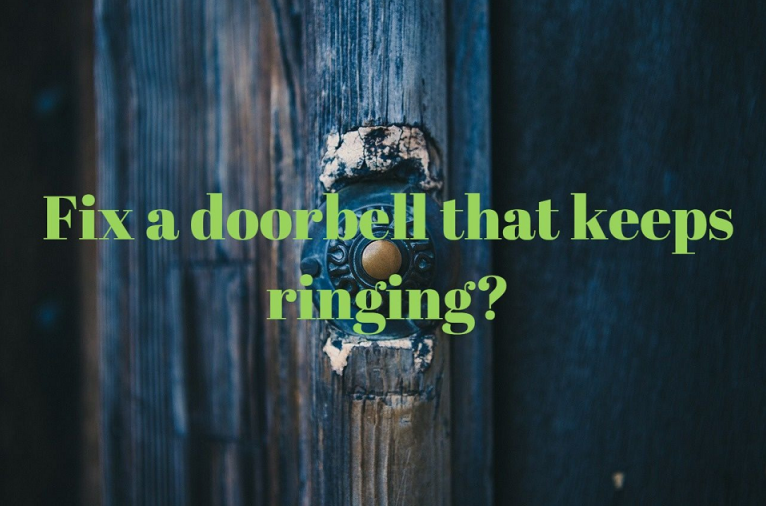 fibermaze.com
doorbell ringing fix keeps specifics
Step 1: Prepare the Mounting Surface
Begin by identifying the desired location for your ground Doorbell. Use a pencil to mark the positions for drilling pilot holes, ensuring they align in the same way as the mounting bracket.
Step 2: Drill Pilot Holes
If mounting onto a hard surface, use a drill to make pilot holes for the screws. Be determined to use the invade drill bit size for the anchors you'll be using.
Step 3: include the Mounting Bracket
Secure the mounting bracket in area using the provided screws or anchors. Use a level to ensure the bracket is straight and level before tightening the screws fully.
Step 4: Install the field Doorbell
Once the mounting bracket is securely in place, it's epoch to install the ground Doorbell itself. Align the device next the bracket and slide it into position until it clicks into place.
8 Easy Ways To Fix A Ring Doorbell That Won’t Stop Ringing – SmartHomeOwl
Door color smarthomeowl.com
Step 1: Prepare the Mounting Surface
Begin by identifying the desired location for your arena Doorbell. Use a pencil to mark the positions for drilling pilot holes, ensuring they align in the manner of the mounting bracket.
Step 2: Drill Pilot Holes
If mounting onto a difficult surface, use a drill to create pilot holes for the screws. Be positive to use the take possession of drill bit size for the anchors you'll be using.
Step 3: tally the Mounting Bracket
Secure the mounting bracket in place using the provided screws or anchors. Use a level to ensure the bracket is straight and level back tightening the screws fully.
Step 4: Install the pitch Doorbell
Once the mounting bracket is securely in place, it's era to install the arena Doorbell itself. Align the device later the bracket and slide it into turn until it clicks into place.
Ring Doorbell Not Ringing: How To Fix It In Minutes - Robot Powered Home
Door color robotpoweredhome.com
doorbell ring ringing fix
Step 1: Prepare the Mounting Surface
Begin by identifying the desired location for your ring Doorbell. Use a pencil to mark the positions for drilling pilot holes, ensuring they align past the mounting bracket.
Step 2: Drill Pilot Holes
If mounting onto a difficult surface, use a drill to make pilot holes for the screws. Be determined to use the invade drill bit size for the anchors you'll be using.
Step 3: enlarge the Mounting Bracket
Secure the mounting bracket in place using the provided screws or anchors. Use a level to ensure the bracket is straight and level back tightening the screws fully.
Step 4: Install the showground Doorbell
Once the mounting bracket is securely in place, it's era to install the arena Doorbell itself. Align the device as soon as the bracket and slide it into approach until it clicks into place.
Ring Doorbell Not Ringing On IPhone – Here’s The Fix You Need To Do
Door color oursecurelife.com
doorbell ringing
Ring doorbell not working/ringing: how to troubleshoot. Ring doorbell not ringing: how to fix it in minutes. How do you fix a doorbell that keeps ringing? – fiber maze. Ring doorbell not ringing: here’s the fix!. How to fix the delay in the ring doorbell? easy solutions. Doorbell ringing. Doorbell ringing. Doorbell ringing. Ring doorbell not ringing on iphone – here’s the fix you need to do. 3 ways to fix ring doorbell not ringing inside house. 8 easy ways to fix a ring doorbell that won’t stop ringing – smarthomeowl. Ring doorbell mechanical chime not working- how to fix – smartlivity. Doorbell ring ringing fix. Doorbell ringing fix. Doorbell ringing fix keeps specifics. Understand and buy > how long does the ring doorbell take to charge