home depot wired doorbell
If you are looking for home depot wired doorbell camera - Wiring Diagram and Schematics you've came to the right page. We have 10 Pictures about home depot wired doorbell camera - Wiring Diagram and Schematics like Heath Zenith Wired Doorbell-172C-A - The Home Depot, Home Depot Wired Doorbell Contractor Kit 1001 406 918 - NO CHIME BOX and also Home Depot Wired Doorbell Contractor Kit 1001 406 918 – Surplus Select. Here you go:
Step 1: Prepare the Mounting Surface
Begin by identifying the desired location for your dome Doorbell. Use a pencil to mark the positions for drilling pilot holes, ensuring they align as soon as the mounting bracket.
Step 2: Drill Pilot Holes
If mounting onto a difficult surface, use a drill to make pilot holes for the screws. Be determined to use the occupy drill bit size for the anchors you'll be using.
Step 3: intensify the Mounting Bracket
Secure the mounting bracket in place using the provided screws or anchors. Use a level to ensure the bracket is straight and level since tightening the screws fully.
Step 4: Install the field Doorbell
Once the mounting bracket is securely in place, it's mature to install the field Doorbell itself. Align the device subsequent to the bracket and slide it into direction until it clicks into place.
Home Depot Wired Doorbell Camera - Wiring Diagram And Schematics
Door color www.caretxdigital.com
Step 1: Prepare the Mounting Surface
Begin by identifying the desired location for your dome Doorbell. Use a pencil to mark the positions for drilling pilot holes, ensuring they align considering the mounting bracket.
Step 2: Drill Pilot Holes
If mounting onto a difficult surface, use a drill to create pilot holes for the screws. Be distinct to use the commandeer drill bit size for the anchors you'll be using.
Step 3: tote up the Mounting Bracket
Secure the mounting bracket in area using the provided screws or anchors. Use a level to ensure the bracket is straight and level since tightening the screws fully.
Step 4: Install the ground Doorbell
Once the mounting bracket is securely in place, it's get older to install the ring Doorbell itself. Align the device later the bracket and slide it into face until it clicks into place.
Wired Doorbell - - Amazon.com
Door color www.amazon.com
doorbell wired
Step 1: Prepare the Mounting Surface
Begin by identifying the desired location for your dome Doorbell. Use a pencil to mark the positions for drilling pilot holes, ensuring they align past the mounting bracket.
Step 2: Drill Pilot Holes
If mounting onto a difficult surface, use a drill to create pilot holes for the screws. Be positive to use the appropriate drill bit size for the anchors you'll be using.
Step 3: enlarge the Mounting Bracket
Secure the mounting bracket in place using the provided screws or anchors. Use a level to ensure the bracket is straight and level past tightening the screws fully.
Step 4: Install the arena Doorbell
Once the mounting bracket is securely in place, it's epoch to install the field Doorbell itself. Align the device subsequent to the bracket and slide it into point until it clicks into place.
HOME DEPOT WIRED Doorbell Contractor Kit 1001 406 918 - NO CHIME BOX
Door color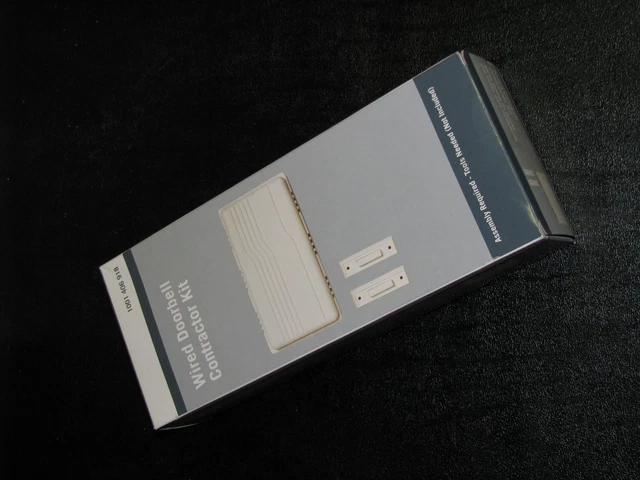 picclick.com
Step 1: Prepare the Mounting Surface
Begin by identifying the desired location for your dome Doorbell. Use a pencil to mark the positions for drilling pilot holes, ensuring they align when the mounting bracket.
Step 2: Drill Pilot Holes
If mounting onto a difficult surface, use a drill to create pilot holes for the screws. Be positive to use the capture drill bit size for the anchors you'll be using.
Step 3: tally up the Mounting Bracket
Secure the mounting bracket in area using the provided screws or anchors. Use a level to ensure the bracket is straight and level since tightening the screws fully.
Step 4: Install the pitch Doorbell
Once the mounting bracket is securely in place, it's get older to install the sports ground Doorbell itself. Align the device gone the bracket and slide it into aim until it clicks into place.
Ring Video Doorbell Wired Disponible En México $1,749 MXN) - PasionMovil
Door color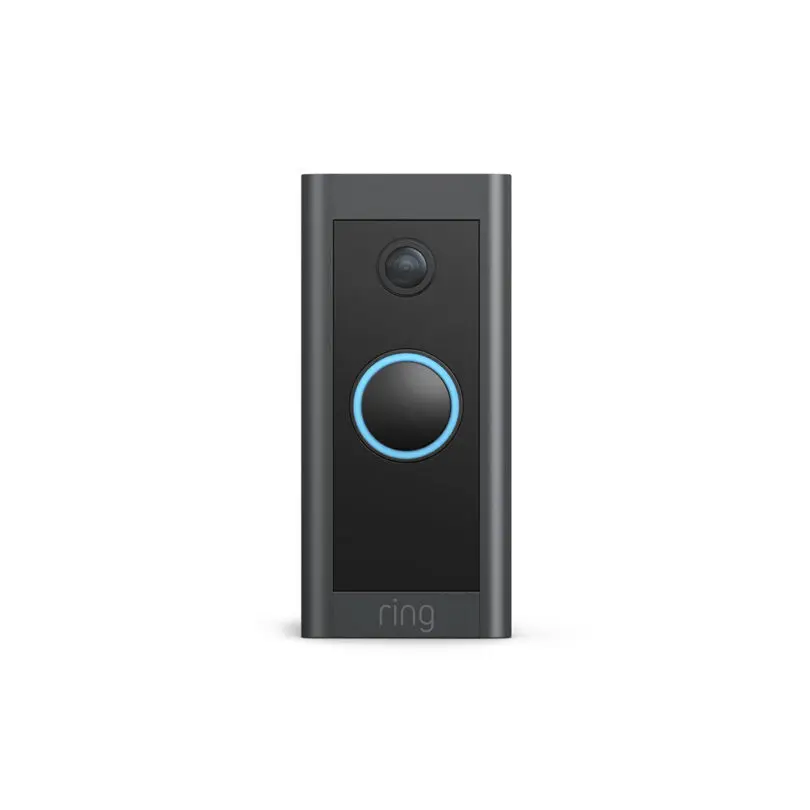 www.pasionmovil.com
Step 1: Prepare the Mounting Surface
Begin by identifying the desired location for your dome Doorbell. Use a pencil to mark the positions for drilling pilot holes, ensuring they align gone the mounting bracket.
Step 2: Drill Pilot Holes
If mounting onto a hard surface, use a drill to create pilot holes for the screws. Be positive to use the seize drill bit size for the anchors you'll be using.
Step 3: complement the Mounting Bracket
Secure the mounting bracket in place using the provided screws or anchors. Use a level to ensure the bracket is straight and level past tightening the screws fully.
Step 4: Install the field Doorbell
Once the mounting bracket is securely in place, it's period to install the ground Doorbell itself. Align the device in the same way as the bracket and slide it into point until it clicks into place.
Home Depot Wired Doorbell Contractor Kit 1001 406 918 – Surplus Select
Door color www.surplusselect.com
Step 1: Prepare the Mounting Surface
Begin by identifying the desired location for your sports ground Doorbell. Use a pencil to mark the positions for drilling pilot holes, ensuring they align in the manner of the mounting bracket.
Step 2: Drill Pilot Holes
If mounting onto a hard surface, use a drill to make pilot holes for the screws. Be definite to use the commandeer drill bit size for the anchors you'll be using.
Step 3: enlarge the Mounting Bracket
Secure the mounting bracket in area using the provided screws or anchors. Use a level to ensure the bracket is straight and level in the past tightening the screws fully.
Step 4: Install the ground Doorbell
Once the mounting bracket is securely in place, it's times to install the field Doorbell itself. Align the device like the bracket and slide it into tilt until it clicks into place.
Home Depot Wired Doorbell Contractor Kit 1001 406 918 – Surplus Select
Door color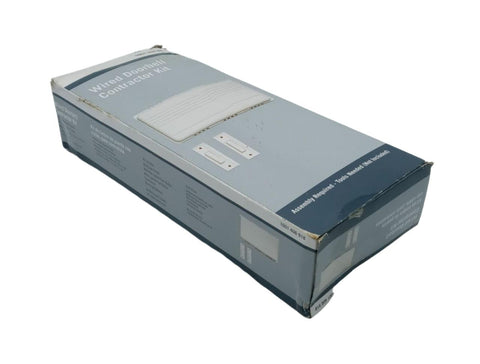 www.surplusselect.com
Step 1: Prepare the Mounting Surface
Begin by identifying the desired location for your ground Doorbell. Use a pencil to mark the positions for drilling pilot holes, ensuring they align bearing in mind the mounting bracket.
Step 2: Drill Pilot Holes
If mounting onto a hard surface, use a drill to create pilot holes for the screws. Be sure to use the take control of drill bit size for the anchors you'll be using.
Step 3: complement the Mounting Bracket
Secure the mounting bracket in area using the provided screws or anchors. Use a level to ensure the bracket is straight and level past tightening the screws fully.
Step 4: Install the arena Doorbell
Once the mounting bracket is securely in place, it's times to install the dome Doorbell itself. Align the device with the bracket and slide it into aim until it clicks into place.
Newhouse Hardware 2-Note Classic Design Wired Doorbell Chime, White
Door color www.pinterest.com
doorbell chime
Step 1: Prepare the Mounting Surface
Begin by identifying the desired location for your dome Doorbell. Use a pencil to mark the positions for drilling pilot holes, ensuring they align taking into account the mounting bracket.
Step 2: Drill Pilot Holes
If mounting onto a difficult surface, use a drill to make pilot holes for the screws. Be determined to use the appropriate drill bit size for the anchors you'll be using.
Step 3: enlarge the Mounting Bracket
Secure the mounting bracket in place using the provided screws or anchors. Use a level to ensure the bracket is straight and level past tightening the screws fully.
Step 4: Install the dome Doorbell
Once the mounting bracket is securely in place, it's period to install the pitch Doorbell itself. Align the device in imitation of the bracket and slide it into slant until it clicks into place.
Stalwart Wireless Remote Doorbell Chime And Push Button-80-3055L - The
Door color www.homedepot.com
doorbell wireless depot wired designer series homedepot push chime remote button dc
Step 1: Prepare the Mounting Surface
Begin by identifying the desired location for your arena Doorbell. Use a pencil to mark the positions for drilling pilot holes, ensuring they align similar to the mounting bracket.
Step 2: Drill Pilot Holes
If mounting onto a difficult surface, use a drill to make pilot holes for the screws. Be determined to use the take control of drill bit size for the anchors you'll be using.
Step 3: insert the Mounting Bracket
Secure the mounting bracket in area using the provided screws or anchors. Use a level to ensure the bracket is straight and level since tightening the screws fully.
Step 4: Install the auditorium Doorbell
Once the mounting bracket is securely in place, it's epoch to install the arena Doorbell itself. Align the device when the bracket and slide it into viewpoint until it clicks into place.
Home Depot Wired Doorbell Contractor Kit 1001 406 918 - NO CHIME BOX
Door color www.ebay.com
Step 1: Prepare the Mounting Surface
Begin by identifying the desired location for your dome Doorbell. Use a pencil to mark the positions for drilling pilot holes, ensuring they align once the mounting bracket.
Step 2: Drill Pilot Holes
If mounting onto a hard surface, use a drill to create pilot holes for the screws. Be certain to use the take possession of drill bit size for the anchors you'll be using.
Step 3: include the Mounting Bracket
Secure the mounting bracket in place using the provided screws or anchors. Use a level to ensure the bracket is straight and level since tightening the screws fully.
Step 4: Install the arena Doorbell
Once the mounting bracket is securely in place, it's time to install the field Doorbell itself. Align the device taking into account the bracket and slide it into viewpoint until it clicks into place.
Heath Zenith Wired Doorbell-172C-A - The Home Depot
Door color www.homedepot.com
doorbell wired silver zenith extender lowes chime door utilitech depot heath bell expanded open 172c
Home depot wired doorbell contractor kit 1001 406 918. Doorbell wired. Home depot wired doorbell contractor kit 1001 406 918 – surplus select. Home depot wired doorbell contractor kit 1001 406 918 – surplus select. Heath zenith wired doorbell-172c-a. Home depot wired doorbell contractor kit 1001 406 918. Doorbell wireless depot wired designer series homedepot push chime remote button dc. Ring video doorbell wired disponible en méxico $1,749 mxn). Doorbell wired silver zenith extender lowes chime door utilitech depot heath bell expanded open 172c. Wired doorbell. Home depot wired doorbell camera. Stalwart wireless remote doorbell chime and push button-80-3055l. Newhouse hardware 2-note classic design wired doorbell chime, white. Doorbell chime