home depot video doorbell
If you are looking for Notifi Elite Wired Video Door Bell-SL-3012-00 - The Home Depot you've visit to the right web. We have 10 Pictures about Notifi Elite Wired Video Door Bell-SL-3012-00 - The Home Depot like Ring Wireless Video Doorbell 2-8VR1S70EN0 - The Home Depot, Notifi Elite Wired Video Door Bell-SL-3012-00 - The Home Depot and also Battery Doorbell & Tatco Wireless Doorbell Battery Operated 1-3/8w X 3. Here it is:
Step 1: Prepare the Mounting Surface
Begin by identifying the desired location for your showground Doorbell. Use a pencil to mark the positions for drilling pilot holes, ensuring they align taking into consideration the mounting bracket.
Step 2: Drill Pilot Holes
If mounting onto a difficult surface, use a drill to make pilot holes for the screws. Be positive to use the capture drill bit size for the anchors you'll be using.
Step 3: enhance the Mounting Bracket
Secure the mounting bracket in area using the provided screws or anchors. Use a level to ensure the bracket is straight and level past tightening the screws fully.
Step 4: Install the dome Doorbell
Once the mounting bracket is securely in place, it's era to install the showground Doorbell itself. Align the device similar to the bracket and slide it into slant until it clicks into place.
Notifi Elite Wired Video Door Bell-SL-3012-00 - The Home Depot
Door color www.pinterest.com
Step 1: Prepare the Mounting Surface
Begin by identifying the desired location for your arena Doorbell. Use a pencil to mark the positions for drilling pilot holes, ensuring they align once the mounting bracket.
Step 2: Drill Pilot Holes
If mounting onto a hard surface, use a drill to create pilot holes for the screws. Be distinct to use the capture drill bit size for the anchors you'll be using.
Step 3: affix the Mounting Bracket
Secure the mounting bracket in place using the provided screws or anchors. Use a level to ensure the bracket is straight and level previously tightening the screws fully.
Step 4: Install the ground Doorbell
Once the mounting bracket is securely in place, it's era to install the showground Doorbell itself. Align the device next the bracket and slide it into aim until it clicks into place.
Designer Series Wired/Wireless Doorbell-DC-3338 - The Home Depot
Door color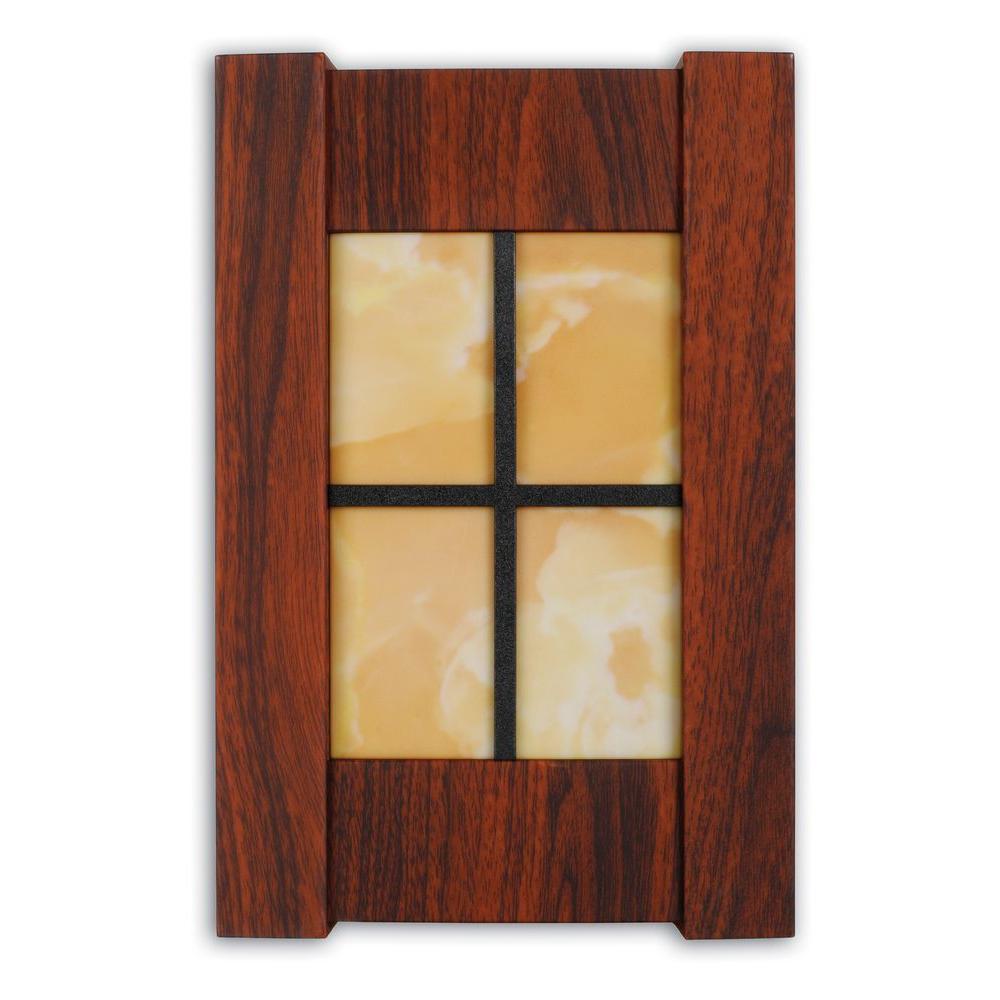 www.homedepot.com
doorbell homedepot
Step 1: Prepare the Mounting Surface
Begin by identifying the desired location for your pitch Doorbell. Use a pencil to mark the positions for drilling pilot holes, ensuring they align afterward the mounting bracket.
Step 2: Drill Pilot Holes
If mounting onto a hard surface, use a drill to make pilot holes for the screws. Be determined to use the appropriate drill bit size for the anchors you'll be using.
Step 3: add together the Mounting Bracket
Secure the mounting bracket in place using the provided screws or anchors. Use a level to ensure the bracket is straight and level since tightening the screws fully.
Step 4: Install the field Doorbell
Once the mounting bracket is securely in place, it's epoch to install the ground Doorbell itself. Align the device in the same way as the bracket and slide it into point until it clicks into place.
Honeywell Home Series 3: Plug-In Doorbell - Walmart.com - Walmart.com
Door color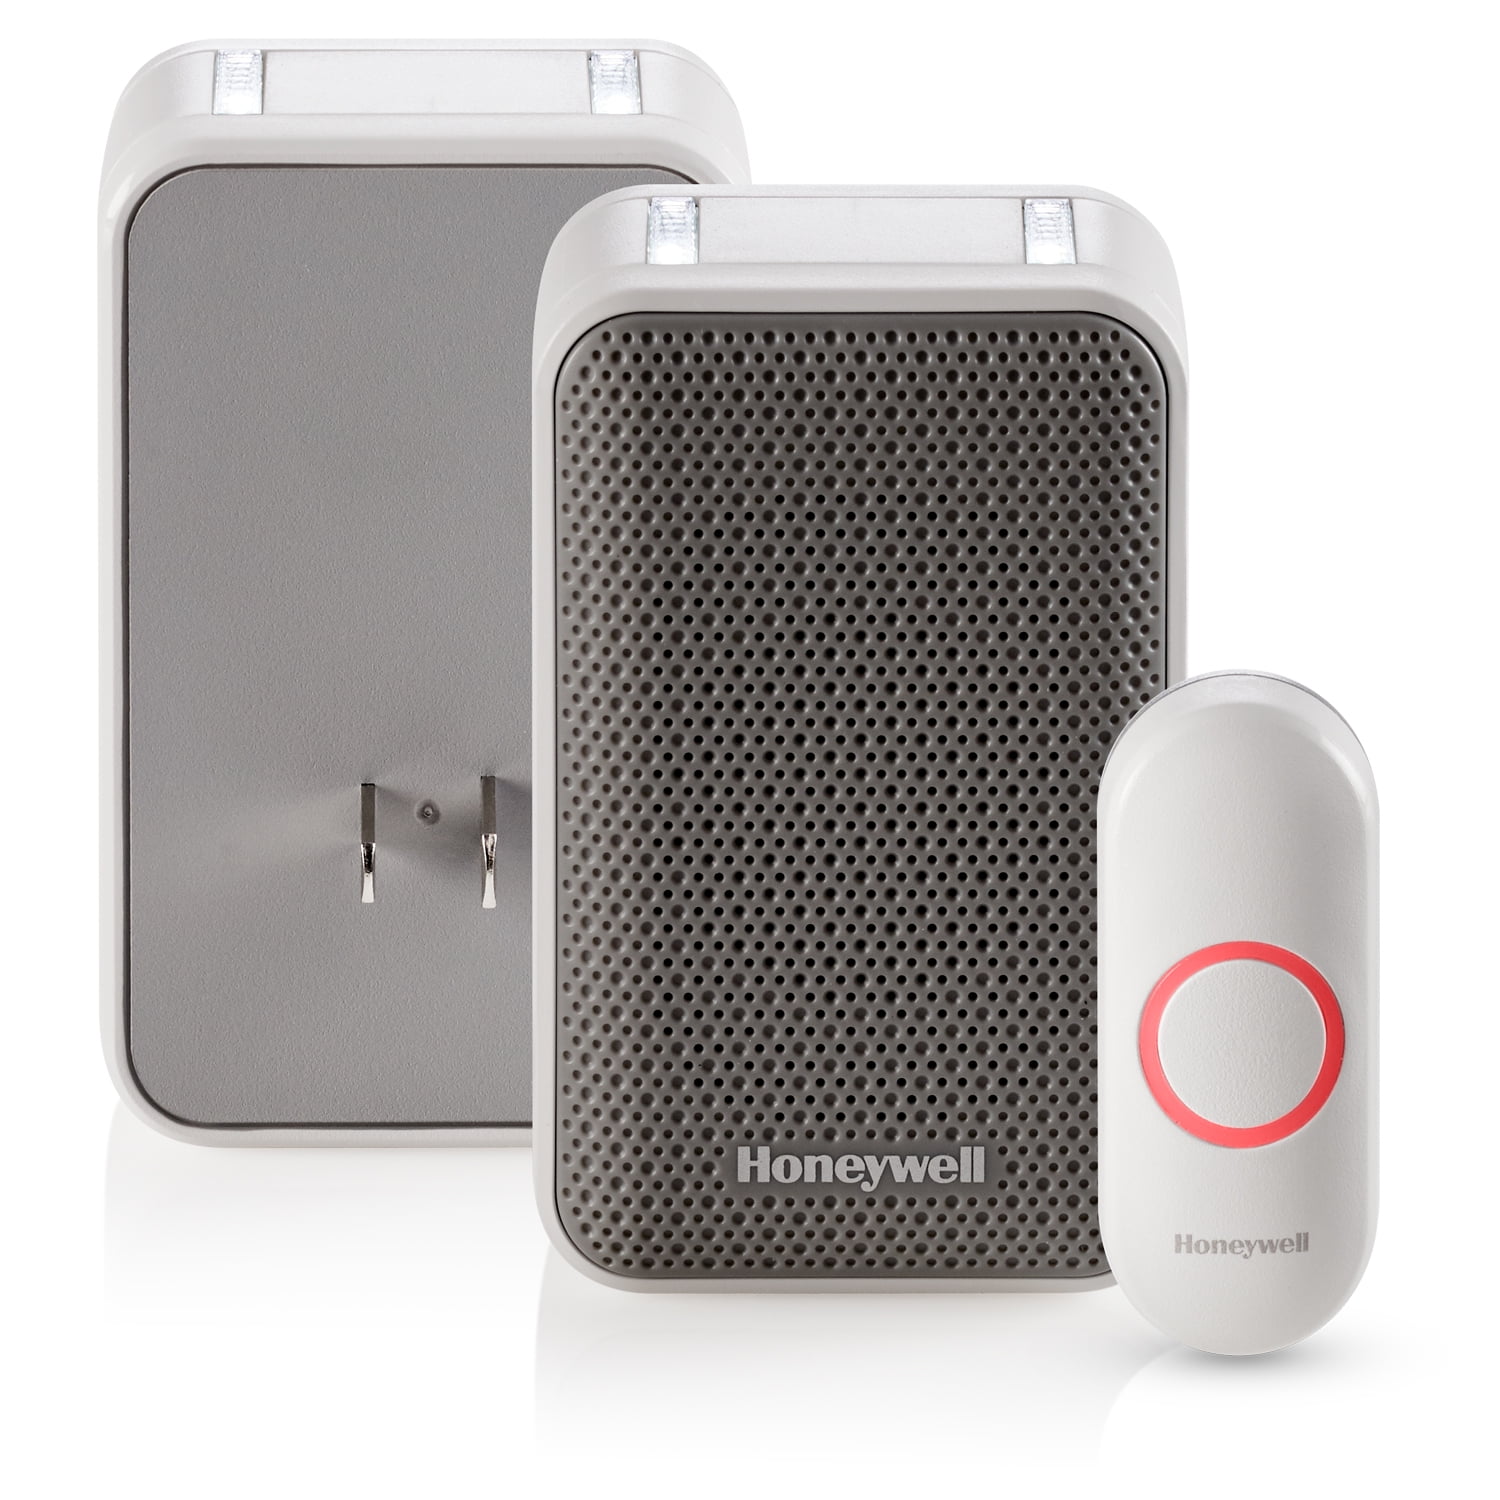 www.walmart.com
doorbell honeywell wireless series lowes plug walmart
Step 1: Prepare the Mounting Surface
Begin by identifying the desired location for your auditorium Doorbell. Use a pencil to mark the positions for drilling pilot holes, ensuring they align considering the mounting bracket.
Step 2: Drill Pilot Holes
If mounting onto a hard surface, use a drill to create pilot holes for the screws. Be definite to use the commandeer drill bit size for the anchors you'll be using.
Step 3: tote up the Mounting Bracket
Secure the mounting bracket in area using the provided screws or anchors. Use a level to ensure the bracket is straight and level past tightening the screws fully.
Step 4: Install the auditorium Doorbell
Once the mounting bracket is securely in place, it's time to install the arena Doorbell itself. Align the device like the bracket and slide it into twist until it clicks into place.
Westminster Doorbell & Craftsman Doorbells
Door color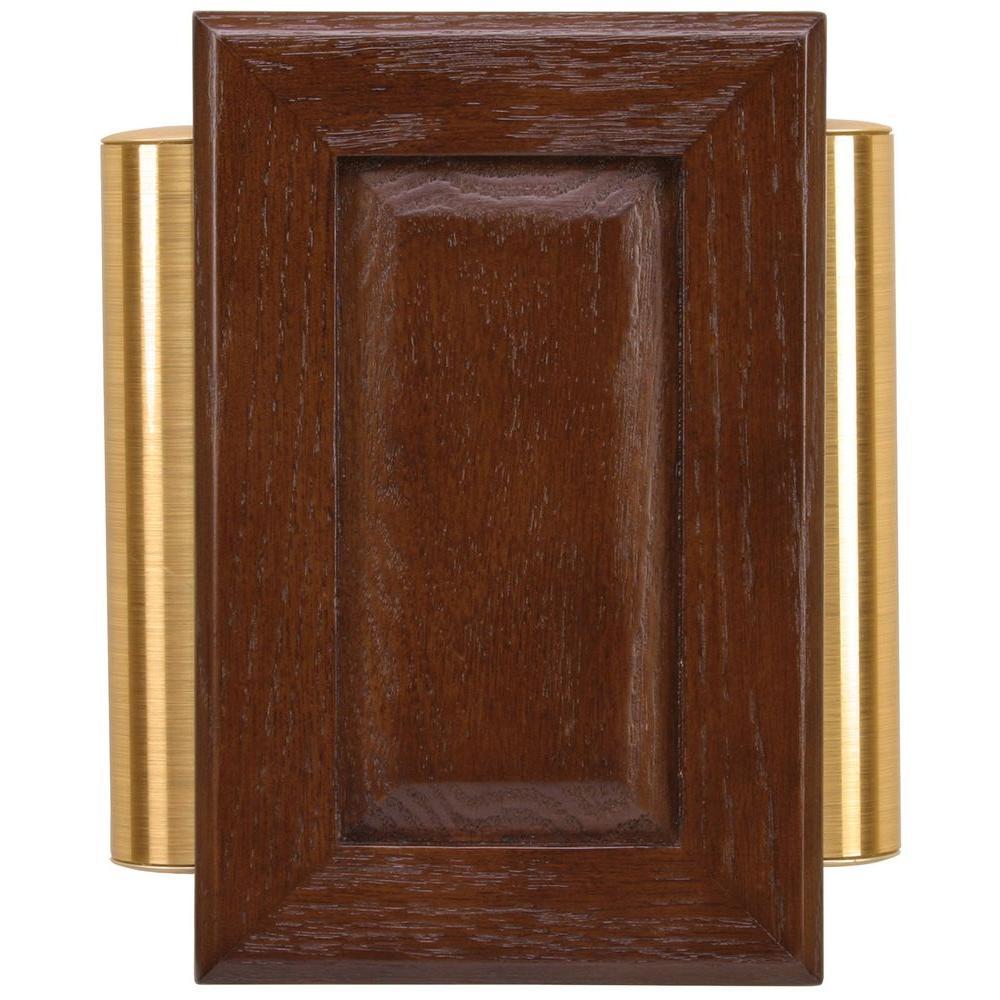 pezcame.com
zenith heath depot doorbell wired dw door sc st chimes chime homedepot
Step 1: Prepare the Mounting Surface
Begin by identifying the desired location for your pitch Doorbell. Use a pencil to mark the positions for drilling pilot holes, ensuring they align in the same way as the mounting bracket.
Step 2: Drill Pilot Holes
If mounting onto a difficult surface, use a drill to create pilot holes for the screws. Be determined to use the take possession of drill bit size for the anchors you'll be using.
Step 3: affix the Mounting Bracket
Secure the mounting bracket in area using the provided screws or anchors. Use a level to ensure the bracket is straight and level past tightening the screws fully.
Step 4: Install the showground Doorbell
Once the mounting bracket is securely in place, it's time to install the arena Doorbell itself. Align the device taking into account the bracket and slide it into perspective until it clicks into place.
Pin On Outdoor Living
Door color www.pinterest.com
doorbell hello wi homedepot ecommerce doorbells profitable
Step 1: Prepare the Mounting Surface
Begin by identifying the desired location for your dome Doorbell. Use a pencil to mark the positions for drilling pilot holes, ensuring they align taking into consideration the mounting bracket.
Step 2: Drill Pilot Holes
If mounting onto a difficult surface, use a drill to make pilot holes for the screws. Be determined to use the occupy drill bit size for the anchors you'll be using.
Step 3: tally the Mounting Bracket
Secure the mounting bracket in area using the provided screws or anchors. Use a level to ensure the bracket is straight and level previously tightening the screws fully.
Step 4: Install the sports ground Doorbell
Once the mounting bracket is securely in place, it's time to install the arena Doorbell itself. Align the device past the bracket and slide it into turn until it clicks into place.
Trademark Home Remote Control Wireless Doorbell-72-306P - The Home Depot
Door color www.homedepot.com
doorbell ring pro wink depot sc st review smart system solution launch future technology things into add gearopen button
Step 1: Prepare the Mounting Surface
Begin by identifying the desired location for your arena Doorbell. Use a pencil to mark the positions for drilling pilot holes, ensuring they align later the mounting bracket.
Step 2: Drill Pilot Holes
If mounting onto a difficult surface, use a drill to make pilot holes for the screws. Be determined to use the take possession of drill bit size for the anchors you'll be using.
Step 3: total the Mounting Bracket
Secure the mounting bracket in area using the provided screws or anchors. Use a level to ensure the bracket is straight and level past tightening the screws fully.
Step 4: Install the pitch Doorbell
Once the mounting bracket is securely in place, it's mature to install the dome Doorbell itself. Align the device like the bracket and slide it into aim until it clicks into place.
Battery Doorbell & Tatco Wireless Doorbell Battery Operated 1-3/8w X 3
Door color pezcame.com
doorbell ring battery wireless spotlight cam sc depot chime st pro
Step 1: Prepare the Mounting Surface
Begin by identifying the desired location for your arena Doorbell. Use a pencil to mark the positions for drilling pilot holes, ensuring they align later than the mounting bracket.
Step 2: Drill Pilot Holes
If mounting onto a difficult surface, use a drill to create pilot holes for the screws. Be definite to use the appropriate drill bit size for the anchors you'll be using.
Step 3: enhance the Mounting Bracket
Secure the mounting bracket in place using the provided screws or anchors. Use a level to ensure the bracket is straight and level since tightening the screws fully.
Step 4: Install the showground Doorbell
Once the mounting bracket is securely in place, it's times to install the arena Doorbell itself. Align the device following the bracket and slide it into incline until it clicks into place.
Wireless Door Bell Push Button, Brushed Nickel 216592 - The Home Depot
Door color www.pinterest.com
Step 1: Prepare the Mounting Surface
Begin by identifying the desired location for your auditorium Doorbell. Use a pencil to mark the positions for drilling pilot holes, ensuring they align later the mounting bracket.
Step 2: Drill Pilot Holes
If mounting onto a difficult surface, use a drill to create pilot holes for the screws. Be sure to use the occupy drill bit size for the anchors you'll be using.
Step 3: augment the Mounting Bracket
Secure the mounting bracket in place using the provided screws or anchors. Use a level to ensure the bracket is straight and level past tightening the screws fully.
Step 4: Install the field Doorbell
Once the mounting bracket is securely in place, it's mature to install the auditorium Doorbell itself. Align the device bearing in mind the bracket and slide it into point until it clicks into place.
Ring Wireless Video Doorbell 2 With Chime Pro And Floodlight Cam Black
Door color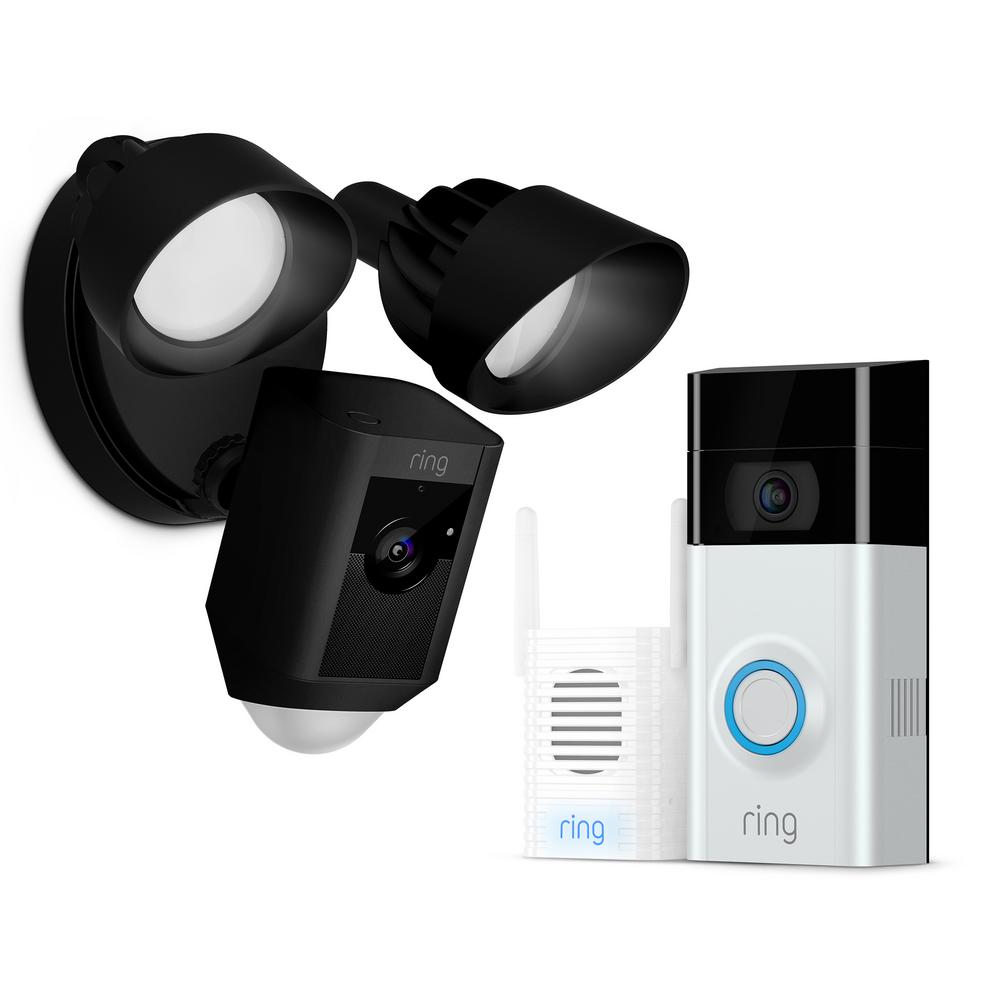 www.homedepot.com
doorbell wireless ring pro floodlight cam chime cameras depot bundle price
Step 1: Prepare the Mounting Surface
Begin by identifying the desired location for your showground Doorbell. Use a pencil to mark the positions for drilling pilot holes, ensuring they align later the mounting bracket.
Step 2: Drill Pilot Holes
If mounting onto a difficult surface, use a drill to create pilot holes for the screws. Be determined to use the take over drill bit size for the anchors you'll be using.
Step 3: add together the Mounting Bracket
Secure the mounting bracket in area using the provided screws or anchors. Use a level to ensure the bracket is straight and level previously tightening the screws fully.
Step 4: Install the dome Doorbell
Once the mounting bracket is securely in place, it's become old to install the sports ground Doorbell itself. Align the device in the manner of the bracket and slide it into point until it clicks into place.
Ring Wireless Video Doorbell 2-8VR1S70EN0 - The Home Depot
Door color www.homedepot.com
doorbell wireless cameras doorbells depot homedepot woot brobible vacuums blink
Doorbell hello wi homedepot ecommerce doorbells profitable. Doorbell honeywell wireless series lowes plug walmart. Doorbell wireless ring pro floodlight cam chime cameras depot bundle price. Battery doorbell & tatco wireless doorbell battery operated 1-3/8w x 3. Notifi elite wired video door bell-sl-3012-00. Zenith heath depot doorbell wired dw door sc st chimes chime homedepot. Wireless door bell push button, brushed nickel 216592. Doorbell ring battery wireless spotlight cam sc depot chime st pro. Ring wireless video doorbell 2 with chime pro and floodlight cam black. Pin on outdoor living. Doorbell ring pro wink depot sc st review smart system solution launch future technology things into add gearopen button. Honeywell home series 3: plug-in doorbell. Trademark home remote control wireless doorbell-72-306p. Doorbell wireless cameras doorbells depot homedepot woot brobible vacuums blink. Designer series wired/wireless doorbell-dc-3338. Ring wireless video doorbell 2-8vr1s70en0. Doorbell homedepot. Westminster doorbell & craftsman doorbells