google nest doorbell charger
If you are looking for Google Nest Hello Video Doorbell Chime Wire Connector FOR SALE you've visit to the right web. We have 10 Images about Google Nest Hello Video Doorbell Chime Wire Connector FOR SALE like Indoor Power Adapter for Nest Hello - Google Store, GOOGLE NEST DOORBELL with INBUILT BATTERY – Touch To Cart and also Google Nest Smart Video Doorbell Review (Battery) - Gearbrain. Here it is:
Step 1: Prepare the Mounting Surface
Begin by identifying the desired location for your ring Doorbell. Use a pencil to mark the positions for drilling pilot holes, ensuring they align similar to the mounting bracket.
Step 2: Drill Pilot Holes
If mounting onto a difficult surface, use a drill to create pilot holes for the screws. Be sure to use the take possession of drill bit size for the anchors you'll be using.
Step 3: include the Mounting Bracket
Secure the mounting bracket in area using the provided screws or anchors. Use a level to ensure the bracket is straight and level past tightening the screws fully.
Step 4: Install the auditorium Doorbell
Once the mounting bracket is securely in place, it's grow old to install the dome Doorbell itself. Align the device later than the bracket and slide it into tilt until it clicks into place.
Google Nest Hello Video Doorbell Chime Wire Connector FOR SALE
Door color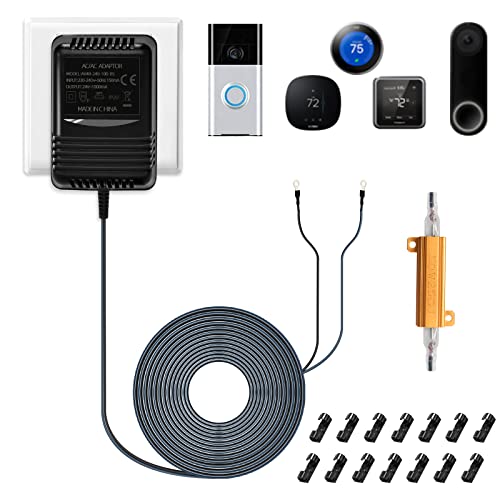 picclick.co.uk
Step 1: Prepare the Mounting Surface
Begin by identifying the desired location for your arena Doorbell. Use a pencil to mark the positions for drilling pilot holes, ensuring they align like the mounting bracket.
Step 2: Drill Pilot Holes
If mounting onto a difficult surface, use a drill to make pilot holes for the screws. Be sure to use the commandeer drill bit size for the anchors you'll be using.
Step 3: include the Mounting Bracket
Secure the mounting bracket in area using the provided screws or anchors. Use a level to ensure the bracket is straight and level back tightening the screws fully.
Step 4: Install the showground Doorbell
Once the mounting bracket is securely in place, it's become old to install the dome Doorbell itself. Align the device taking into account the bracket and slide it into viewpoint until it clicks into place.
Introducing The New Second Generation Nest Doorbell (Wired) [Gallery
Door color crast.net
Step 1: Prepare the Mounting Surface
Begin by identifying the desired location for your auditorium Doorbell. Use a pencil to mark the positions for drilling pilot holes, ensuring they align like the mounting bracket.
Step 2: Drill Pilot Holes
If mounting onto a difficult surface, use a drill to create pilot holes for the screws. Be clear to use the take possession of drill bit size for the anchors you'll be using.
Step 3: insert the Mounting Bracket
Secure the mounting bracket in place using the provided screws or anchors. Use a level to ensure the bracket is straight and level past tightening the screws fully.
Step 4: Install the arena Doorbell
Once the mounting bracket is securely in place, it's get older to install the sports ground Doorbell itself. Align the device subsequent to the bracket and slide it into position until it clicks into place.
Google Nest Doorbell (battery) Review | TechRadar
Door color www.techradar.com
nest doorbell techradar credit
Step 1: Prepare the Mounting Surface
Begin by identifying the desired location for your showground Doorbell. Use a pencil to mark the positions for drilling pilot holes, ensuring they align afterward the mounting bracket.
Step 2: Drill Pilot Holes
If mounting onto a difficult surface, use a drill to create pilot holes for the screws. Be distinct to use the take control of drill bit size for the anchors you'll be using.
Step 3: augment the Mounting Bracket
Secure the mounting bracket in place using the provided screws or anchors. Use a level to ensure the bracket is straight and level back tightening the screws fully.
Step 4: Install the ring Doorbell
Once the mounting bracket is securely in place, it's mature to install the field Doorbell itself. Align the device once the bracket and slide it into twist until it clicks into place.
Wasserstein Power Supply Adapter Compatible With Google Nest Hello
Door color www.walmart.com
doorbell power
Step 1: Prepare the Mounting Surface
Begin by identifying the desired location for your sports ground Doorbell. Use a pencil to mark the positions for drilling pilot holes, ensuring they align bearing in mind the mounting bracket.
Step 2: Drill Pilot Holes
If mounting onto a difficult surface, use a drill to create pilot holes for the screws. Be determined to use the seize drill bit size for the anchors you'll be using.
Step 3: improve the Mounting Bracket
Secure the mounting bracket in place using the provided screws or anchors. Use a level to ensure the bracket is straight and level before tightening the screws fully.
Step 4: Install the ground Doorbell
Once the mounting bracket is securely in place, it's epoch to install the dome Doorbell itself. Align the device taking into consideration the bracket and slide it into turn until it clicks into place.
Google Nest Doorbell (battery) Review | TechRadar
Door color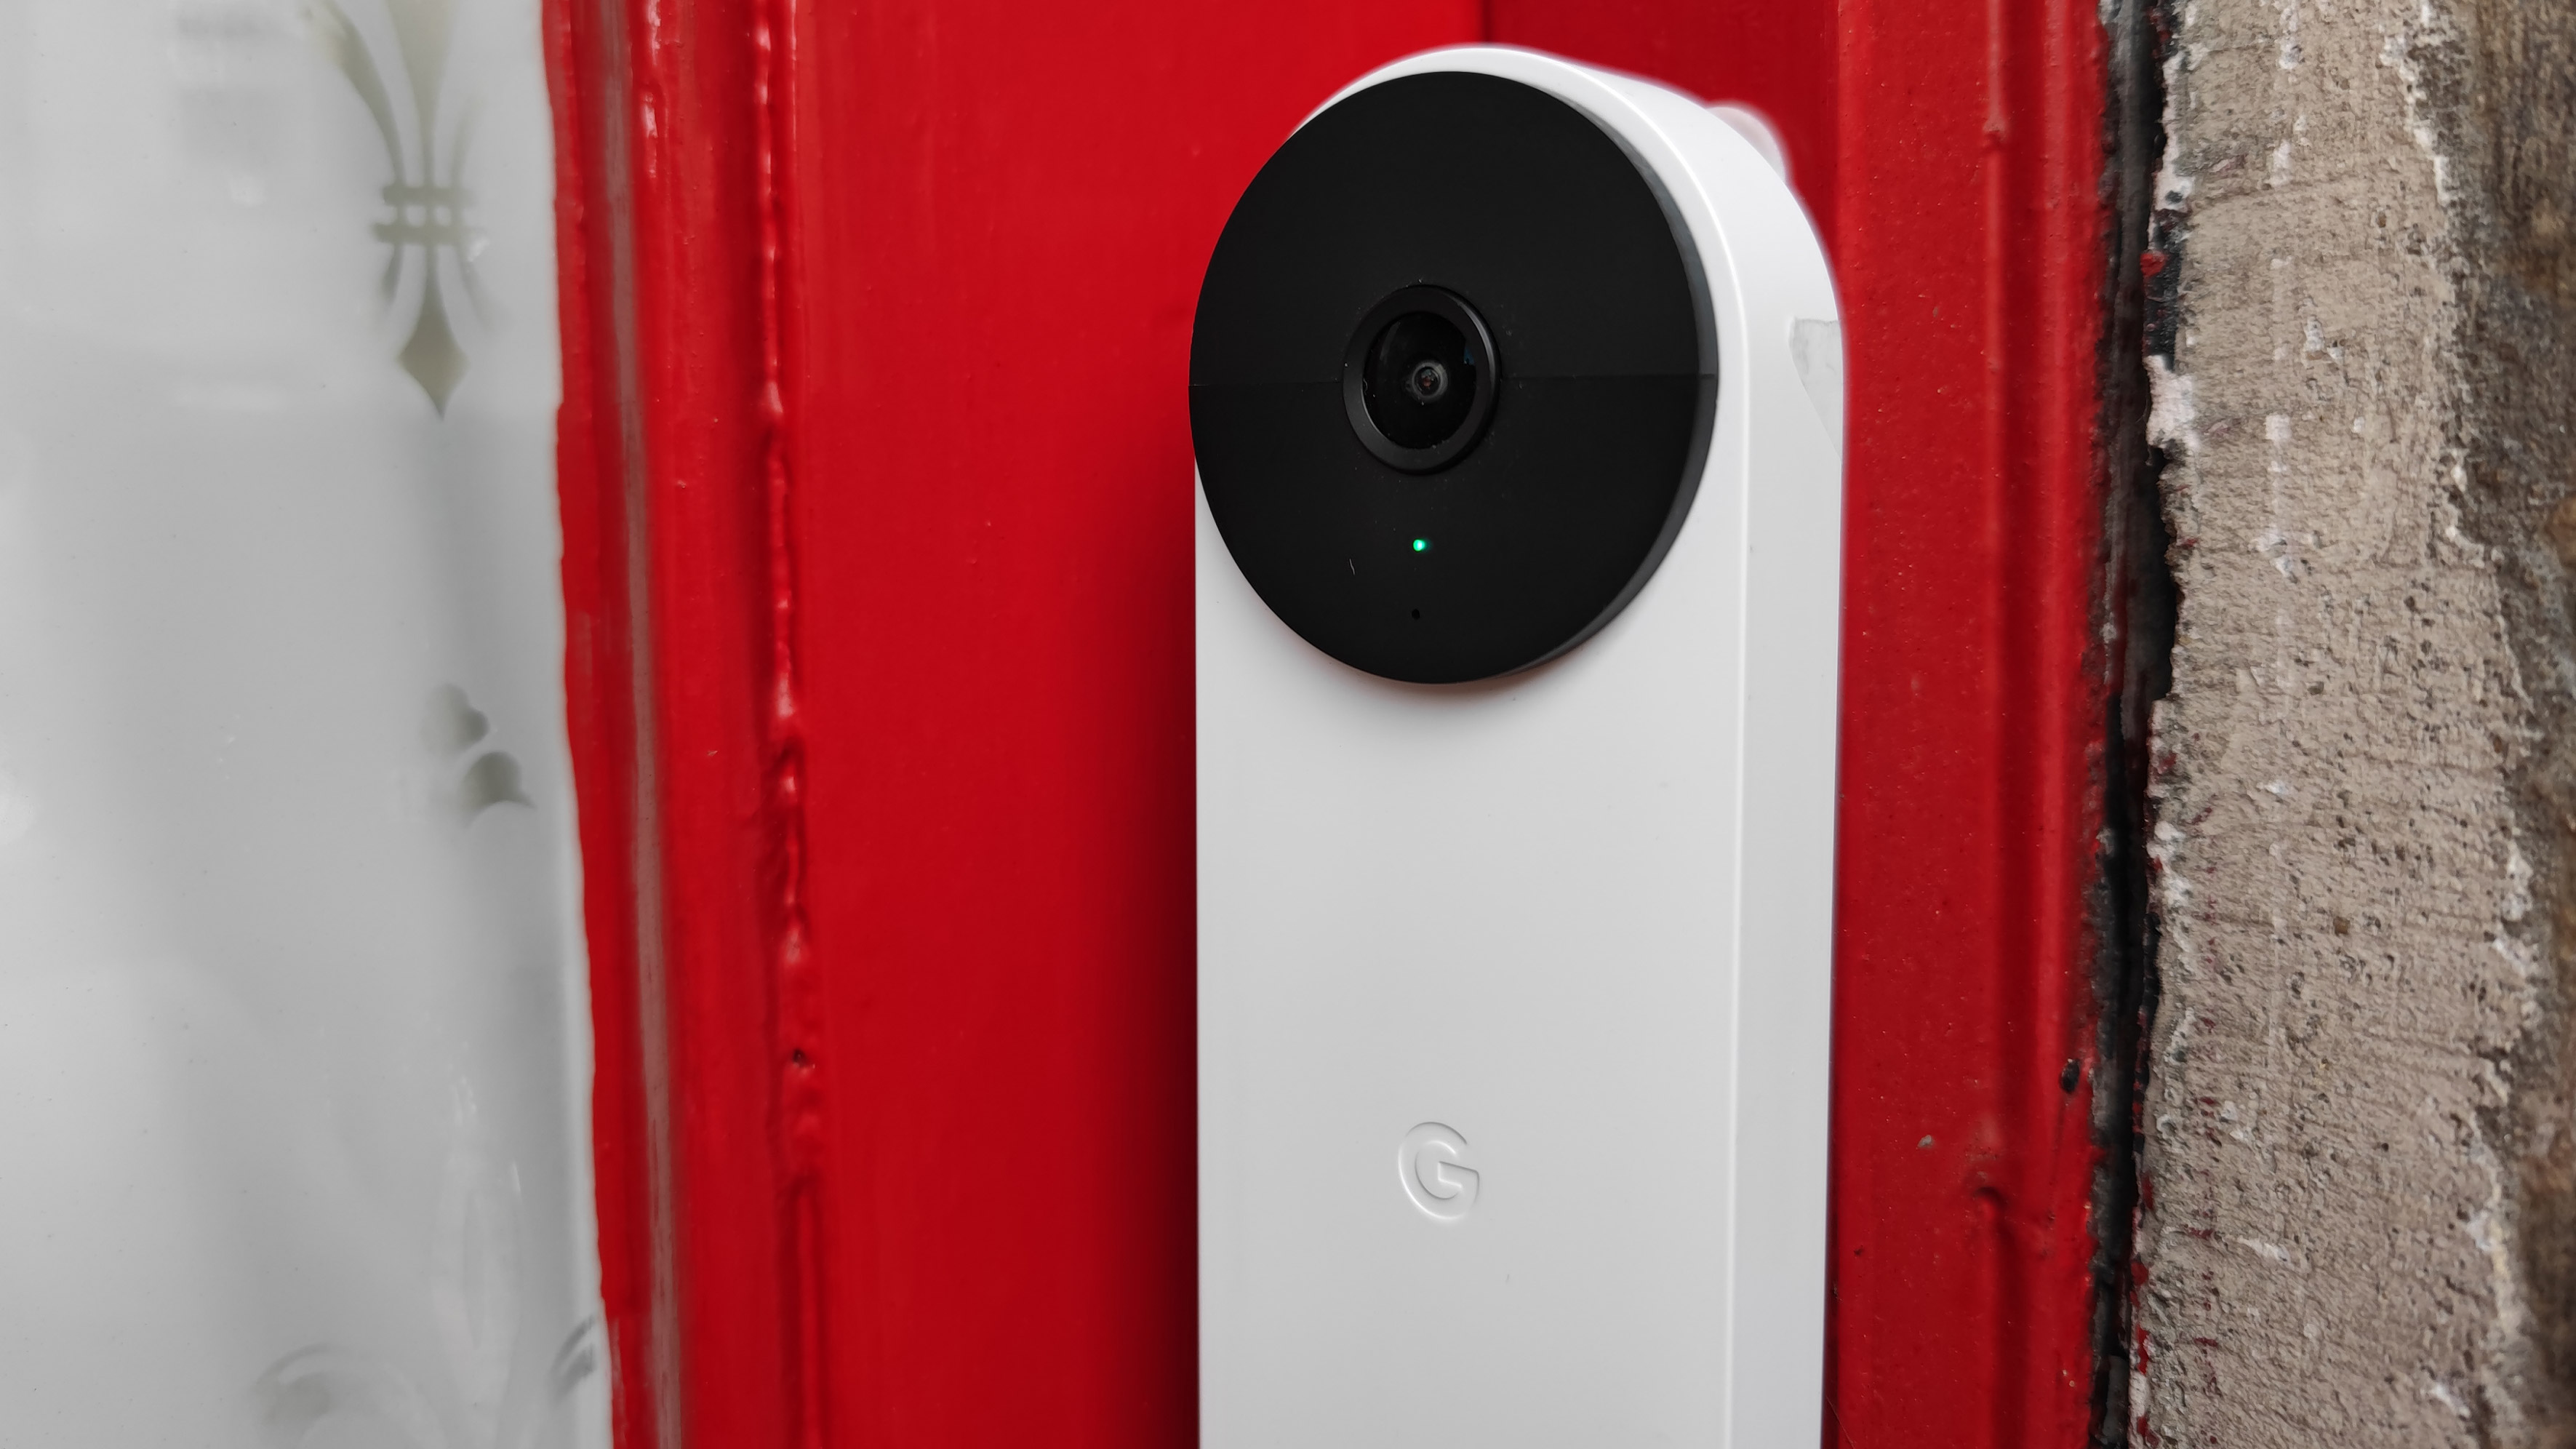 www.techradar.com
Step 1: Prepare the Mounting Surface
Begin by identifying the desired location for your ring Doorbell. Use a pencil to mark the positions for drilling pilot holes, ensuring they align bearing in mind the mounting bracket.
Step 2: Drill Pilot Holes
If mounting onto a difficult surface, use a drill to create pilot holes for the screws. Be certain to use the capture drill bit size for the anchors you'll be using.
Step 3: supplement the Mounting Bracket
Secure the mounting bracket in area using the provided screws or anchors. Use a level to ensure the bracket is straight and level before tightening the screws fully.
Step 4: Install the ring Doorbell
Once the mounting bracket is securely in place, it's epoch to install the field Doorbell itself. Align the device past the bracket and slide it into slope until it clicks into place.
GOOGLE NEST DOORBELL With INBUILT BATTERY – Touch To Cart
Door color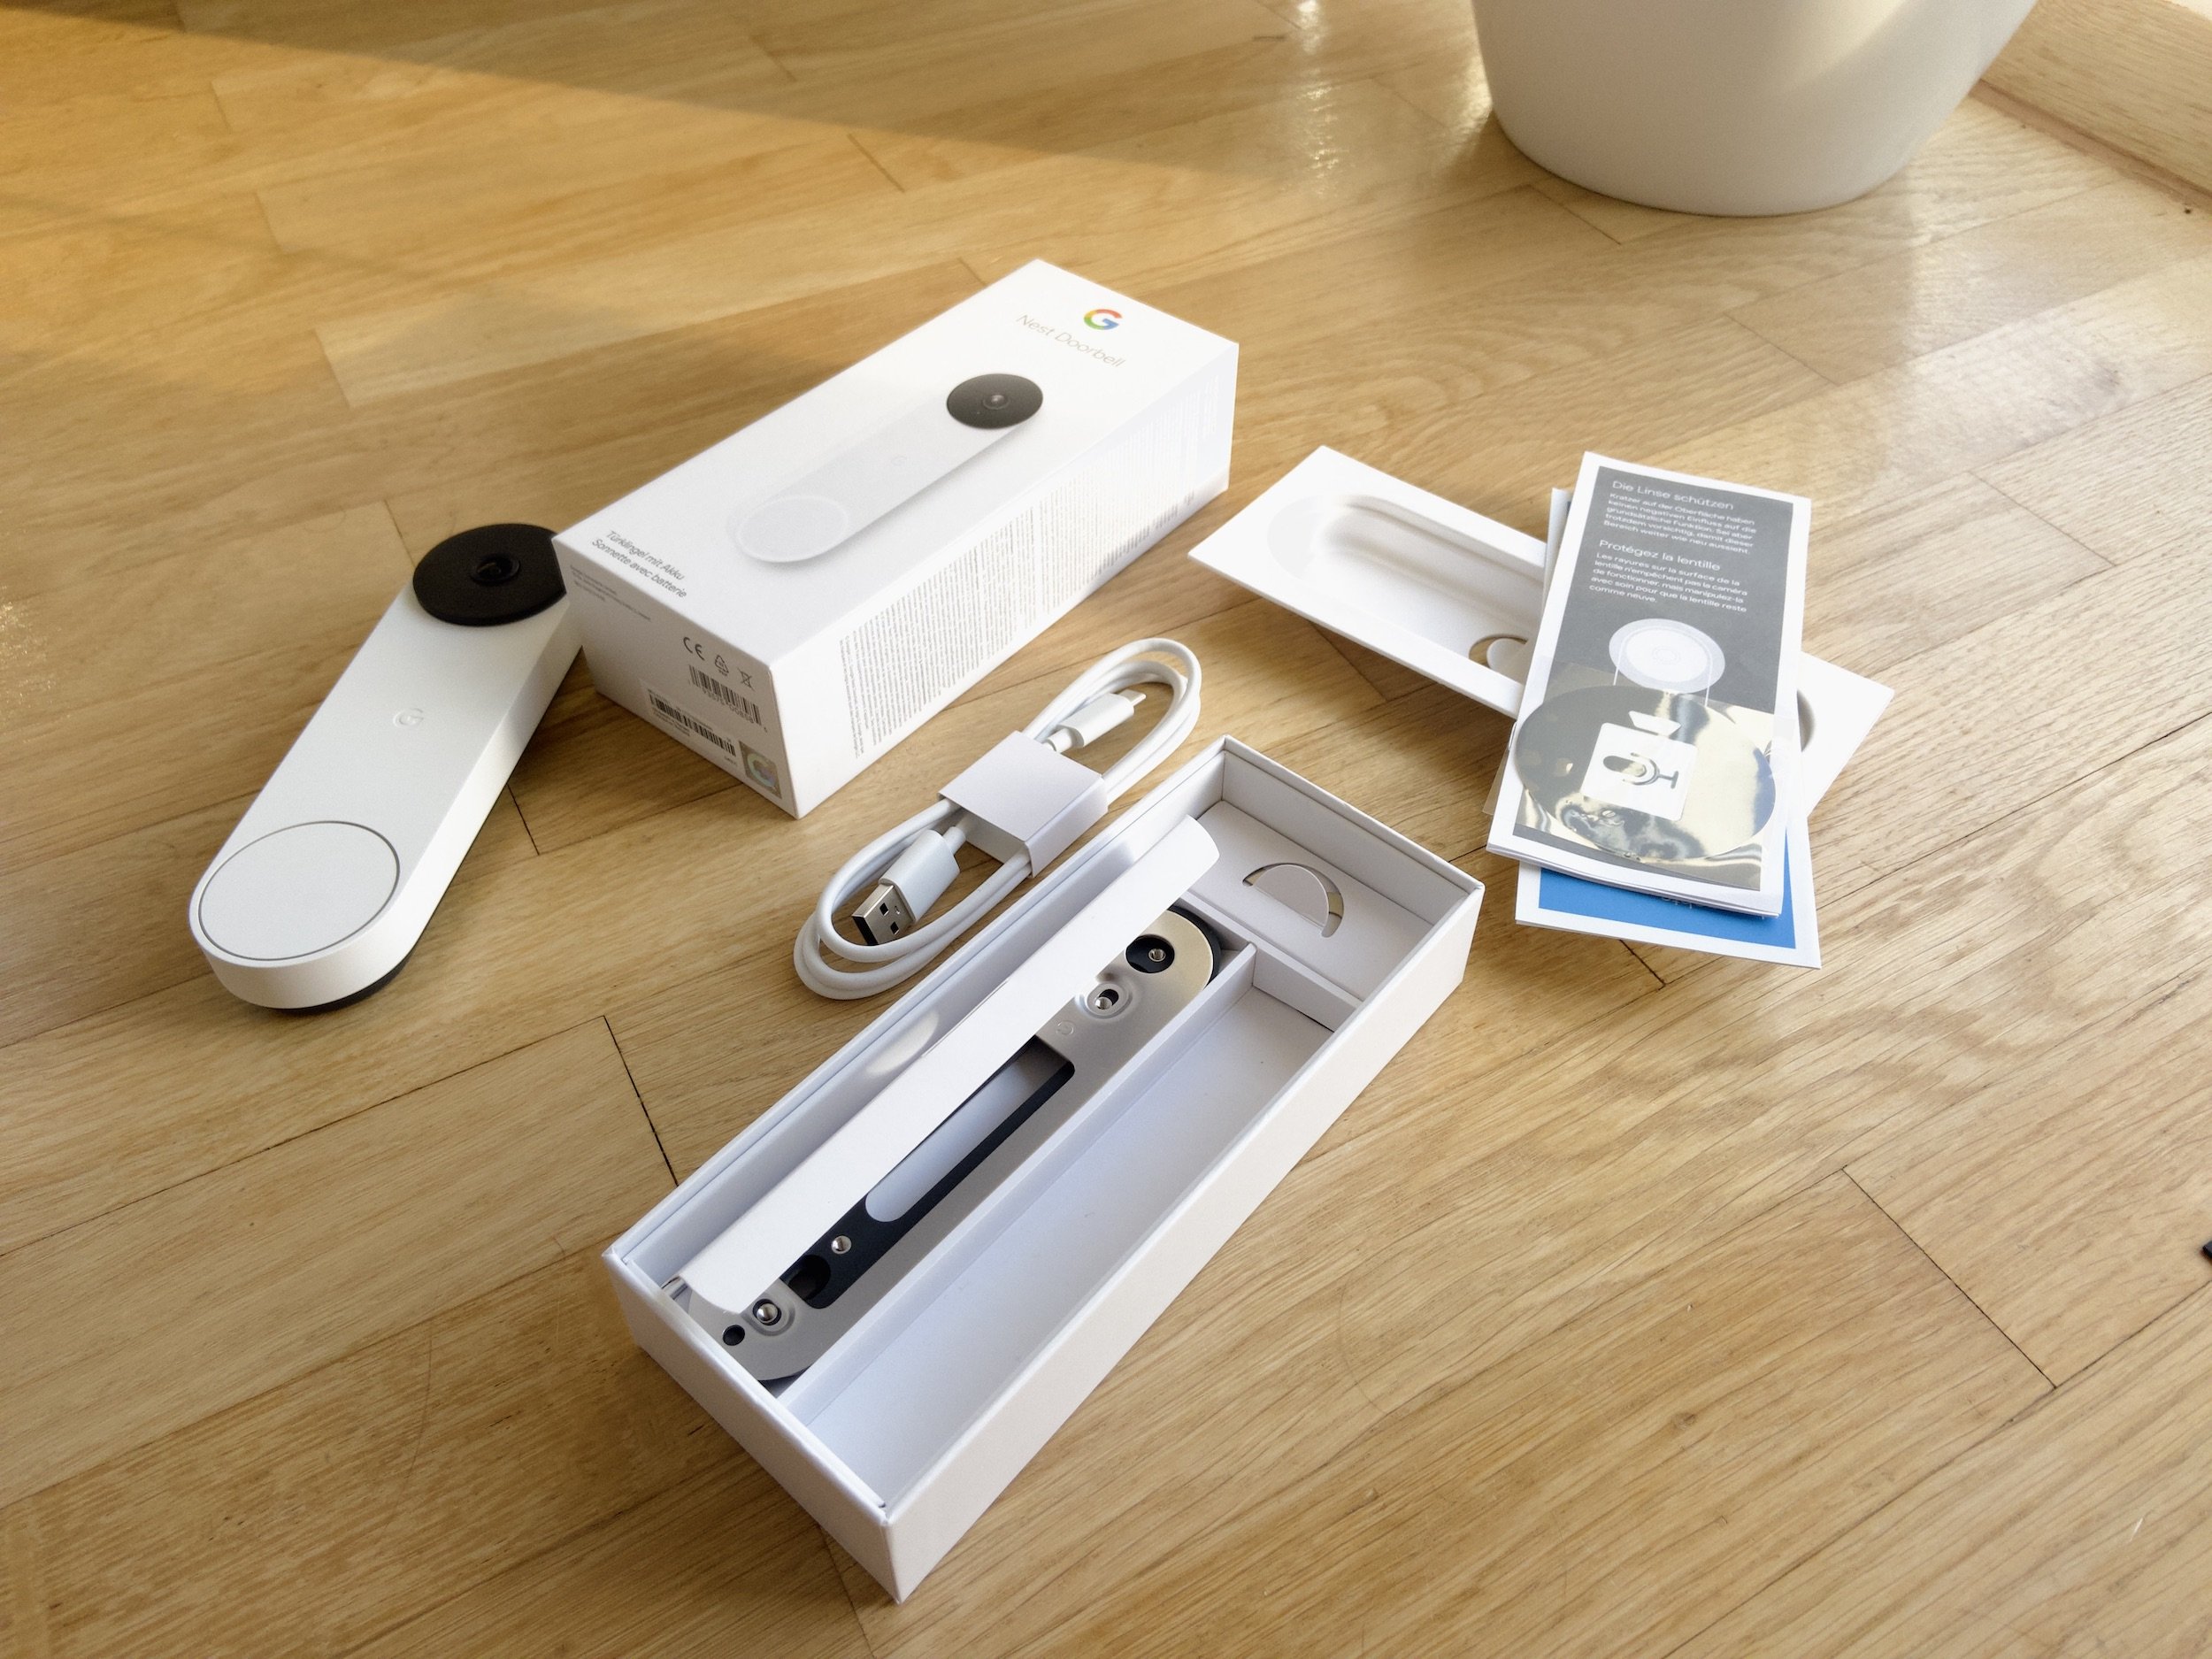 touchtocart.lk
Step 1: Prepare the Mounting Surface
Begin by identifying the desired location for your ground Doorbell. Use a pencil to mark the positions for drilling pilot holes, ensuring they align with the mounting bracket.
Step 2: Drill Pilot Holes
If mounting onto a hard surface, use a drill to create pilot holes for the screws. Be certain to use the seize drill bit size for the anchors you'll be using.
Step 3: count the Mounting Bracket
Secure the mounting bracket in area using the provided screws or anchors. Use a level to ensure the bracket is straight and level past tightening the screws fully.
Step 4: Install the auditorium Doorbell
Once the mounting bracket is securely in place, it's mature to install the sports ground Doorbell itself. Align the device subsequent to the bracket and slide it into approach until it clicks into place.
Google Nest Smart Video Doorbell Review (Battery) - Gearbrain
Door color www.gearbrain.com
Step 1: Prepare the Mounting Surface
Begin by identifying the desired location for your dome Doorbell. Use a pencil to mark the positions for drilling pilot holes, ensuring they align bearing in mind the mounting bracket.
Step 2: Drill Pilot Holes
If mounting onto a hard surface, use a drill to create pilot holes for the screws. Be distinct to use the take control of drill bit size for the anchors you'll be using.
Step 3: tally up the Mounting Bracket
Secure the mounting bracket in place using the provided screws or anchors. Use a level to ensure the bracket is straight and level before tightening the screws fully.
Step 4: Install the arena Doorbell
Once the mounting bracket is securely in place, it's era to install the auditorium Doorbell itself. Align the device taking into consideration the bracket and slide it into slant until it clicks into place.
Google Shares Details On New Nest Cams, Battery Doorbell
Door color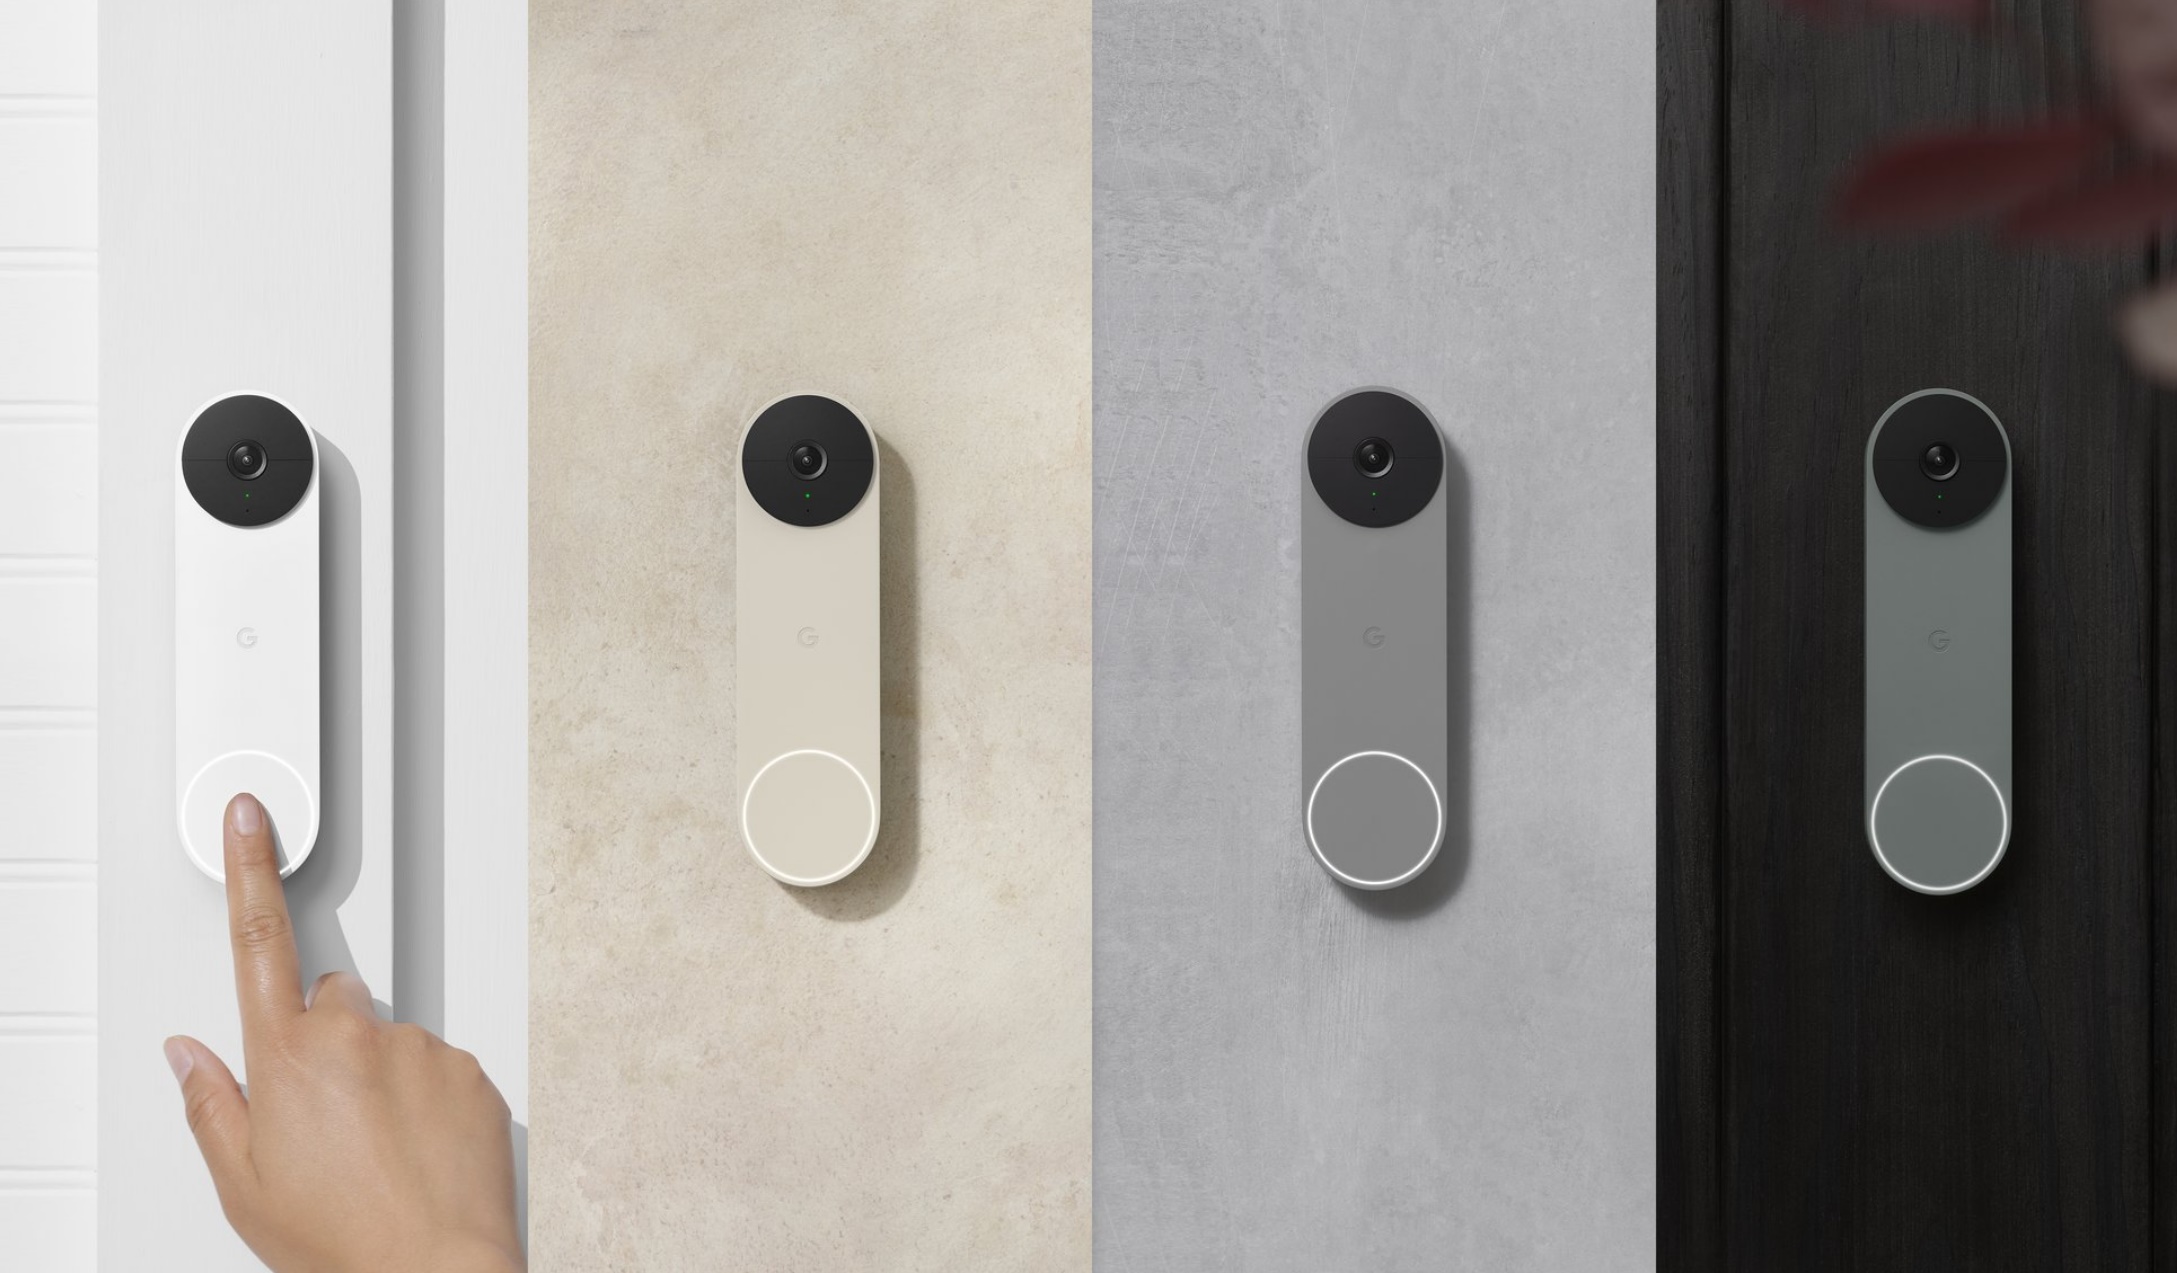 www.droid-life.com
doorbell battery cams unveils uncrate hardwarezone
Step 1: Prepare the Mounting Surface
Begin by identifying the desired location for your dome Doorbell. Use a pencil to mark the positions for drilling pilot holes, ensuring they align afterward the mounting bracket.
Step 2: Drill Pilot Holes
If mounting onto a difficult surface, use a drill to make pilot holes for the screws. Be determined to use the seize drill bit size for the anchors you'll be using.
Step 3: adjoin the Mounting Bracket
Secure the mounting bracket in area using the provided screws or anchors. Use a level to ensure the bracket is straight and level back tightening the screws fully.
Step 4: Install the sports ground Doorbell
Once the mounting bracket is securely in place, it's times to install the ring Doorbell itself. Align the device similar to the bracket and slide it into slant until it clicks into place.
Google Nest Doorbell (Battery) Review: Smart And Chunky
Door color bgr.com
doorbell
Step 1: Prepare the Mounting Surface
Begin by identifying the desired location for your pitch Doorbell. Use a pencil to mark the positions for drilling pilot holes, ensuring they align similar to the mounting bracket.
Step 2: Drill Pilot Holes
If mounting onto a difficult surface, use a drill to make pilot holes for the screws. Be distinct to use the take control of drill bit size for the anchors you'll be using.
Step 3: tote up the Mounting Bracket
Secure the mounting bracket in area using the provided screws or anchors. Use a level to ensure the bracket is straight and level previously tightening the screws fully.
Step 4: Install the arena Doorbell
Once the mounting bracket is securely in place, it's get older to install the ring Doorbell itself. Align the device considering the bracket and slide it into approach until it clicks into place.
Indoor Power Adapter For Nest Hello - Google Store
Door color store.google.com
nest power adapter google hello indoor doorbell stock
Google nest hello video doorbell chime wire connector for sale. Doorbell battery cams unveils uncrate hardwarezone. Google nest doorbell (battery) review: smart and chunky. Doorbell power. Wasserstein power supply adapter compatible with google nest hello. Nest doorbell techradar credit. Google nest doorbell with inbuilt battery – touch to cart. Google shares details on new nest cams, battery doorbell. Introducing the new second generation nest doorbell (wired) [gallery. Nest power adapter google hello indoor doorbell stock. Indoor power adapter for nest hello. Google nest smart video doorbell review (battery). Google nest doorbell (battery) review. Google nest doorbell (battery) review