doorbell chimes home depot
If you are looking for Heath-Zenith Wired Door Chime with Solid Beech Mahogany Cover & Reviews you've came to the right page. We have 10 Pics about Heath-Zenith Wired Door Chime with Solid Beech Mahogany Cover & Reviews like Atomic Doorbell Chimes + A Mid-Century Update | merrypad, Trademark Home Wireless Remote Control Doorbell with 10 Different and also Heath Zenith Solid Beech with Mahogany Doorbell at Lowes.com. Here you go:
Step 1: Prepare the Mounting Surface
Begin by identifying the desired location for your auditorium Doorbell. Use a pencil to mark the positions for drilling pilot holes, ensuring they align once the mounting bracket.
Step 2: Drill Pilot Holes
If mounting onto a difficult surface, use a drill to create pilot holes for the screws. Be certain to use the take possession of drill bit size for the anchors you'll be using.
Step 3: enhance the Mounting Bracket
Secure the mounting bracket in place using the provided screws or anchors. Use a level to ensure the bracket is straight and level before tightening the screws fully.
Step 4: Install the auditorium Doorbell
Once the mounting bracket is securely in place, it's era to install the arena Doorbell itself. Align the device following the bracket and slide it into approach until it clicks into place.
Heath-Zenith Wired Door Chime With Solid Beech Mahogany Cover & Reviews
Door color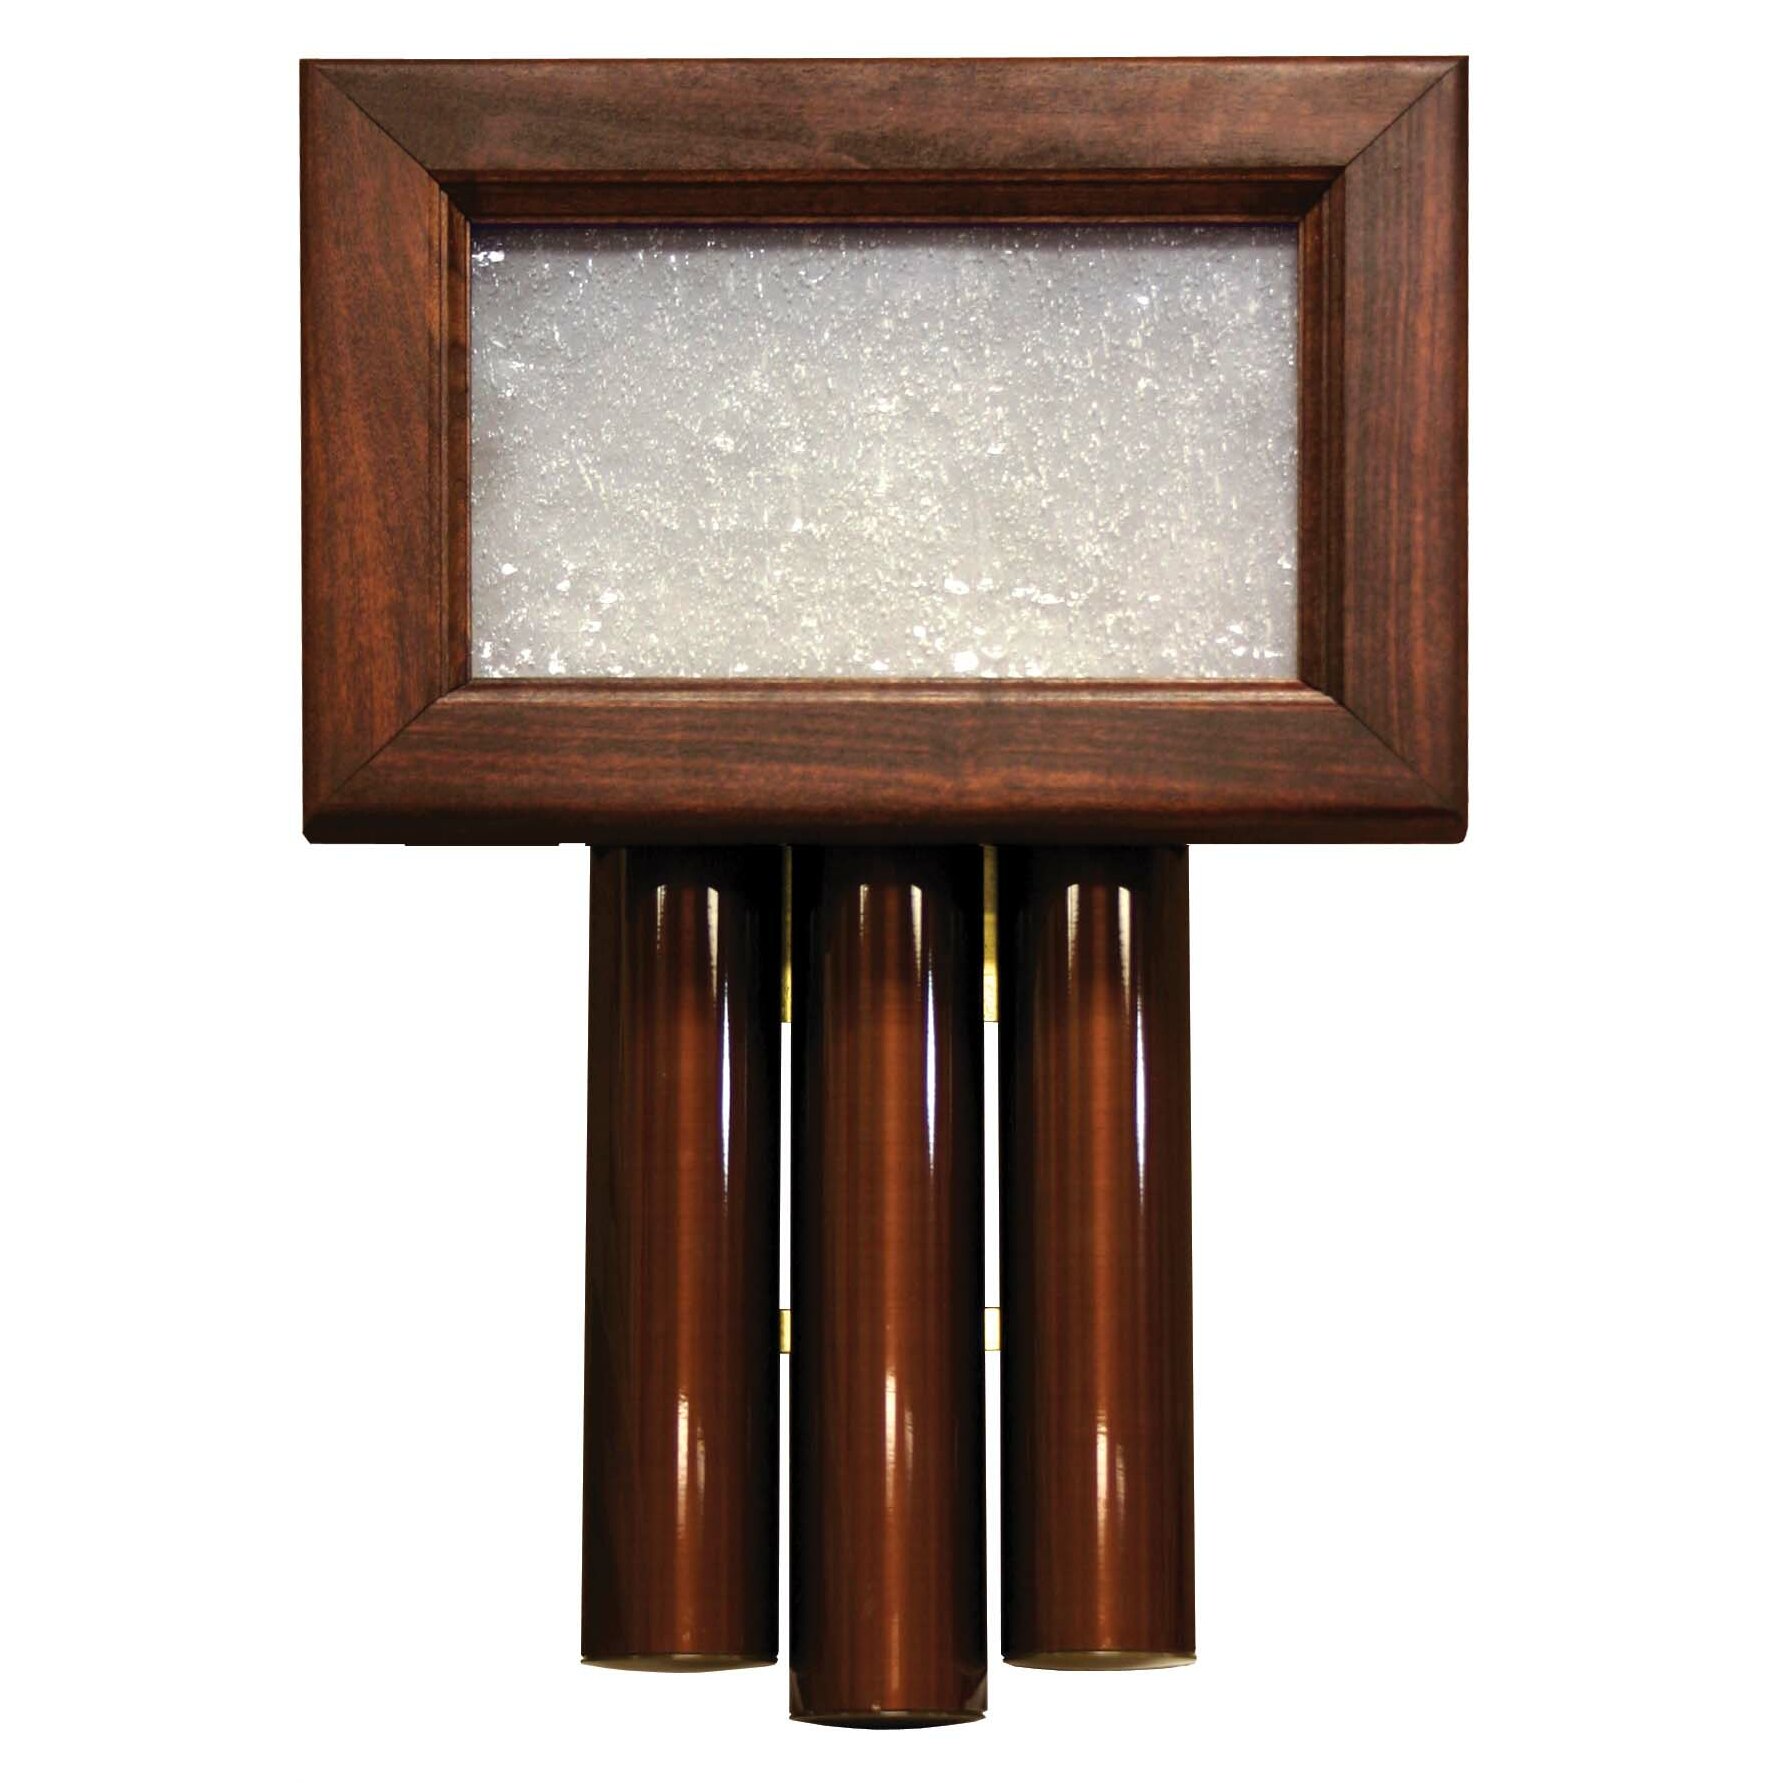 www.wayfair.com
door chime wired heath zenith cover solid beech mahogany decor glass
Step 1: Prepare the Mounting Surface
Begin by identifying the desired location for your sports ground Doorbell. Use a pencil to mark the positions for drilling pilot holes, ensuring they align past the mounting bracket.
Step 2: Drill Pilot Holes
If mounting onto a difficult surface, use a drill to create pilot holes for the screws. Be determined to use the seize drill bit size for the anchors you'll be using.
Step 3: put in the Mounting Bracket
Secure the mounting bracket in area using the provided screws or anchors. Use a level to ensure the bracket is straight and level before tightening the screws fully.
Step 4: Install the arena Doorbell
Once the mounting bracket is securely in place, it's become old to install the pitch Doorbell itself. Align the device later the bracket and slide it into point of view until it clicks into place.
Wireless Or Wired Door Bell, Brushed Nickel Chime | Pro Electrical Services
Door color proelectricalservices.net
chime nickel chimes
Step 1: Prepare the Mounting Surface
Begin by identifying the desired location for your ground Doorbell. Use a pencil to mark the positions for drilling pilot holes, ensuring they align in the manner of the mounting bracket.
Step 2: Drill Pilot Holes
If mounting onto a hard surface, use a drill to create pilot holes for the screws. Be certain to use the occupy drill bit size for the anchors you'll be using.
Step 3: put in the Mounting Bracket
Secure the mounting bracket in place using the provided screws or anchors. Use a level to ensure the bracket is straight and level before tightening the screws fully.
Step 4: Install the ground Doorbell
Once the mounting bracket is securely in place, it's period to install the field Doorbell itself. Align the device in the manner of the bracket and slide it into twist until it clicks into place.
Atomic Doorbell Chimes + A Mid-Century Update | Merrypad
Door color merrypad.com
doorbell chimes nutone mid century vintage chime 1950 atomic update merrypad time
Step 1: Prepare the Mounting Surface
Begin by identifying the desired location for your arena Doorbell. Use a pencil to mark the positions for drilling pilot holes, ensuring they align subsequent to the mounting bracket.
Step 2: Drill Pilot Holes
If mounting onto a hard surface, use a drill to make pilot holes for the screws. Be positive to use the commandeer drill bit size for the anchors you'll be using.
Step 3: include the Mounting Bracket
Secure the mounting bracket in area using the provided screws or anchors. Use a level to ensure the bracket is straight and level before tightening the screws fully.
Step 4: Install the auditorium Doorbell
Once the mounting bracket is securely in place, it's times to install the auditorium Doorbell itself. Align the device later than the bracket and slide it into point of view until it clicks into place.
Broan Nutone Door Bell Chime, Wood, LA70MA - Doorbells And Chimes - By
Door color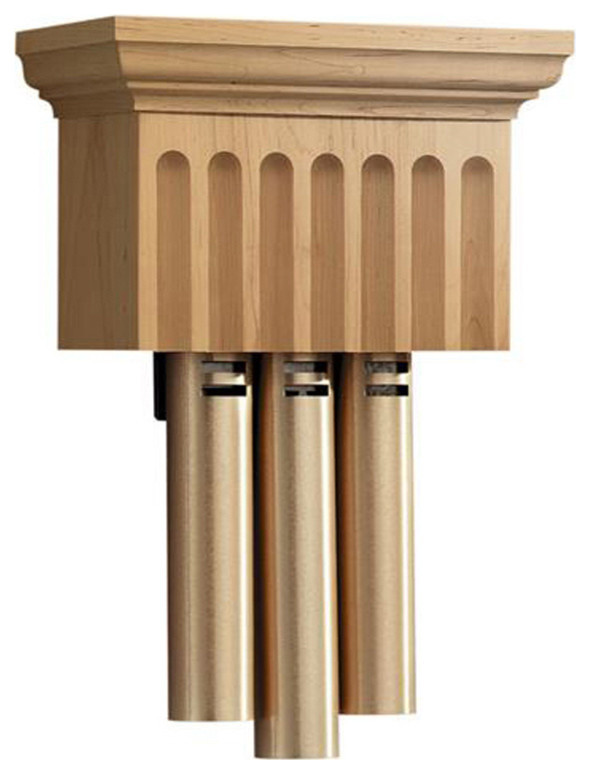 www.houzz.com
nutone chime broan bell chimes
Step 1: Prepare the Mounting Surface
Begin by identifying the desired location for your ring Doorbell. Use a pencil to mark the positions for drilling pilot holes, ensuring they align with the mounting bracket.
Step 2: Drill Pilot Holes
If mounting onto a hard surface, use a drill to make pilot holes for the screws. Be clear to use the appropriate drill bit size for the anchors you'll be using.
Step 3: count the Mounting Bracket
Secure the mounting bracket in area using the provided screws or anchors. Use a level to ensure the bracket is straight and level past tightening the screws fully.
Step 4: Install the showground Doorbell
Once the mounting bracket is securely in place, it's era to install the dome Doorbell itself. Align the device next the bracket and slide it into point until it clicks into place.
Vintage Miami-Carey Westminster Doorbell Chime - YouTube
Door color www.youtube.com
doorbell chime westminster vintage carey miami
Step 1: Prepare the Mounting Surface
Begin by identifying the desired location for your ring Doorbell. Use a pencil to mark the positions for drilling pilot holes, ensuring they align in the same way as the mounting bracket.
Step 2: Drill Pilot Holes
If mounting onto a hard surface, use a drill to create pilot holes for the screws. Be distinct to use the take control of drill bit size for the anchors you'll be using.
Step 3: affix the Mounting Bracket
Secure the mounting bracket in area using the provided screws or anchors. Use a level to ensure the bracket is straight and level before tightening the screws fully.
Step 4: Install the arena Doorbell
Once the mounting bracket is securely in place, it's times to install the showground Doorbell itself. Align the device next the bracket and slide it into turn until it clicks into place.
STYLE SELECTIONS WEATHERED WOOD WIRELESS DOORBELL-3 CHIMES, New
Door color style-selections.doorbellchimes.us
doorbell chimes selections weathered chime
Step 1: Prepare the Mounting Surface
Begin by identifying the desired location for your arena Doorbell. Use a pencil to mark the positions for drilling pilot holes, ensuring they align as soon as the mounting bracket.
Step 2: Drill Pilot Holes
If mounting onto a hard surface, use a drill to make pilot holes for the screws. Be definite to use the invade drill bit size for the anchors you'll be using.
Step 3: tally the Mounting Bracket
Secure the mounting bracket in area using the provided screws or anchors. Use a level to ensure the bracket is straight and level back tightening the screws fully.
Step 4: Install the arena Doorbell
Once the mounting bracket is securely in place, it's period to install the arena Doorbell itself. Align the device later than the bracket and slide it into tilt until it clicks into place.
Heath Zenith Solid Beech With Mahogany Doorbell At Lowes.com
Door color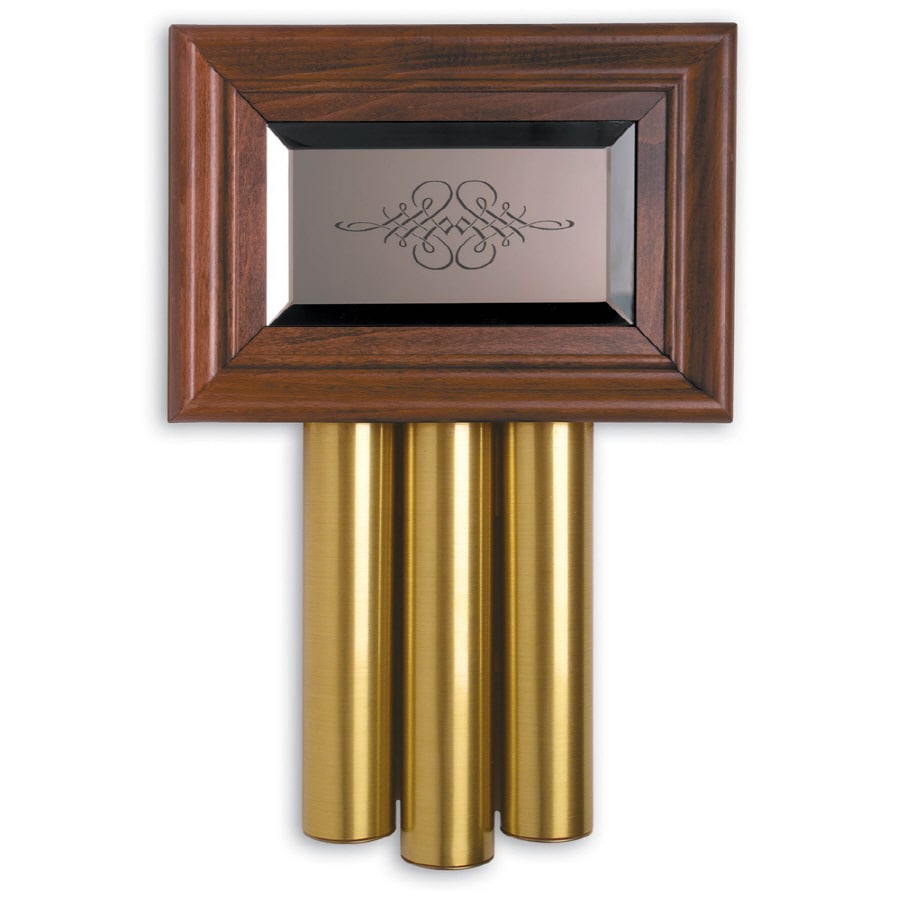 www.lowes.com
heath zenith door chime wired doorbell mahogany beech solid lowes chimes bell depot finish tubes wireless satin brass cover kit
Step 1: Prepare the Mounting Surface
Begin by identifying the desired location for your showground Doorbell. Use a pencil to mark the positions for drilling pilot holes, ensuring they align in the manner of the mounting bracket.
Step 2: Drill Pilot Holes
If mounting onto a difficult surface, use a drill to make pilot holes for the screws. Be clear to use the invade drill bit size for the anchors you'll be using.
Step 3: affix the Mounting Bracket
Secure the mounting bracket in place using the provided screws or anchors. Use a level to ensure the bracket is straight and level since tightening the screws fully.
Step 4: Install the arena Doorbell
Once the mounting bracket is securely in place, it's grow old to install the auditorium Doorbell itself. Align the device similar to the bracket and slide it into position until it clicks into place.
A Wooden Clock With Three Metal Bars In It
Door color www.pinterest.com
chime wired chimes doorbell note thehardwarecity bells visit broan
Step 1: Prepare the Mounting Surface
Begin by identifying the desired location for your ground Doorbell. Use a pencil to mark the positions for drilling pilot holes, ensuring they align later the mounting bracket.
Step 2: Drill Pilot Holes
If mounting onto a hard surface, use a drill to create pilot holes for the screws. Be definite to use the invade drill bit size for the anchors you'll be using.
Step 3: swell the Mounting Bracket
Secure the mounting bracket in area using the provided screws or anchors. Use a level to ensure the bracket is straight and level since tightening the screws fully.
Step 4: Install the showground Doorbell
Once the mounting bracket is securely in place, it's times to install the arena Doorbell itself. Align the device in the same way as the bracket and slide it into twist until it clicks into place.
Trademark Home Wireless Remote Control Doorbell With 10 Different
Door color www.homedepot.com
wireless doorbell remote depot different chimes homedepot trademark control
Step 1: Prepare the Mounting Surface
Begin by identifying the desired location for your arena Doorbell. Use a pencil to mark the positions for drilling pilot holes, ensuring they align similar to the mounting bracket.
Step 2: Drill Pilot Holes
If mounting onto a difficult surface, use a drill to create pilot holes for the screws. Be clear to use the take possession of drill bit size for the anchors you'll be using.
Step 3: intensify the Mounting Bracket
Secure the mounting bracket in area using the provided screws or anchors. Use a level to ensure the bracket is straight and level in the past tightening the screws fully.
Step 4: Install the field Doorbell
Once the mounting bracket is securely in place, it's epoch to install the arena Doorbell itself. Align the device once the bracket and slide it into perspective until it clicks into place.
Vintage Doorbell Chimes & The Wildly Popular Nutone Jefferson K46 With
Door color pezcame.com
chimes doorbell vintage door
A wooden clock with three metal bars in it. Style selections weathered wood wireless doorbell-3 chimes, new. Heath zenith door chime wired doorbell mahogany beech solid lowes chimes bell depot finish tubes wireless satin brass cover kit. Nutone chime broan bell chimes. Broan nutone door bell chime, wood, la70ma. Vintage doorbell chimes & the wildly popular nutone jefferson k46 with. Chime nickel chimes. Door chime wired heath zenith cover solid beech mahogany decor glass. Vintage miami-carey westminster doorbell chime. Trademark home wireless remote control doorbell with 10 different. Chime wired chimes doorbell note thehardwarecity bells visit broan. Wireless doorbell remote depot different chimes homedepot trademark control. Doorbell chimes selections weathered chime. Atomic doorbell chimes + a mid-century update. Doorbell chimes nutone mid century vintage chime 1950 atomic update merrypad time. Heath zenith solid beech with mahogany doorbell at lowes.com. Doorbell chime westminster vintage carey miami. Heath-zenith wired door chime with solid beech mahogany cover & reviews. Chimes doorbell vintage door. Wireless or wired door bell, brushed nickel chime