door bells for sale
If you are looking for Vintage Brass Bell Cluster Jingle Bells on Rope Door Bells | Etsy you've came to the right place. We have 10 Pics about Vintage Brass Bell Cluster Jingle Bells on Rope Door Bells | Etsy like Vintage Solid Brass Door Bell, Ornamental Gate Bell, Reclaimed Hardware, Vintage Brass Bell Cluster Jingle Bells on Rope Door Bells | Etsy and also Door Bells & Pushes For Sale - Traditional Front Doors. Here you go:
Step 1: Prepare the Mounting Surface
Begin by identifying the desired location for your showground Doorbell. Use a pencil to mark the positions for drilling pilot holes, ensuring they align considering the mounting bracket.
Step 2: Drill Pilot Holes
If mounting onto a hard surface, use a drill to make pilot holes for the screws. Be certain to use the capture drill bit size for the anchors you'll be using.
Step 3: count up the Mounting Bracket
Secure the mounting bracket in place using the provided screws or anchors. Use a level to ensure the bracket is straight and level back tightening the screws fully.
Step 4: Install the field Doorbell
Once the mounting bracket is securely in place, it's become old to install the ground Doorbell itself. Align the device once the bracket and slide it into perspective until it clicks into place.
Vintage Brass Bell Cluster Jingle Bells On Rope Door Bells | Etsy
Door color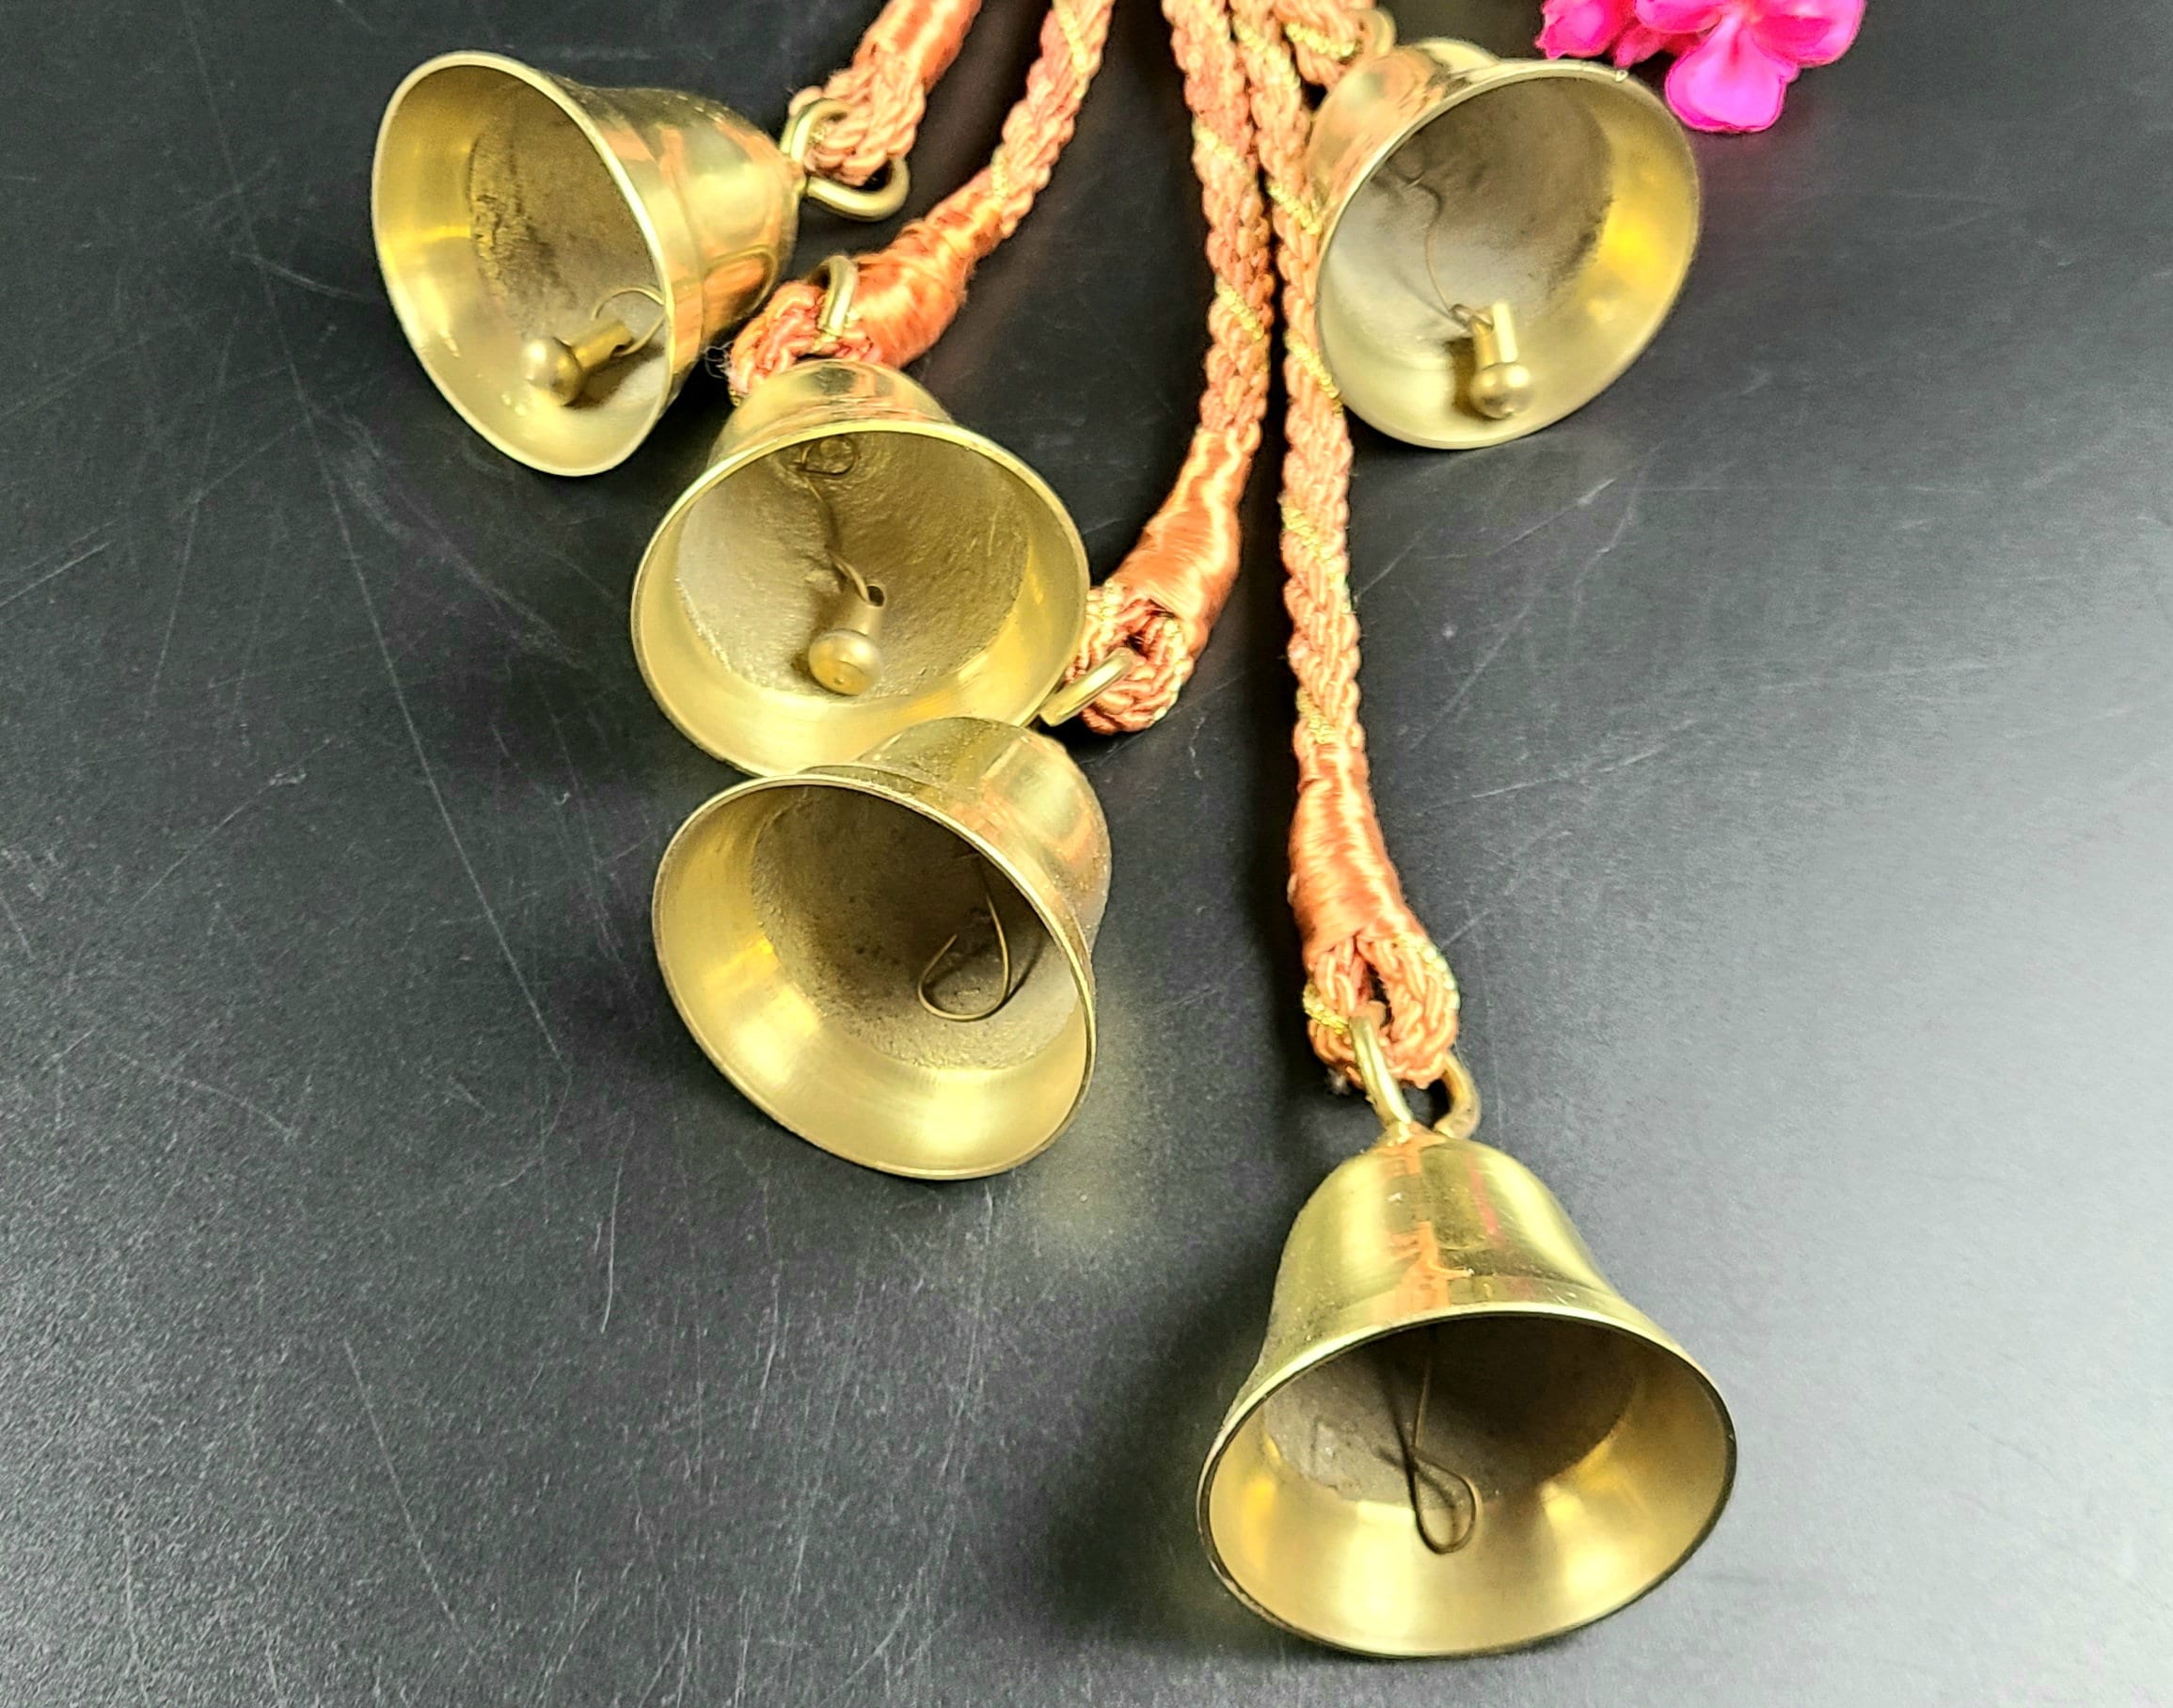 www.etsy.com
brass jingle cluster rope
Step 1: Prepare the Mounting Surface
Begin by identifying the desired location for your field Doorbell. Use a pencil to mark the positions for drilling pilot holes, ensuring they align past the mounting bracket.
Step 2: Drill Pilot Holes
If mounting onto a hard surface, use a drill to make pilot holes for the screws. Be positive to use the appropriate drill bit size for the anchors you'll be using.
Step 3: append the Mounting Bracket
Secure the mounting bracket in place using the provided screws or anchors. Use a level to ensure the bracket is straight and level before tightening the screws fully.
Step 4: Install the field Doorbell
Once the mounting bracket is securely in place, it's era to install the auditorium Doorbell itself. Align the device later than the bracket and slide it into approach until it clicks into place.
Fully Restored Victorian Brass Door Bell | 724921 | Sellingantiques.co.uk
Door color www.sellingantiques.co.uk
victorian antique restored sellingantiques
Step 1: Prepare the Mounting Surface
Begin by identifying the desired location for your ring Doorbell. Use a pencil to mark the positions for drilling pilot holes, ensuring they align following the mounting bracket.
Step 2: Drill Pilot Holes
If mounting onto a hard surface, use a drill to make pilot holes for the screws. Be positive to use the take possession of drill bit size for the anchors you'll be using.
Step 3: improve the Mounting Bracket
Secure the mounting bracket in area using the provided screws or anchors. Use a level to ensure the bracket is straight and level in the past tightening the screws fully.
Step 4: Install the showground Doorbell
Once the mounting bracket is securely in place, it's mature to install the auditorium Doorbell itself. Align the device afterward the bracket and slide it into tilt until it clicks into place.
Vintage Solid Brass Door Bell, Ornamental Gate Bell, Reclaimed Hardware
Door color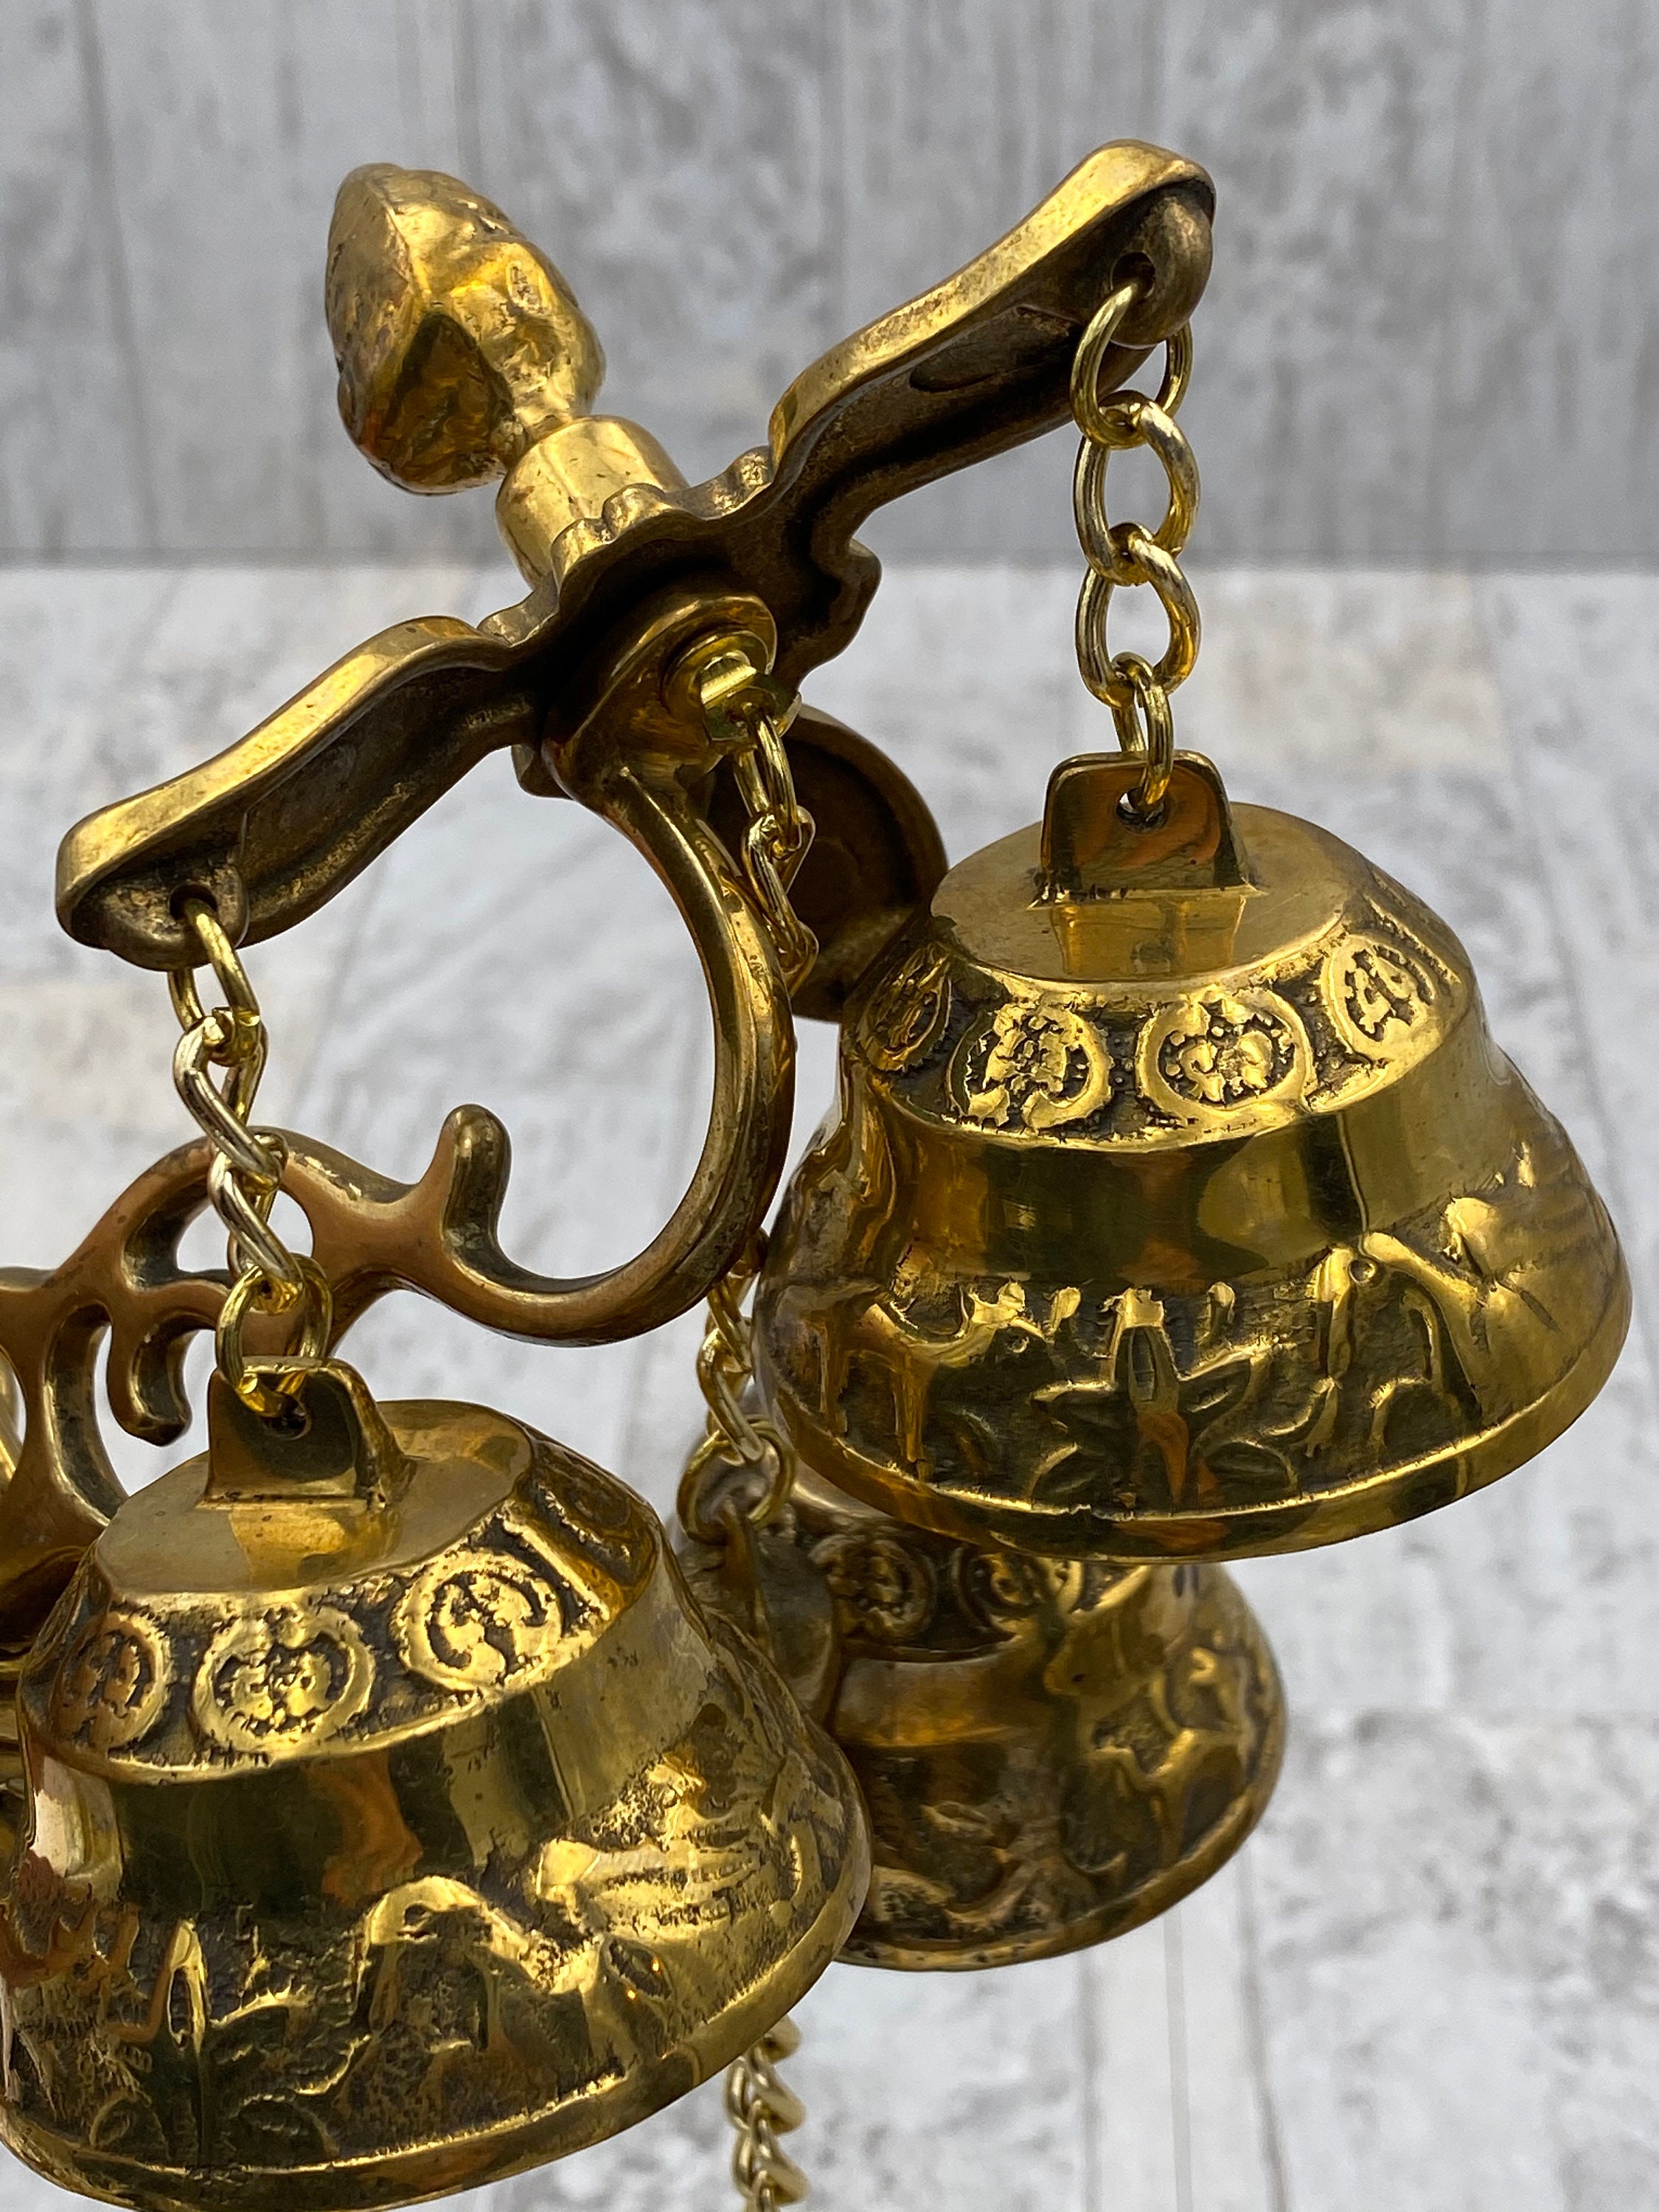 www.mytravelingboutique.com
door bell brass vintage ornamental solid reclaimed pull gate hardware gift decor
Step 1: Prepare the Mounting Surface
Begin by identifying the desired location for your ring Doorbell. Use a pencil to mark the positions for drilling pilot holes, ensuring they align following the mounting bracket.
Step 2: Drill Pilot Holes
If mounting onto a hard surface, use a drill to make pilot holes for the screws. Be certain to use the seize drill bit size for the anchors you'll be using.
Step 3: adjoin the Mounting Bracket
Secure the mounting bracket in area using the provided screws or anchors. Use a level to ensure the bracket is straight and level since tightening the screws fully.
Step 4: Install the showground Doorbell
Once the mounting bracket is securely in place, it's get older to install the dome Doorbell itself. Align the device considering the bracket and slide it into approach until it clicks into place.
Door Bells & Pushes For Sale - Traditional Front Doors
Door color traditionalfrontdoors.co.uk
Step 1: Prepare the Mounting Surface
Begin by identifying the desired location for your field Doorbell. Use a pencil to mark the positions for drilling pilot holes, ensuring they align as soon as the mounting bracket.
Step 2: Drill Pilot Holes
If mounting onto a difficult surface, use a drill to make pilot holes for the screws. Be determined to use the seize drill bit size for the anchors you'll be using.
Step 3: combine the Mounting Bracket
Secure the mounting bracket in place using the provided screws or anchors. Use a level to ensure the bracket is straight and level since tightening the screws fully.
Step 4: Install the dome Doorbell
Once the mounting bracket is securely in place, it's mature to install the field Doorbell itself. Align the device subsequent to the bracket and slide it into tilt until it clicks into place.
SnobsKnobs Visitors Brass Door Bell 76mm - SnobsKnobs
Door color www.snobsknobs.co.uk
76mm bells pushes diameter measures
Step 1: Prepare the Mounting Surface
Begin by identifying the desired location for your dome Doorbell. Use a pencil to mark the positions for drilling pilot holes, ensuring they align when the mounting bracket.
Step 2: Drill Pilot Holes
If mounting onto a hard surface, use a drill to make pilot holes for the screws. Be positive to use the occupy drill bit size for the anchors you'll be using.
Step 3: tote up the Mounting Bracket
Secure the mounting bracket in area using the provided screws or anchors. Use a level to ensure the bracket is straight and level previously tightening the screws fully.
Step 4: Install the field Doorbell
Once the mounting bracket is securely in place, it's time to install the showground Doorbell itself. Align the device with the bracket and slide it into outlook until it clicks into place.
Cast Brass Monastery Door Bell – SOLD! – La BelleGray
Door color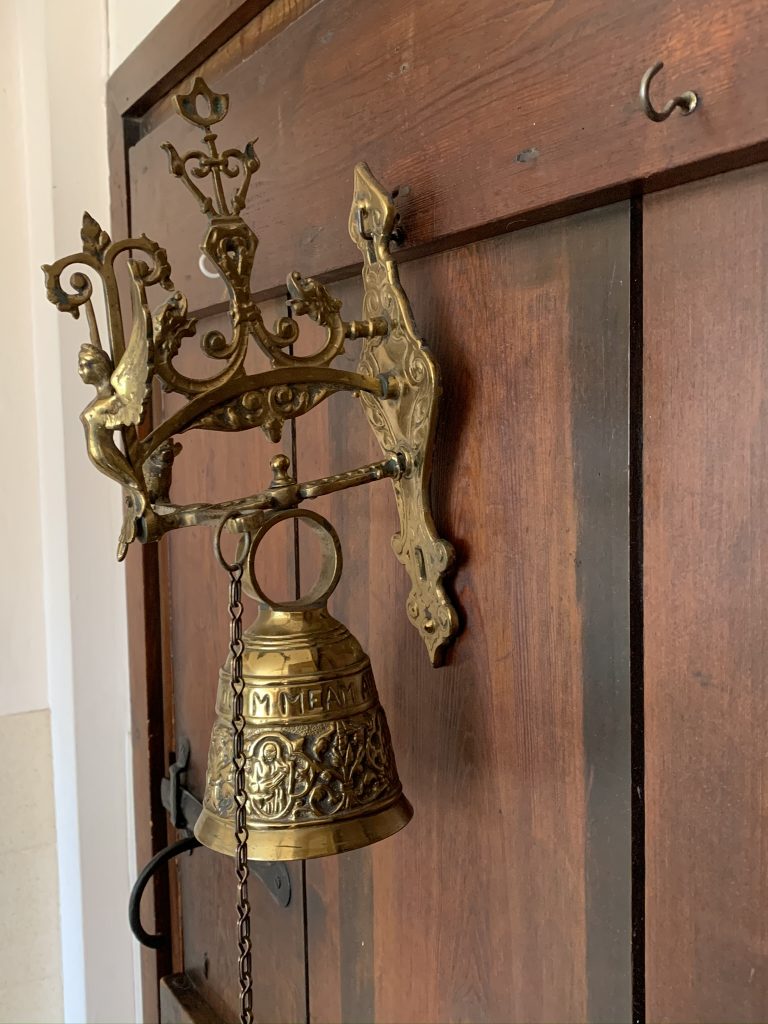 www.labellegray.com
monastery
Step 1: Prepare the Mounting Surface
Begin by identifying the desired location for your auditorium Doorbell. Use a pencil to mark the positions for drilling pilot holes, ensuring they align subsequently the mounting bracket.
Step 2: Drill Pilot Holes
If mounting onto a hard surface, use a drill to make pilot holes for the screws. Be clear to use the seize drill bit size for the anchors you'll be using.
Step 3: count up the Mounting Bracket
Secure the mounting bracket in area using the provided screws or anchors. Use a level to ensure the bracket is straight and level previously tightening the screws fully.
Step 4: Install the auditorium Doorbell
Once the mounting bracket is securely in place, it's time to install the auditorium Doorbell itself. Align the device gone the bracket and slide it into position until it clicks into place.
Antique Country Home Door Bells At 1stdibs
Door color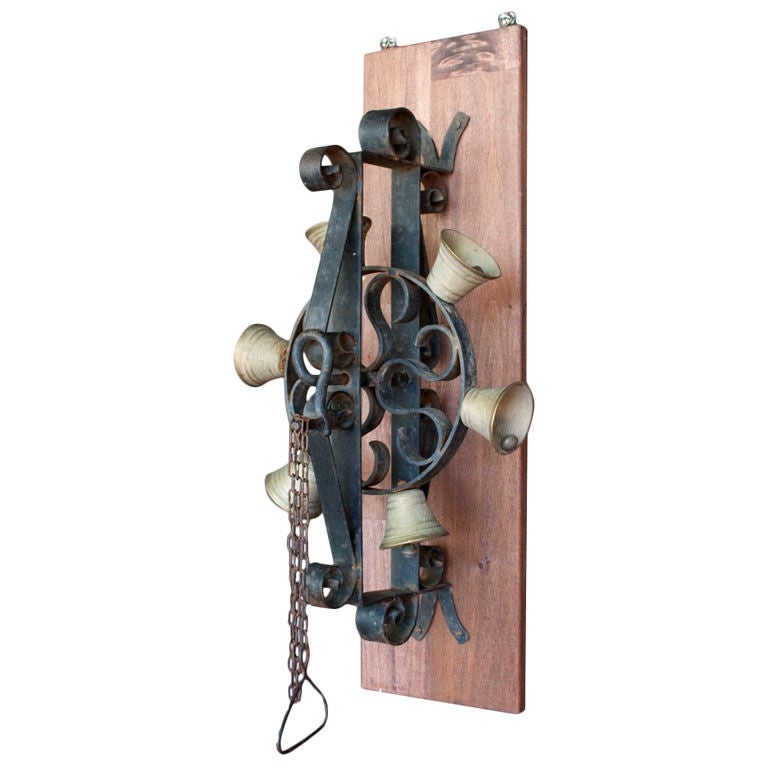 www.1stdibs.com
bells furniture 1stdibs door antique country bell iron century gates doors building garden wrought
Step 1: Prepare the Mounting Surface
Begin by identifying the desired location for your auditorium Doorbell. Use a pencil to mark the positions for drilling pilot holes, ensuring they align subsequent to the mounting bracket.
Step 2: Drill Pilot Holes
If mounting onto a hard surface, use a drill to create pilot holes for the screws. Be positive to use the seize drill bit size for the anchors you'll be using.
Step 3: count up the Mounting Bracket
Secure the mounting bracket in area using the provided screws or anchors. Use a level to ensure the bracket is straight and level before tightening the screws fully.
Step 4: Install the arena Doorbell
Once the mounting bracket is securely in place, it's grow old to install the auditorium Doorbell itself. Align the device in imitation of the bracket and slide it into approach until it clicks into place.
SnobsKnobs Door Bells Archives - SnobsKnobs
Door color www.snobsknobs.co.uk
doorbell brass decorative door bells lorena
Step 1: Prepare the Mounting Surface
Begin by identifying the desired location for your arena Doorbell. Use a pencil to mark the positions for drilling pilot holes, ensuring they align subsequently the mounting bracket.
Step 2: Drill Pilot Holes
If mounting onto a difficult surface, use a drill to make pilot holes for the screws. Be determined to use the commandeer drill bit size for the anchors you'll be using.
Step 3: enlarge the Mounting Bracket
Secure the mounting bracket in place using the provided screws or anchors. Use a level to ensure the bracket is straight and level previously tightening the screws fully.
Step 4: Install the field Doorbell
Once the mounting bracket is securely in place, it's get older to install the sports ground Doorbell itself. Align the device as soon as the bracket and slide it into incline until it clicks into place.
Wrought Iron Hanging Door Bells - Banater Eisen
Door color banater-eisen.com
bells wrought eisen banater
Step 1: Prepare the Mounting Surface
Begin by identifying the desired location for your sports ground Doorbell. Use a pencil to mark the positions for drilling pilot holes, ensuring they align in the manner of the mounting bracket.
Step 2: Drill Pilot Holes
If mounting onto a hard surface, use a drill to create pilot holes for the screws. Be definite to use the take control of drill bit size for the anchors you'll be using.
Step 3: tally up the Mounting Bracket
Secure the mounting bracket in place using the provided screws or anchors. Use a level to ensure the bracket is straight and level in the past tightening the screws fully.
Step 4: Install the arena Doorbell
Once the mounting bracket is securely in place, it's period to install the dome Doorbell itself. Align the device considering the bracket and slide it into point until it clicks into place.
Self-Powered Wireless Doorbell, Cordless Plug In Door Bells With 2
Door color www.amazon.co.uk
bells receivers cordless doorbell loud colour plug
Vintage solid brass door bell, ornamental gate bell, reclaimed hardware. Bells furniture 1stdibs door antique country bell iron century gates doors building garden wrought. Victorian antique restored sellingantiques. Bells wrought eisen banater. 76mm bells pushes diameter measures. Snobsknobs visitors brass door bell 76mm. Cast brass monastery door bell – sold! – la bellegray. Wrought iron hanging door bells. Self-powered wireless doorbell, cordless plug in door bells with 2. Antique country home door bells at 1stdibs. Fully restored victorian brass door bell. Bells receivers cordless doorbell loud colour plug. Vintage brass bell cluster jingle bells on rope door bells. Door bell brass vintage ornamental solid reclaimed pull gate hardware gift decor. Doorbell brass decorative door bells lorena. Snobsknobs door bells archives. Brass jingle cluster rope. Door bells & pushes for sale