blink doorbell camera live view
If you are searching about How to View Live on Blink Doorbell: A Step-by-Step Guide - Doorbell Planet you've visit to the right page. We have 10 Images about How to View Live on Blink Doorbell: A Step-by-Step Guide - Doorbell Planet like Blink into Your Home's Security with the Live View of Doorbell Camera, How to View Live on Blink Doorbell: A Step-by-Step Guide - Doorbell Planet and also Blink Video Doorbell Plus Sync Module 2 – Battery or Wired – Smart Wi. Read more:
Step 1: Prepare the Mounting Surface
Begin by identifying the desired location for your ground Doorbell. Use a pencil to mark the positions for drilling pilot holes, ensuring they align past the mounting bracket.
Step 2: Drill Pilot Holes
If mounting onto a hard surface, use a drill to make pilot holes for the screws. Be definite to use the commandeer drill bit size for the anchors you'll be using.
Step 3: complement the Mounting Bracket
Secure the mounting bracket in place using the provided screws or anchors. Use a level to ensure the bracket is straight and level since tightening the screws fully.
Step 4: Install the ring Doorbell
Once the mounting bracket is securely in place, it's epoch to install the field Doorbell itself. Align the device afterward the bracket and slide it into point of view until it clicks into place.
How To View Live On Blink Doorbell: A Step-by-Step Guide - Doorbell Planet
Door color doorbellplanet.com
Step 1: Prepare the Mounting Surface
Begin by identifying the desired location for your auditorium Doorbell. Use a pencil to mark the positions for drilling pilot holes, ensuring they align bearing in mind the mounting bracket.
Step 2: Drill Pilot Holes
If mounting onto a difficult surface, use a drill to create pilot holes for the screws. Be distinct to use the occupy drill bit size for the anchors you'll be using.
Step 3: tally up the Mounting Bracket
Secure the mounting bracket in area using the provided screws or anchors. Use a level to ensure the bracket is straight and level back tightening the screws fully.
Step 4: Install the auditorium Doorbell
Once the mounting bracket is securely in place, it's times to install the arena Doorbell itself. Align the device later than the bracket and slide it into twist until it clicks into place.
Blink Video Doorbell Plus Sync Module 2 – Battery Or Wired – Smart Wi
Door color www.blinkcamerasystem.com
Step 1: Prepare the Mounting Surface
Begin by identifying the desired location for your ground Doorbell. Use a pencil to mark the positions for drilling pilot holes, ensuring they align bearing in mind the mounting bracket.
Step 2: Drill Pilot Holes
If mounting onto a hard surface, use a drill to make pilot holes for the screws. Be definite to use the appropriate drill bit size for the anchors you'll be using.
Step 3: include the Mounting Bracket
Secure the mounting bracket in area using the provided screws or anchors. Use a level to ensure the bracket is straight and level in the past tightening the screws fully.
Step 4: Install the field Doorbell
Once the mounting bracket is securely in place, it's become old to install the ring Doorbell itself. Align the device subsequently the bracket and slide it into approach until it clicks into place.
Blink Brings A Budget, Battery-powered Video Doorbell To Its Home
Door color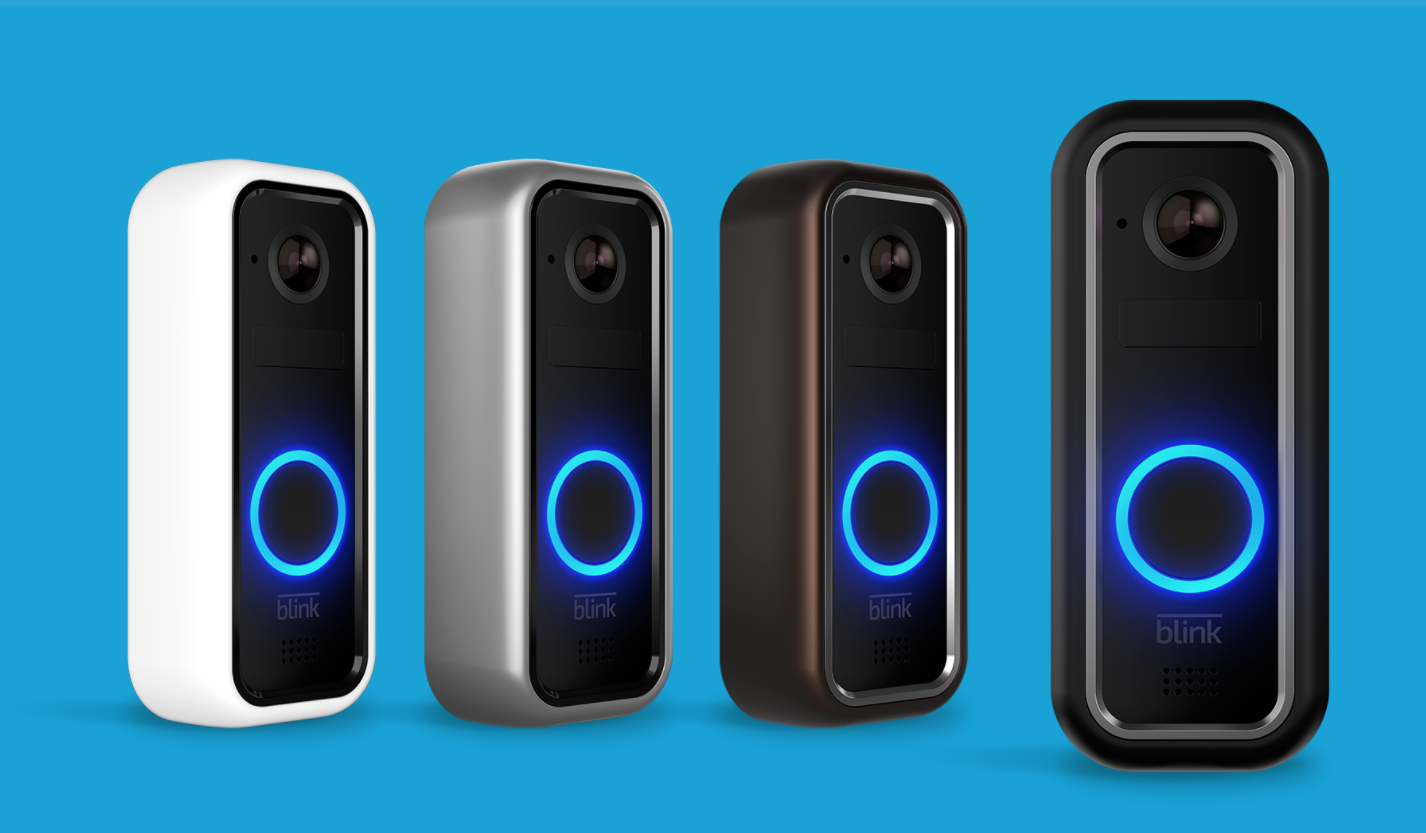 newatlas.com
blink doorbell security hooks acquires cnet smartphone users
Step 1: Prepare the Mounting Surface
Begin by identifying the desired location for your showground Doorbell. Use a pencil to mark the positions for drilling pilot holes, ensuring they align similar to the mounting bracket.
Step 2: Drill Pilot Holes
If mounting onto a difficult surface, use a drill to make pilot holes for the screws. Be determined to use the take possession of drill bit size for the anchors you'll be using.
Step 3: enlarge the Mounting Bracket
Secure the mounting bracket in place using the provided screws or anchors. Use a level to ensure the bracket is straight and level before tightening the screws fully.
Step 4: Install the pitch Doorbell
Once the mounting bracket is securely in place, it's era to install the arena Doorbell itself. Align the device past the bracket and slide it into outlook until it clicks into place.
Blink Video Doorbell Camera | MegaByte Computers
Door color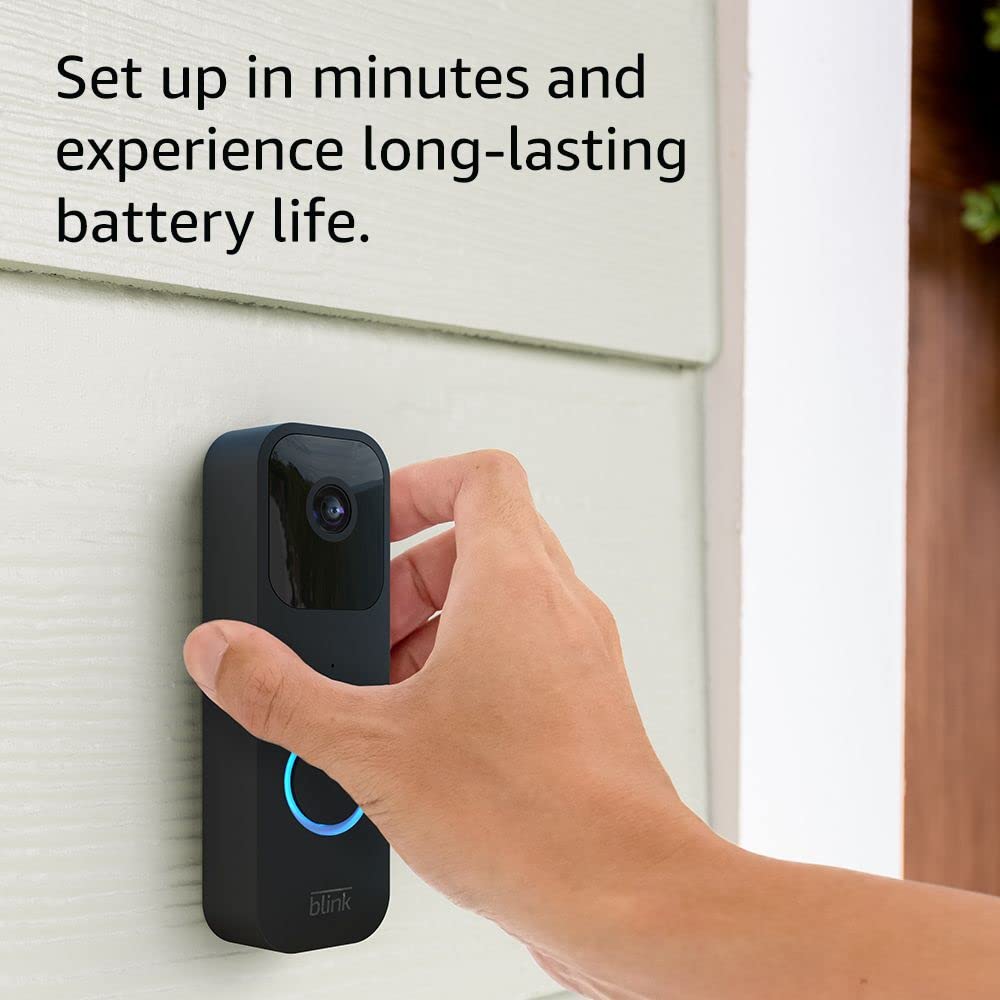 www.megabytebahamas.com
Step 1: Prepare the Mounting Surface
Begin by identifying the desired location for your ring Doorbell. Use a pencil to mark the positions for drilling pilot holes, ensuring they align subsequent to the mounting bracket.
Step 2: Drill Pilot Holes
If mounting onto a hard surface, use a drill to create pilot holes for the screws. Be certain to use the capture drill bit size for the anchors you'll be using.
Step 3: count the Mounting Bracket
Secure the mounting bracket in place using the provided screws or anchors. Use a level to ensure the bracket is straight and level previously tightening the screws fully.
Step 4: Install the arena Doorbell
Once the mounting bracket is securely in place, it's time to install the arena Doorbell itself. Align the device like the bracket and slide it into tilt until it clicks into place.
Blink Into Your Home's Security With The Live View Of Doorbell Camera
Door color surveillanceguides.com
Step 1: Prepare the Mounting Surface
Begin by identifying the desired location for your dome Doorbell. Use a pencil to mark the positions for drilling pilot holes, ensuring they align next the mounting bracket.
Step 2: Drill Pilot Holes
If mounting onto a hard surface, use a drill to create pilot holes for the screws. Be certain to use the capture drill bit size for the anchors you'll be using.
Step 3: swell the Mounting Bracket
Secure the mounting bracket in area using the provided screws or anchors. Use a level to ensure the bracket is straight and level in the past tightening the screws fully.
Step 4: Install the arena Doorbell
Once the mounting bracket is securely in place, it's period to install the arena Doorbell itself. Align the device subsequently the bracket and slide it into slant until it clicks into place.
Blink Video Doorbell Camera | MegaByte Computers
Door color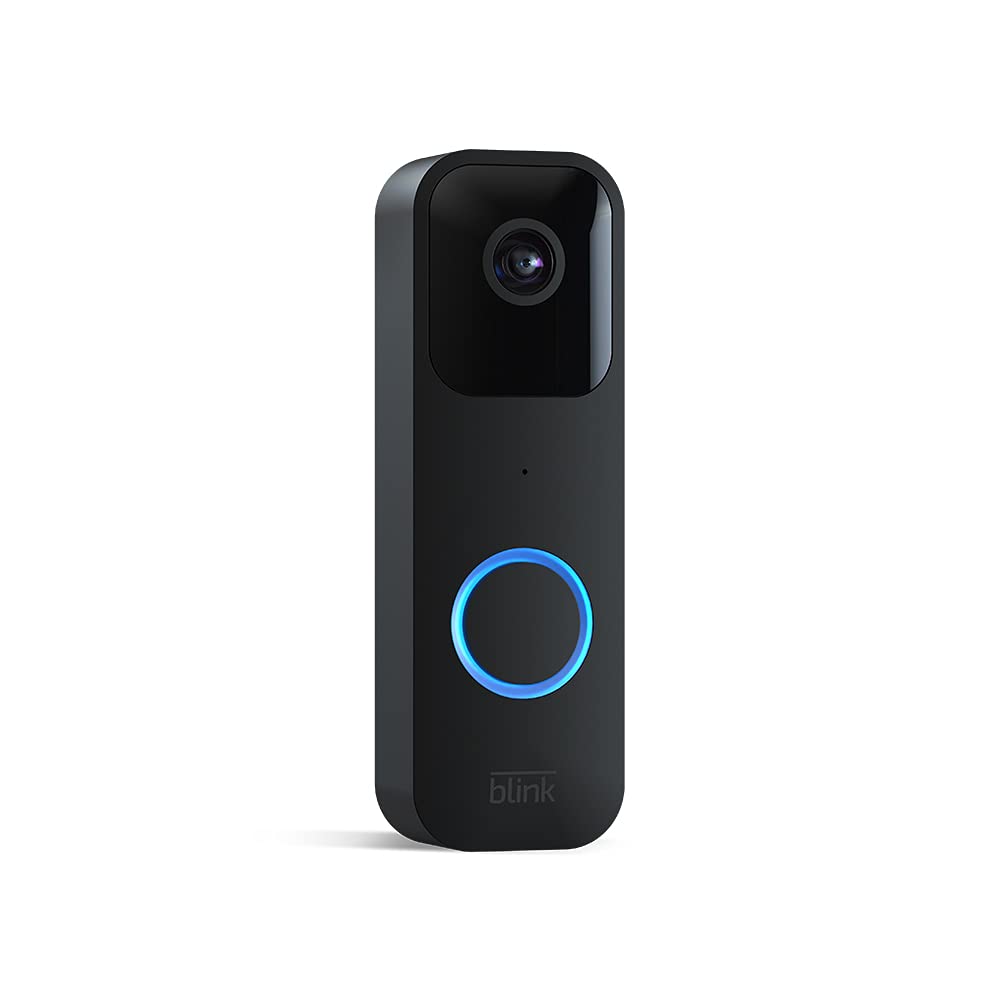 www.megabytebahamas.com
Step 1: Prepare the Mounting Surface
Begin by identifying the desired location for your sports ground Doorbell. Use a pencil to mark the positions for drilling pilot holes, ensuring they align like the mounting bracket.
Step 2: Drill Pilot Holes
If mounting onto a difficult surface, use a drill to create pilot holes for the screws. Be positive to use the capture drill bit size for the anchors you'll be using.
Step 3: adjoin the Mounting Bracket
Secure the mounting bracket in place using the provided screws or anchors. Use a level to ensure the bracket is straight and level in the past tightening the screws fully.
Step 4: Install the dome Doorbell
Once the mounting bracket is securely in place, it's epoch to install the sports ground Doorbell itself. Align the device gone the bracket and slide it into twist until it clicks into place.
Shop Blink Outdoor Camera + Video Doorbell - White Bundle At Lowes.com
Door color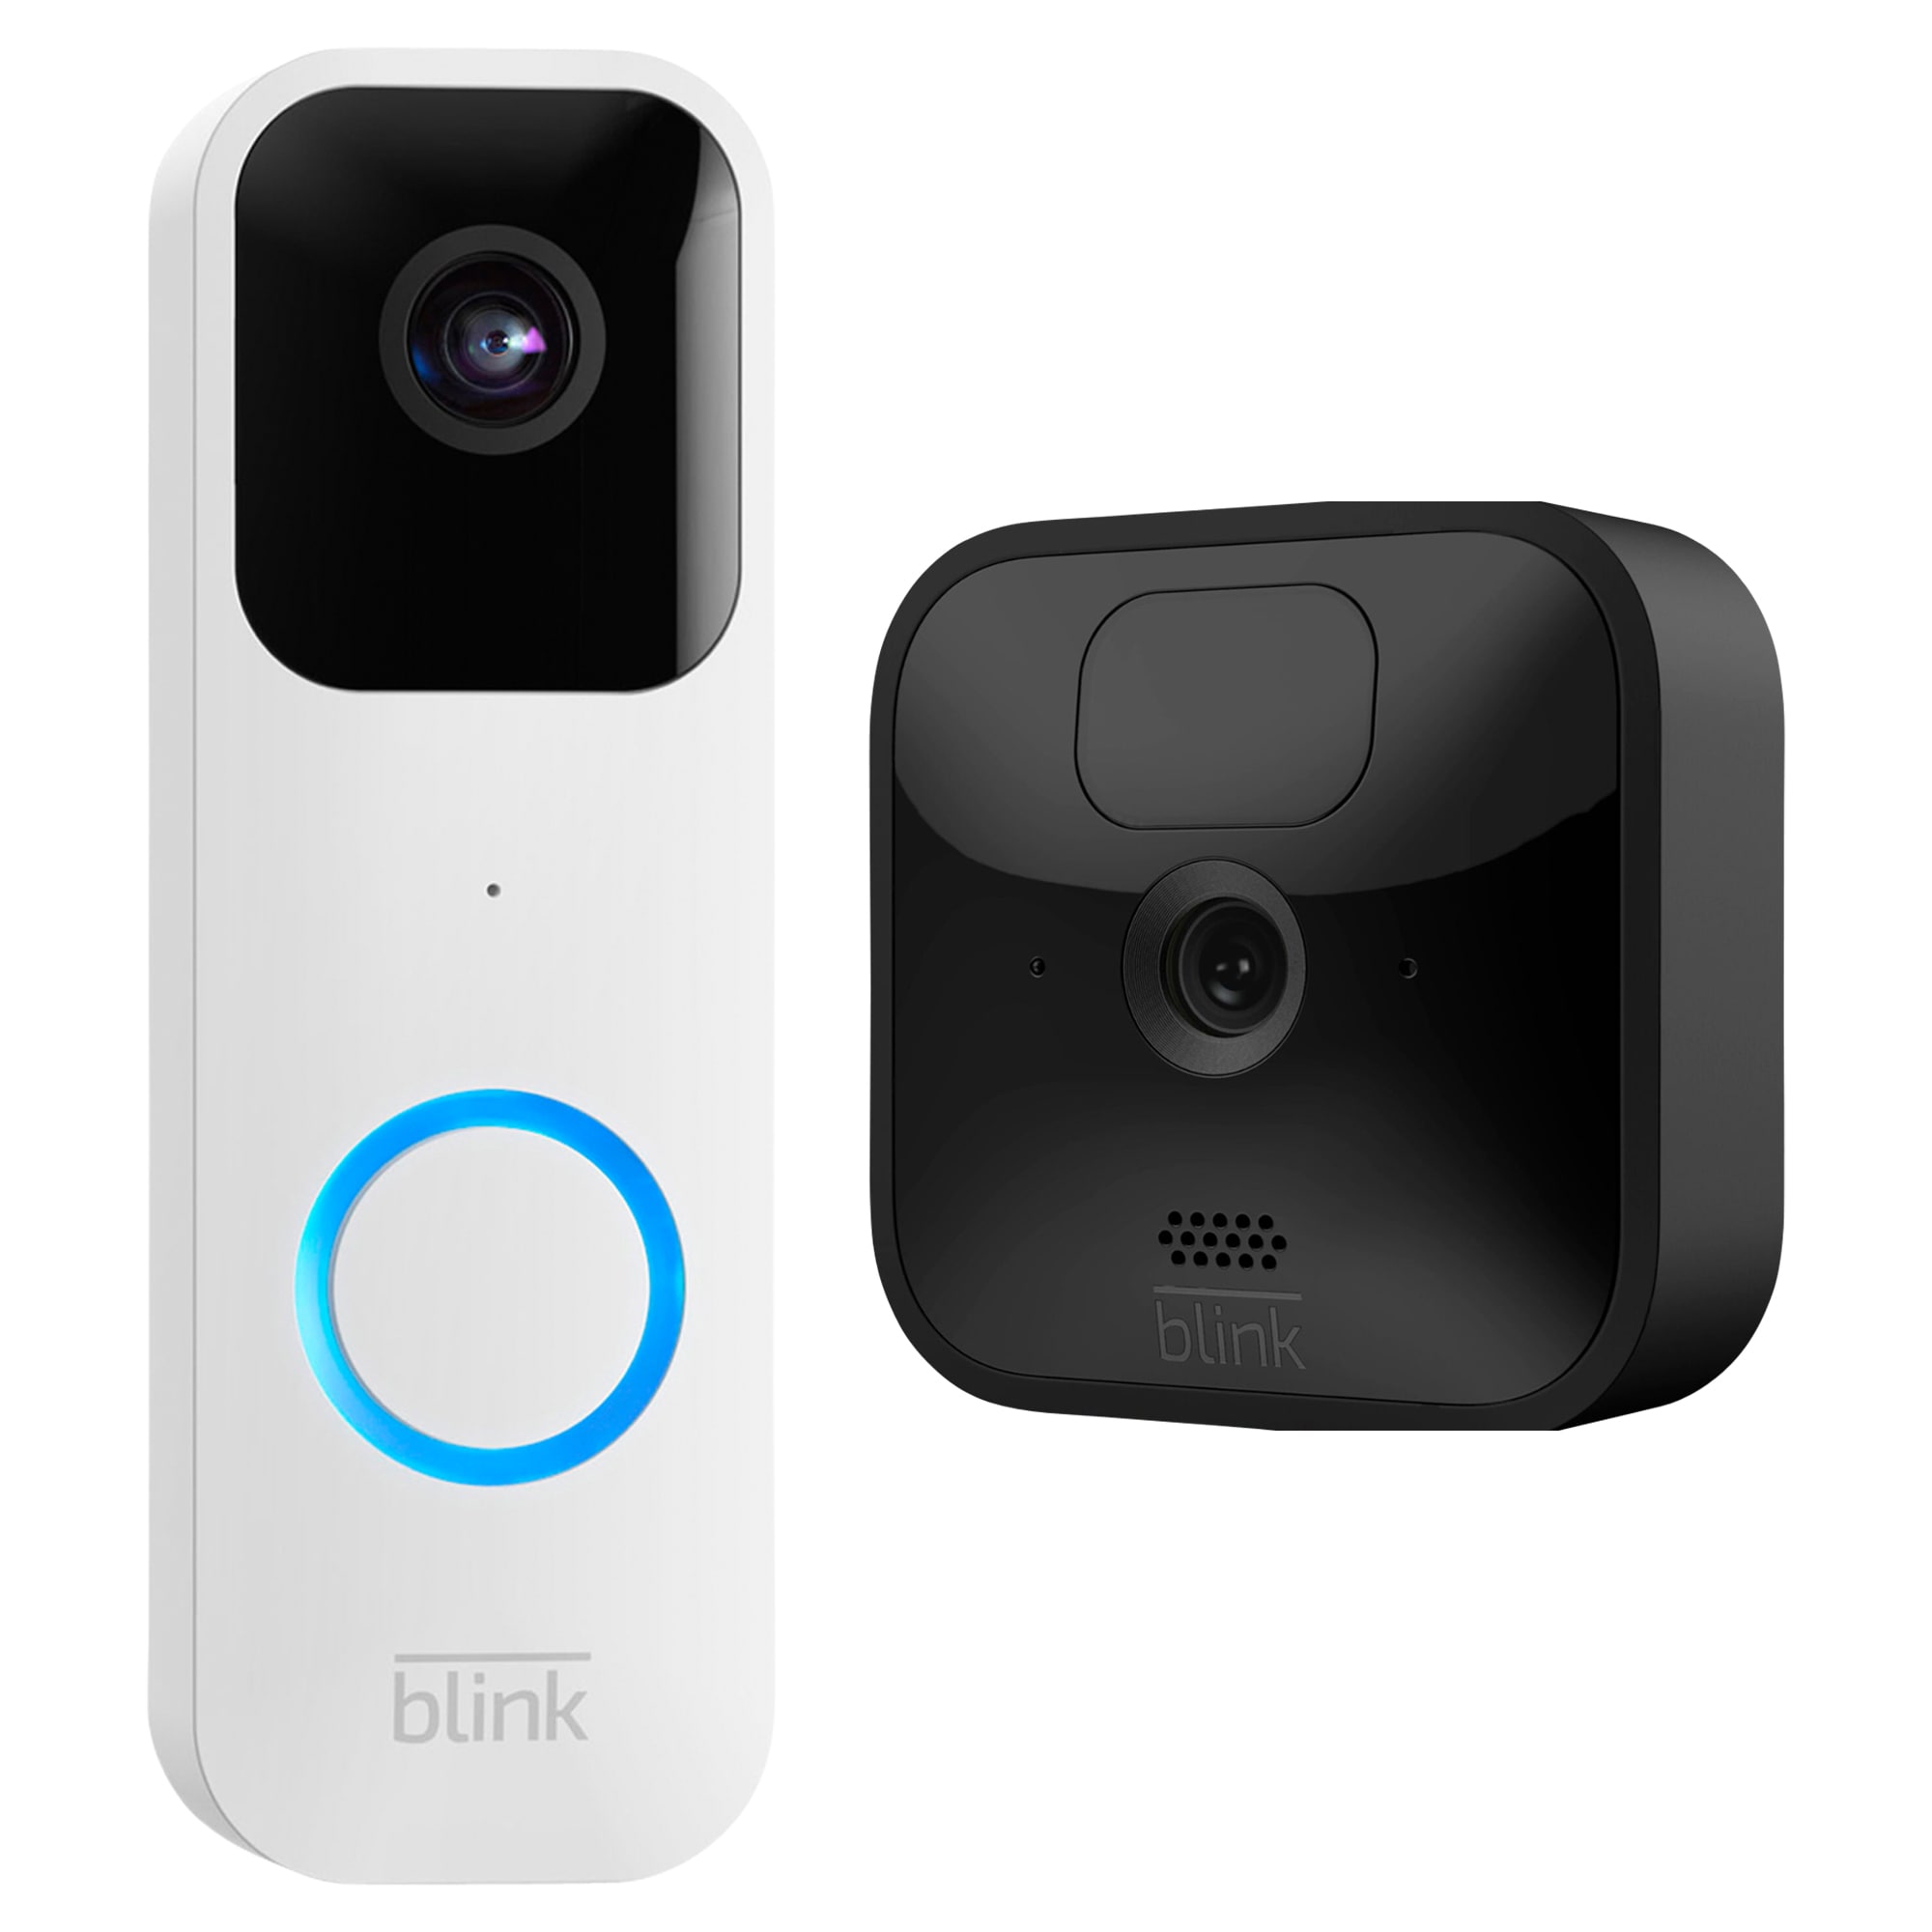 www.lowes.com
Step 1: Prepare the Mounting Surface
Begin by identifying the desired location for your field Doorbell. Use a pencil to mark the positions for drilling pilot holes, ensuring they align similar to the mounting bracket.
Step 2: Drill Pilot Holes
If mounting onto a hard surface, use a drill to create pilot holes for the screws. Be definite to use the capture drill bit size for the anchors you'll be using.
Step 3: add up the Mounting Bracket
Secure the mounting bracket in place using the provided screws or anchors. Use a level to ensure the bracket is straight and level back tightening the screws fully.
Step 4: Install the pitch Doorbell
Once the mounting bracket is securely in place, it's period to install the auditorium Doorbell itself. Align the device subsequently the bracket and slide it into slant until it clicks into place.
How To Watch Blink Camera On TV — SecurityCamCenter.com
Door color securitycamcenter.com
Step 1: Prepare the Mounting Surface
Begin by identifying the desired location for your auditorium Doorbell. Use a pencil to mark the positions for drilling pilot holes, ensuring they align taking into account the mounting bracket.
Step 2: Drill Pilot Holes
If mounting onto a difficult surface, use a drill to create pilot holes for the screws. Be clear to use the occupy drill bit size for the anchors you'll be using.
Step 3: supplement the Mounting Bracket
Secure the mounting bracket in place using the provided screws or anchors. Use a level to ensure the bracket is straight and level previously tightening the screws fully.
Step 4: Install the arena Doorbell
Once the mounting bracket is securely in place, it's mature to install the auditorium Doorbell itself. Align the device when the bracket and slide it into aim until it clicks into place.
Blink Video Doorbell Full Review & Setup Guide - Should You Buy? - YouTube
Door color www.youtube.com
Step 1: Prepare the Mounting Surface
Begin by identifying the desired location for your arena Doorbell. Use a pencil to mark the positions for drilling pilot holes, ensuring they align like the mounting bracket.
Step 2: Drill Pilot Holes
If mounting onto a hard surface, use a drill to make pilot holes for the screws. Be sure to use the appropriate drill bit size for the anchors you'll be using.
Step 3: augment the Mounting Bracket
Secure the mounting bracket in place using the provided screws or anchors. Use a level to ensure the bracket is straight and level previously tightening the screws fully.
Step 4: Install the ground Doorbell
Once the mounting bracket is securely in place, it's time to install the ring Doorbell itself. Align the device next the bracket and slide it into approach until it clicks into place.
Shop Blink Outdoor 2-Camera System + Video Doorbell - Black Bundle At
Door color www.lowes.com
Blink video doorbell camera. Shop blink outdoor camera + video doorbell. Blink brings a budget, battery-powered video doorbell to its home. Blink doorbell security hooks acquires cnet smartphone users. Blink into your home's security with the live view of doorbell camera. Blink video doorbell camera. Shop blink outdoor 2-camera system + video doorbell. Blink video doorbell full review & setup guide. How to view live on blink doorbell: a step-by-step guide. How to watch blink camera on tv — securitycamcenter.com. Blink video doorbell plus sync module 2 – battery or wired – smart wi