arlo wireless doorbell battery
If you are looking for Arlo Video Doorbell review: Finally! A doorbell that can tell cats from you've visit to the right place. We have 10 Pictures about Arlo Video Doorbell review: Finally! A doorbell that can tell cats from like Arlo Essentials Video Doorbell Battery | JB Hi-Fi, Arlo Essential Wired Video Doorbell Camera - HD Video, 180° View, Night and also Arlo Essential Video Doorbell Wire-Free Review | Trusted Reviews. Here you go:
Step 1: Prepare the Mounting Surface
Begin by identifying the desired location for your ground Doorbell. Use a pencil to mark the positions for drilling pilot holes, ensuring they align like the mounting bracket.
Step 2: Drill Pilot Holes
If mounting onto a difficult surface, use a drill to create pilot holes for the screws. Be certain to use the take over drill bit size for the anchors you'll be using.
Step 3: enlarge the Mounting Bracket
Secure the mounting bracket in area using the provided screws or anchors. Use a level to ensure the bracket is straight and level back tightening the screws fully.
Step 4: Install the pitch Doorbell
Once the mounting bracket is securely in place, it's mature to install the auditorium Doorbell itself. Align the device with the bracket and slide it into slope until it clicks into place.
Arlo Video Doorbell Review: Finally! A Doorbell That Can Tell Cats From
Door color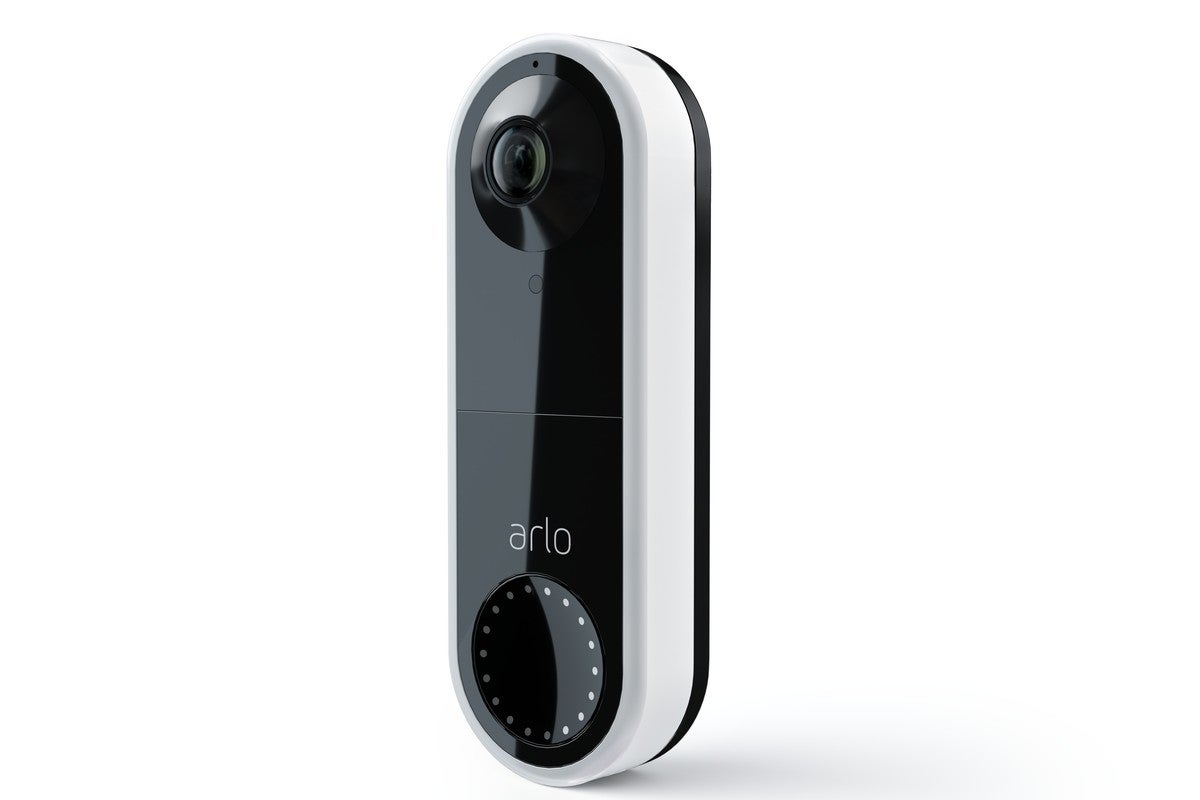 www.techhive.com
arlo doorbell
Step 1: Prepare the Mounting Surface
Begin by identifying the desired location for your showground Doorbell. Use a pencil to mark the positions for drilling pilot holes, ensuring they align next the mounting bracket.
Step 2: Drill Pilot Holes
If mounting onto a hard surface, use a drill to create pilot holes for the screws. Be distinct to use the appropriate drill bit size for the anchors you'll be using.
Step 3: supplement the Mounting Bracket
Secure the mounting bracket in area using the provided screws or anchors. Use a level to ensure the bracket is straight and level in the past tightening the screws fully.
Step 4: Install the field Doorbell
Once the mounting bracket is securely in place, it's period to install the showground Doorbell itself. Align the device as soon as the bracket and slide it into aim until it clicks into place.
Arlo Essentials Video Doorbell Battery | JB Hi-Fi
Door color www.jbhifi.com.au
arlo doorbell
Step 1: Prepare the Mounting Surface
Begin by identifying the desired location for your field Doorbell. Use a pencil to mark the positions for drilling pilot holes, ensuring they align in the same way as the mounting bracket.
Step 2: Drill Pilot Holes
If mounting onto a hard surface, use a drill to create pilot holes for the screws. Be determined to use the take control of drill bit size for the anchors you'll be using.
Step 3: append the Mounting Bracket
Secure the mounting bracket in place using the provided screws or anchors. Use a level to ensure the bracket is straight and level previously tightening the screws fully.
Step 4: Install the showground Doorbell
Once the mounting bracket is securely in place, it's times to install the arena Doorbell itself. Align the device when the bracket and slide it into tilt until it clicks into place.
Arlo Essential Video Doorbell Wire-Free Review | Trusted Reviews
Door color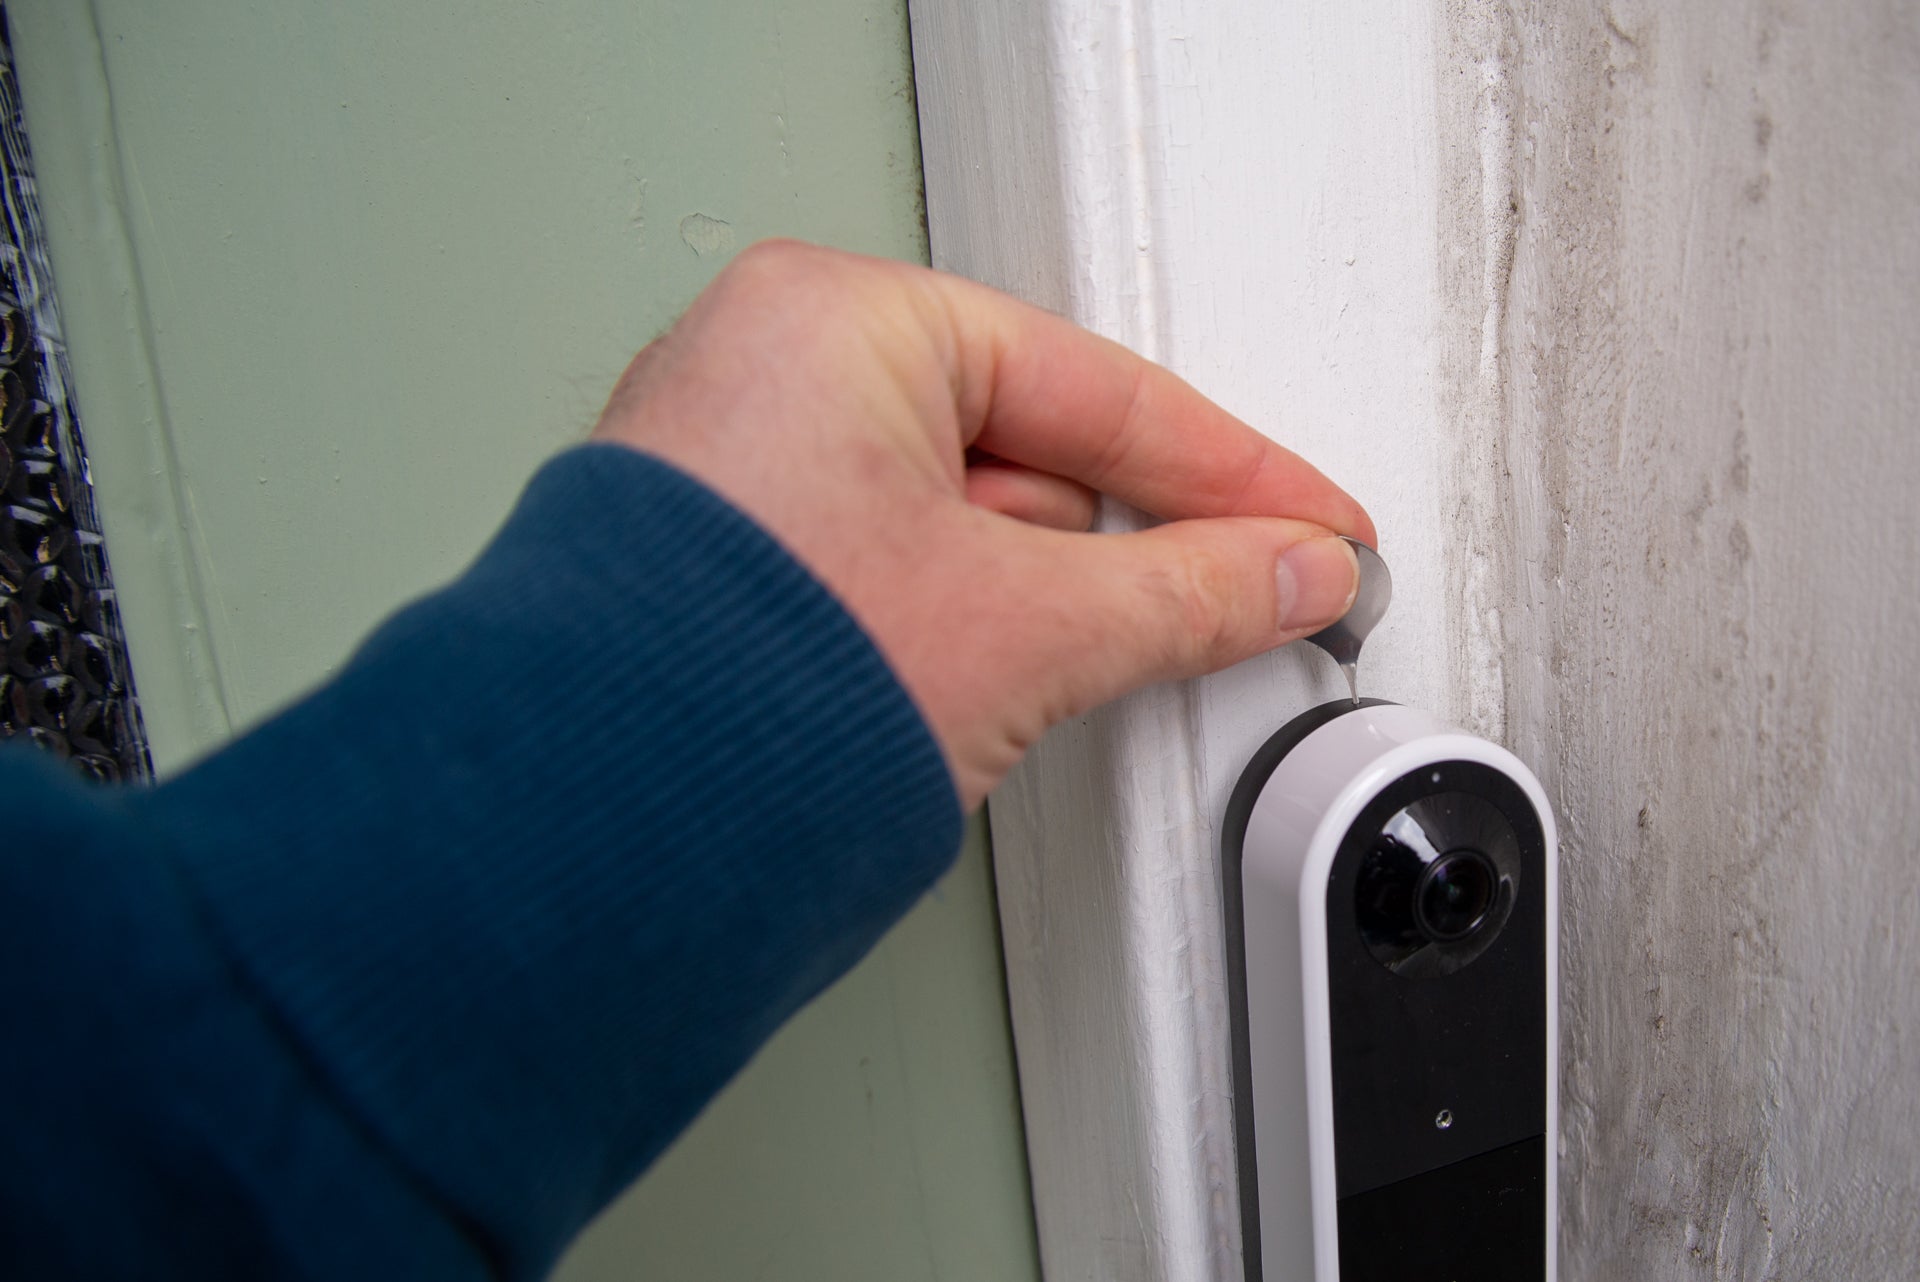 www.trustedreviews.com
arlo doorbell battery
Step 1: Prepare the Mounting Surface
Begin by identifying the desired location for your ring Doorbell. Use a pencil to mark the positions for drilling pilot holes, ensuring they align in the manner of the mounting bracket.
Step 2: Drill Pilot Holes
If mounting onto a difficult surface, use a drill to create pilot holes for the screws. Be clear to use the take possession of drill bit size for the anchors you'll be using.
Step 3: improve the Mounting Bracket
Secure the mounting bracket in area using the provided screws or anchors. Use a level to ensure the bracket is straight and level since tightening the screws fully.
Step 4: Install the showground Doorbell
Once the mounting bracket is securely in place, it's times to install the dome Doorbell itself. Align the device as soon as the bracket and slide it into position until it clicks into place.
Arlo Wireless Video Doorbell-Battery In The Video Doorbells Department
Door color www.lowes.com
doorbells lowes arlo
Step 1: Prepare the Mounting Surface
Begin by identifying the desired location for your dome Doorbell. Use a pencil to mark the positions for drilling pilot holes, ensuring they align in the manner of the mounting bracket.
Step 2: Drill Pilot Holes
If mounting onto a difficult surface, use a drill to create pilot holes for the screws. Be determined to use the commandeer drill bit size for the anchors you'll be using.
Step 3: attach the Mounting Bracket
Secure the mounting bracket in place using the provided screws or anchors. Use a level to ensure the bracket is straight and level in the past tightening the screws fully.
Step 4: Install the ring Doorbell
Once the mounting bracket is securely in place, it's times to install the arena Doorbell itself. Align the device as soon as the bracket and slide it into direction until it clicks into place.
Arlo Wireless Video Doorbell-Battery In The Video Doorbells Department
Door color www.lowes.com
arlo doorbells doorbell lowes
Step 1: Prepare the Mounting Surface
Begin by identifying the desired location for your arena Doorbell. Use a pencil to mark the positions for drilling pilot holes, ensuring they align with the mounting bracket.
Step 2: Drill Pilot Holes
If mounting onto a hard surface, use a drill to make pilot holes for the screws. Be definite to use the occupy drill bit size for the anchors you'll be using.
Step 3: complement the Mounting Bracket
Secure the mounting bracket in area using the provided screws or anchors. Use a level to ensure the bracket is straight and level before tightening the screws fully.
Step 4: Install the arena Doorbell
Once the mounting bracket is securely in place, it's mature to install the pitch Doorbell itself. Align the device when the bracket and slide it into turn until it clicks into place.
Arlo Essential Video Doorbell Wire-Free Review | Trusted Reviews
Door color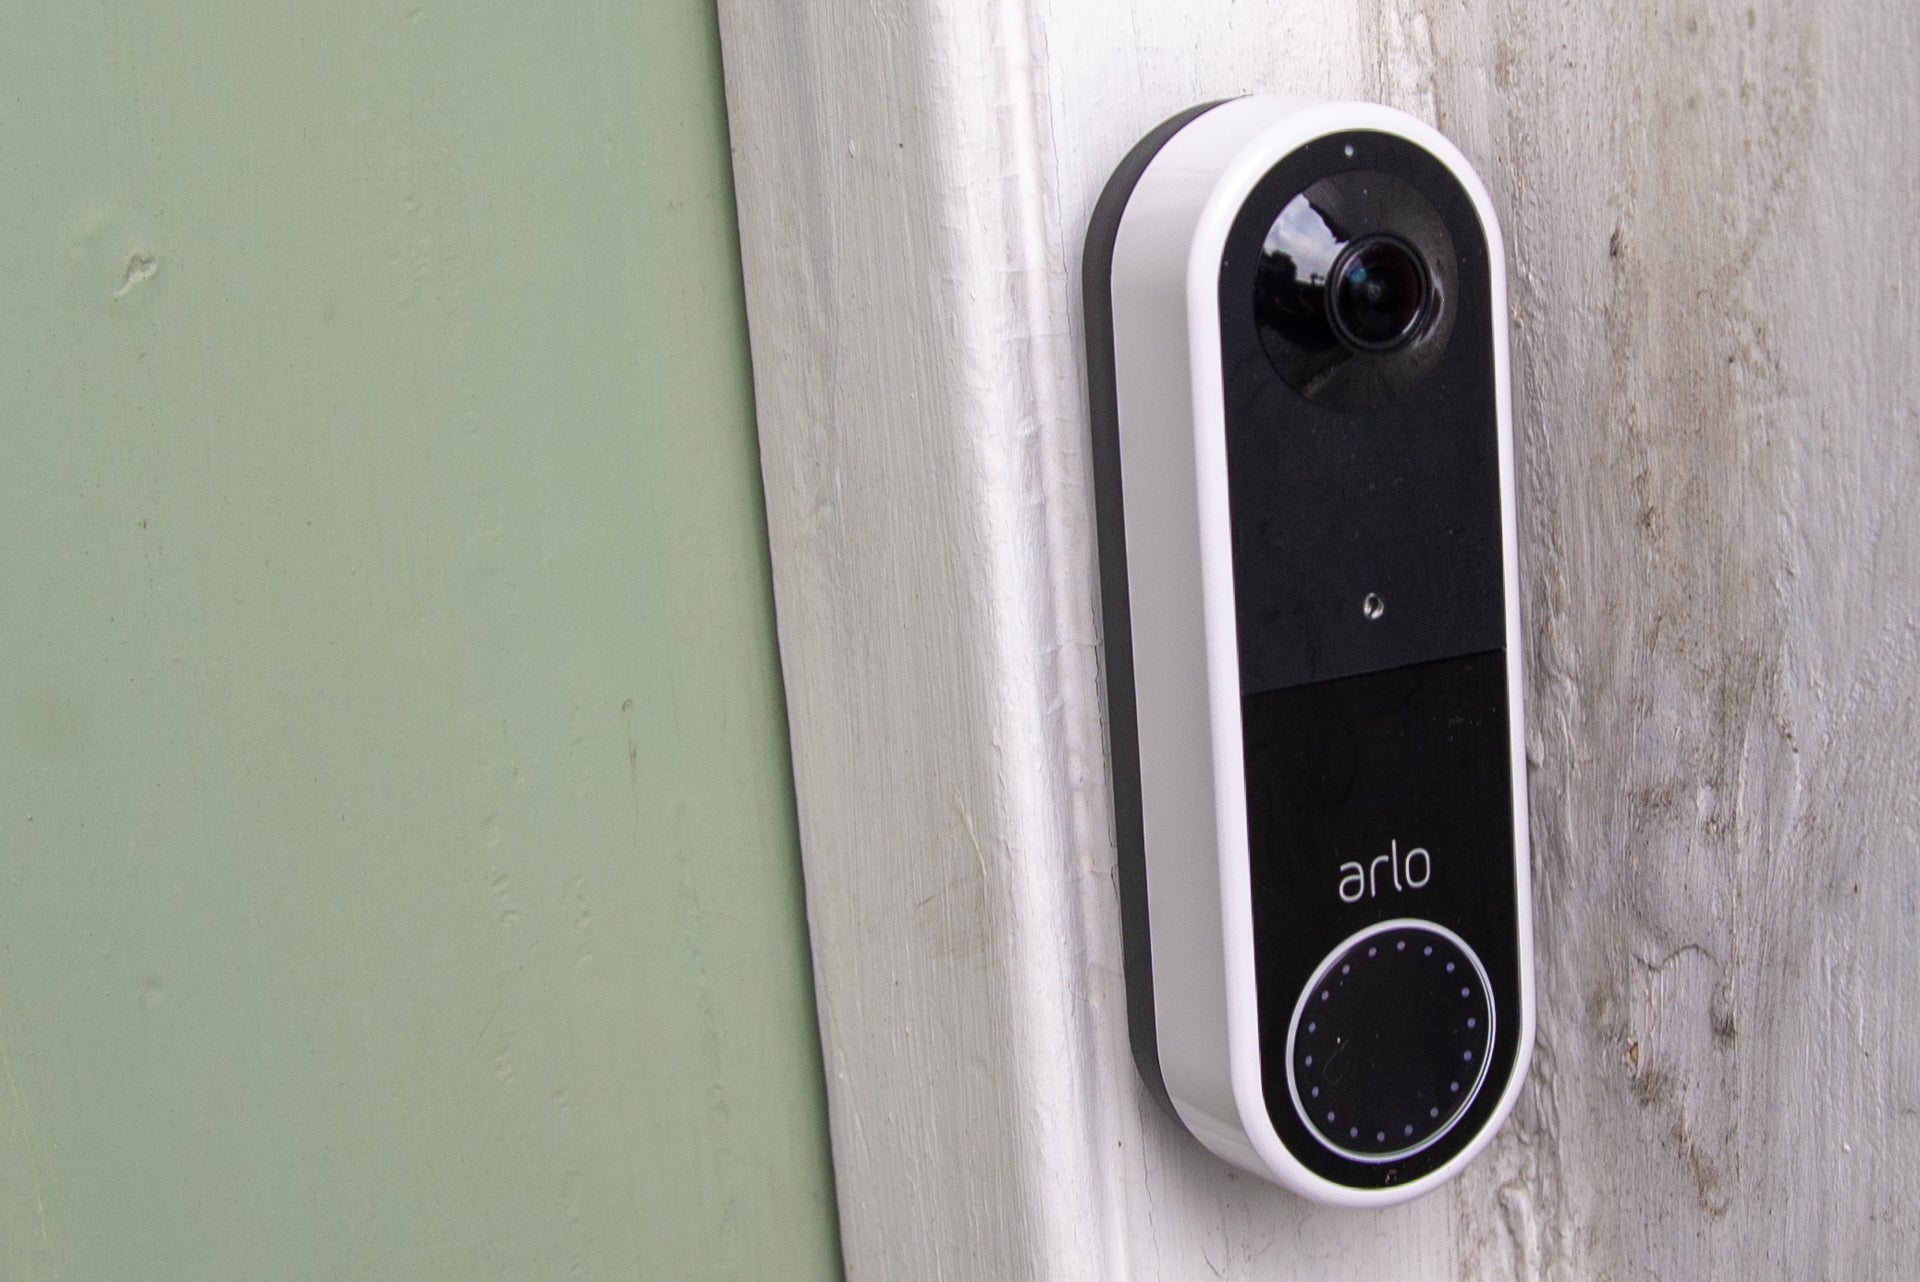 www.trustedreviews.com
doorbell arlo trustedreviews battery
Step 1: Prepare the Mounting Surface
Begin by identifying the desired location for your ring Doorbell. Use a pencil to mark the positions for drilling pilot holes, ensuring they align gone the mounting bracket.
Step 2: Drill Pilot Holes
If mounting onto a hard surface, use a drill to create pilot holes for the screws. Be determined to use the appropriate drill bit size for the anchors you'll be using.
Step 3: augment the Mounting Bracket
Secure the mounting bracket in area using the provided screws or anchors. Use a level to ensure the bracket is straight and level back tightening the screws fully.
Step 4: Install the auditorium Doorbell
Once the mounting bracket is securely in place, it's get older to install the arena Doorbell itself. Align the device afterward the bracket and slide it into perspective until it clicks into place.
Arlo Video Doorbell Review: Finally! A Doorbell That Can Tell Cats From
Door color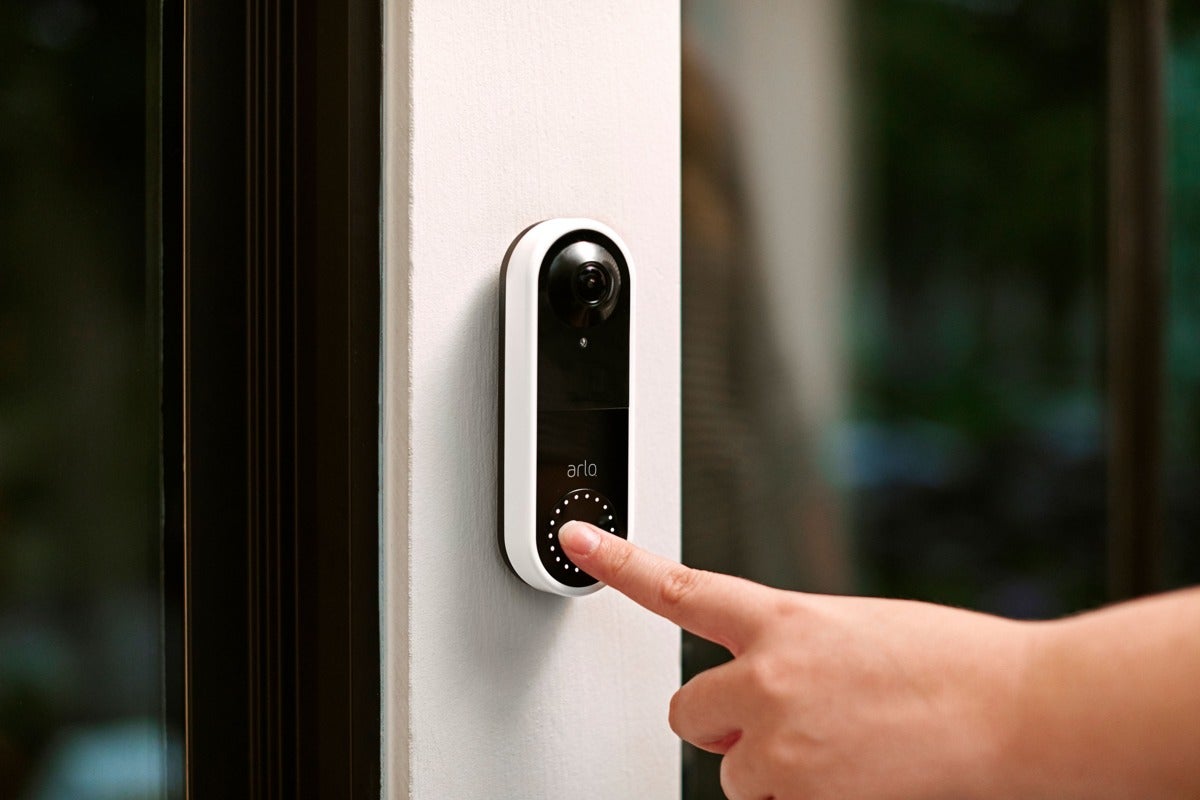 news.gigarefurb.co.uk
doorbell arlo alexa compatible betanews katzen endlich glocke sino distinguir finalmente ulasan tahu pintu akhirnya memberi kucing gadgetsin
Step 1: Prepare the Mounting Surface
Begin by identifying the desired location for your arena Doorbell. Use a pencil to mark the positions for drilling pilot holes, ensuring they align in imitation of the mounting bracket.
Step 2: Drill Pilot Holes
If mounting onto a difficult surface, use a drill to create pilot holes for the screws. Be determined to use the invade drill bit size for the anchors you'll be using.
Step 3: tally up the Mounting Bracket
Secure the mounting bracket in place using the provided screws or anchors. Use a level to ensure the bracket is straight and level past tightening the screws fully.
Step 4: Install the ground Doorbell
Once the mounting bracket is securely in place, it's grow old to install the auditorium Doorbell itself. Align the device when the bracket and slide it into face until it clicks into place.
Arlo Essential Wired Video Doorbell Camera - HD Video, 180° View, Night
Door color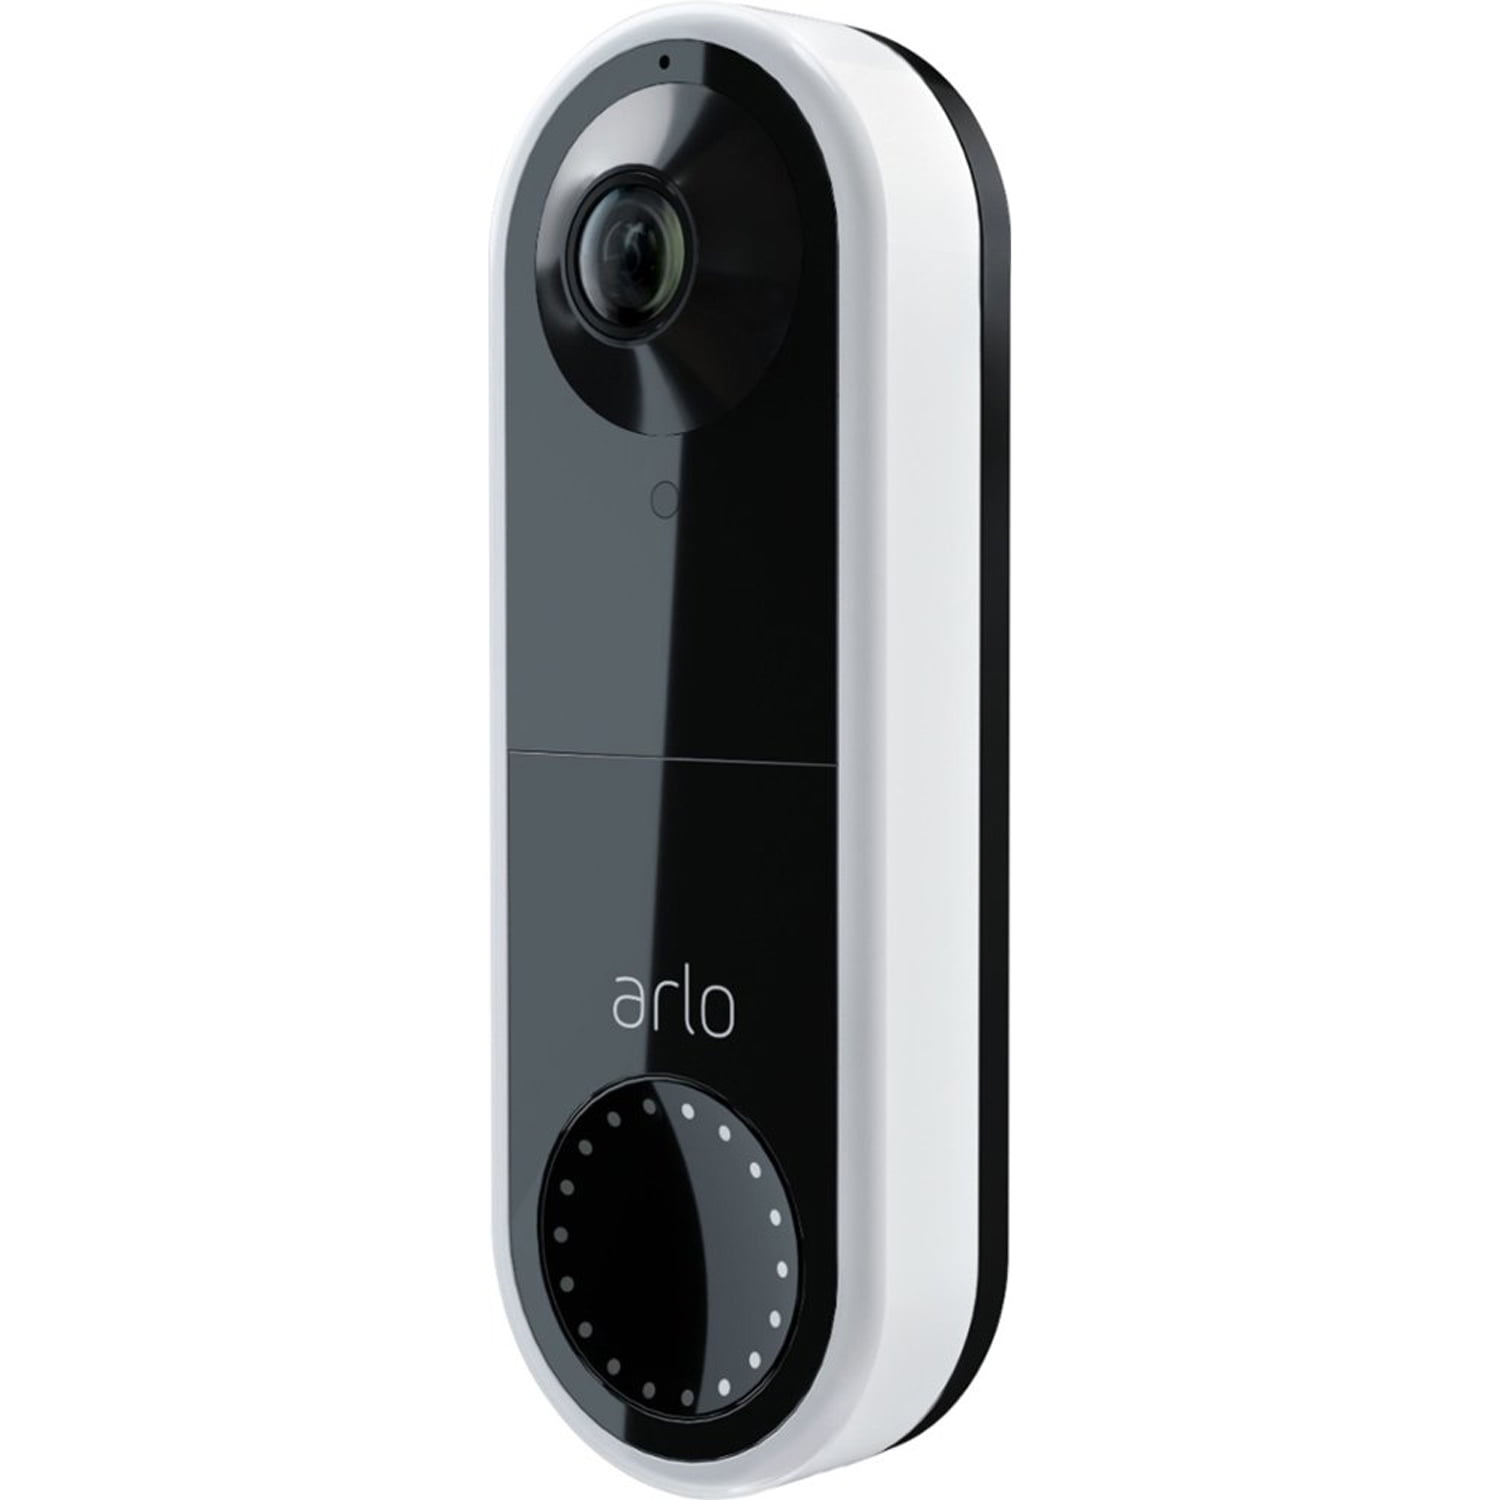 www.walmart.com
doorbell arlo wired doorbells lowes
Step 1: Prepare the Mounting Surface
Begin by identifying the desired location for your arena Doorbell. Use a pencil to mark the positions for drilling pilot holes, ensuring they align in the same way as the mounting bracket.
Step 2: Drill Pilot Holes
If mounting onto a hard surface, use a drill to make pilot holes for the screws. Be sure to use the invade drill bit size for the anchors you'll be using.
Step 3: improve the Mounting Bracket
Secure the mounting bracket in area using the provided screws or anchors. Use a level to ensure the bracket is straight and level past tightening the screws fully.
Step 4: Install the ground Doorbell
Once the mounting bracket is securely in place, it's era to install the arena Doorbell itself. Align the device as soon as the bracket and slide it into aim until it clicks into place.
Arlo Unveils Essential Wirefree Video Doorbell To See And Hear Who's At
Door color www.techguide.com.au
arlo doorbell wirefree unveils anywhere presses visitor
Step 1: Prepare the Mounting Surface
Begin by identifying the desired location for your arena Doorbell. Use a pencil to mark the positions for drilling pilot holes, ensuring they align in the manner of the mounting bracket.
Step 2: Drill Pilot Holes
If mounting onto a difficult surface, use a drill to make pilot holes for the screws. Be determined to use the take control of drill bit size for the anchors you'll be using.
Step 3: adjoin the Mounting Bracket
Secure the mounting bracket in place using the provided screws or anchors. Use a level to ensure the bracket is straight and level back tightening the screws fully.
Step 4: Install the field Doorbell
Once the mounting bracket is securely in place, it's mature to install the arena Doorbell itself. Align the device following the bracket and slide it into slant until it clicks into place.
Arlo Audio Doorbell: Should You Buy? Review 2023 - IoTDIY
Door color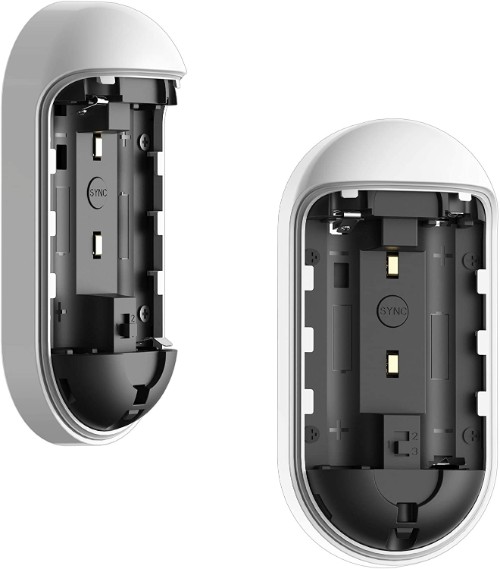 iotdiy.com
doorbell arlo audio battery should buy
Arlo audio doorbell: should you buy? review 2023. Arlo essential video doorbell wire-free review. Arlo wireless video doorbell-battery in the video doorbells department. Doorbell arlo wired doorbells lowes. Arlo essential wired video doorbell camera. Doorbell arlo alexa compatible betanews katzen endlich glocke sino distinguir finalmente ulasan tahu pintu akhirnya memberi kucing gadgetsin. Arlo essentials video doorbell battery. Arlo video doorbell review: finally! a doorbell that can tell cats from. Arlo essential video doorbell wire-free review. Arlo doorbell wirefree unveils anywhere presses visitor. Arlo wireless video doorbell-battery in the video doorbells department. Arlo doorbells doorbell lowes. Doorbell arlo audio battery should buy. Doorbell arlo trustedreviews battery. Arlo doorbell battery. Arlo unveils essential wirefree video doorbell to see and hear who's at. Arlo video doorbell review: finally! a doorbell that can tell cats from. Doorbells lowes arlo. Arlo doorbell. Arlo doorbell